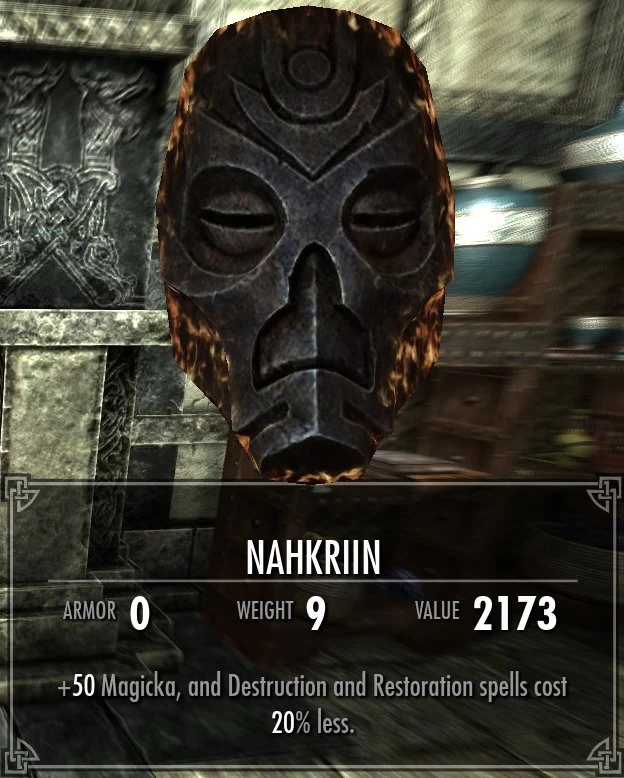
Prerequisites: Completion of the quest "The Fallen". Quest Giver: (Everyone, yet no one directly. The Dragonborn's destiny) Region: Dragonsreach, Skuldafn Reward: Word for the shout "Storm Call" + extensive random loot + Dragon Priest Mask Nahkriin
Summary: After releasing Odahviing, you fly with him to Skuldafn. There, you must fight your way through the ancient temple against dragons, frostbite spiders, and numerous Draugr. The portal at the end is guarded by a powerful Dragon Priest.
Quest Description
Release Odahviing
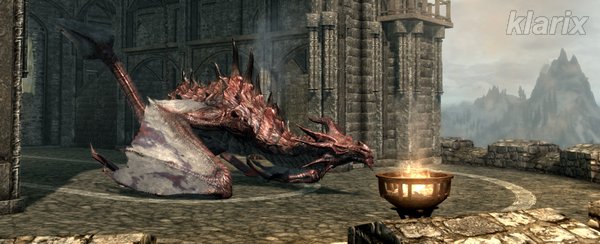
As you approach the trapped dragon, he repeats his offer: you release him, and in return, he will take the player to Skuldafn, promising to no longer assist Alduin. Of course, Odahviing knows you will accept, as you cannot pursue Alduin otherwise. Nevertheless, the dragon emphasizes that you can trust him. He states he will now go his own way, as Alduin has proven himself unworthy of lordship.
The guard whom you order to release the trap mentions that this is a very bad idea. Only after the Jarl explains to him that all of this is part of the Dragonborn's plan does he pull the chains. Once the dragon is free, everyone present backs away respectfully and nervously.
The newly released Odahviing crawls into the open air.
Talk to Odahviing
The freed dragon turns around heavily, crawls on his wings to the porch, and waits. If you follow him, he asks if you are ready to see the world as only a dovah can, noting that you will envy the dov.
This is your last opportunity to consider whether you have packed everything for a long journey and dangerous adventures. It will be some time before you return. However, you should only take the essentials for combat and defense, as you will be able to collect many valuable items in the near future.
Once you are ready for the dragon ride, you mount him, and Odahviing takes off.
You can still hear Irileth say: "You're either the bravest man I've ever met, or the stupidest."
Reach Alduin's portal to Sovngarde
Given the dragon's flying speed, the journey does not take long. Odahviing lands in front of an ancient temple and, with a promise to await the return of either the player or Alduin, he bids farewell and flies away. While the temple of Skuldafn mostly features typical ancient Nord architecture, some details point to a very early period of origin. The temple is located far to the east in the Velothi Mountains and is enclosed on all sides by impassable mountain ridges.
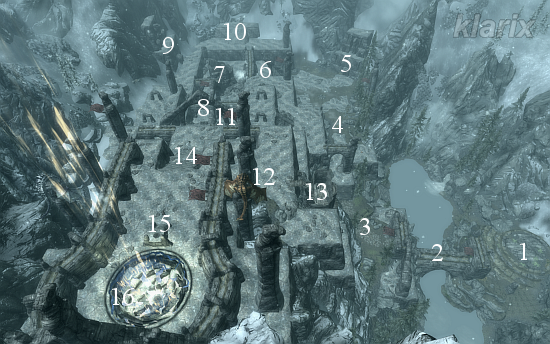
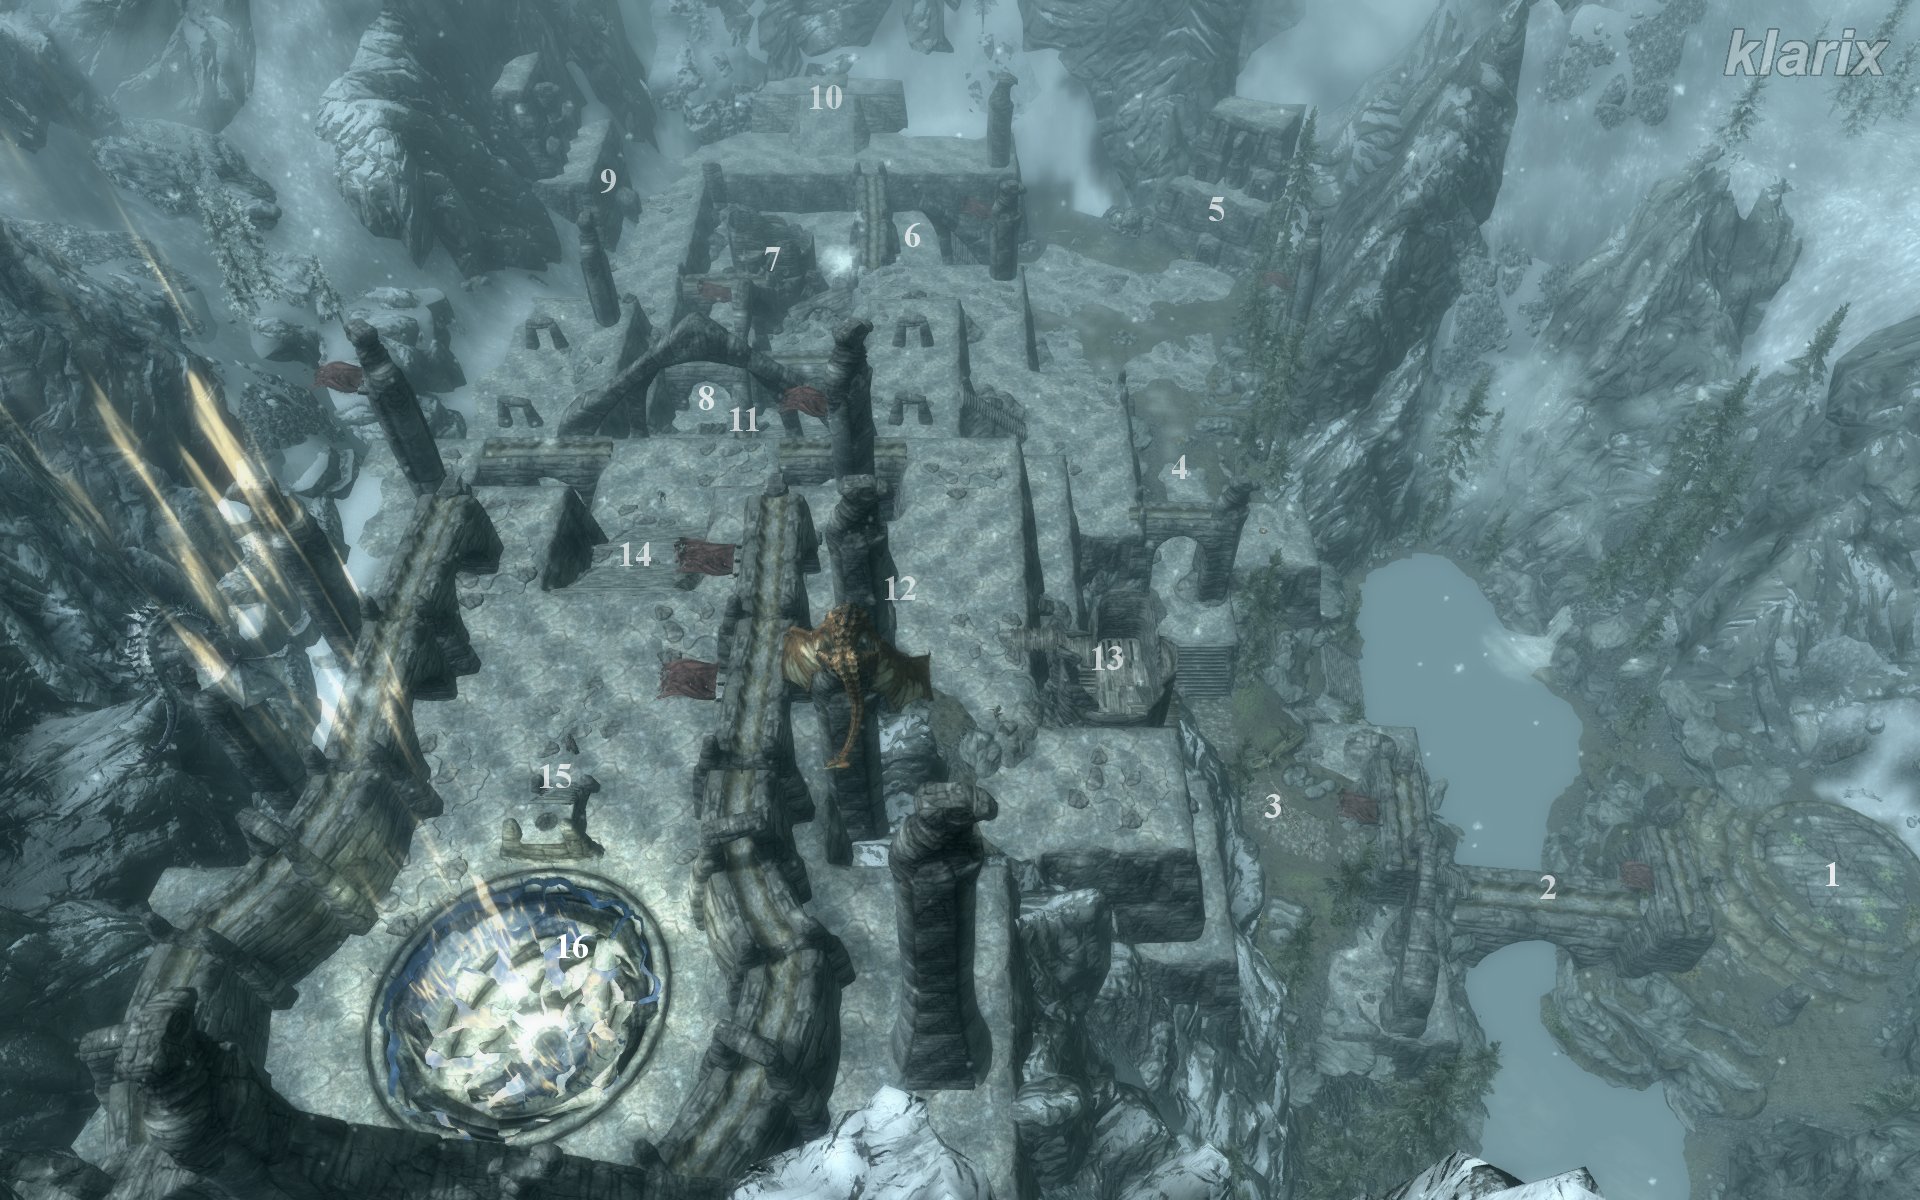
The entire complex of Skuldafn, viewing south. Recommended exploration order:
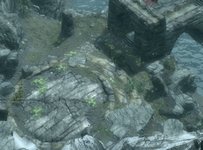
Landing site/Arrival
Bridge
Path to the outer courtyard
Outer courtyard
South tower
Temple courtyard
Ruined tower
Passage to the staircase
North tower
Embalming table
Temple entrance
Temple exit
Tower
Stairs to the portal
Nahkriin and Dragon Seal
Portal to Sovngarde
If you look around the "landing site" 1 and near the bridge 2, you will quickly attract the attention of the Draugr archers lurking on the other side. You can engage them from a distance or run straight toward them. However, as you pass the bridge at 3, you will be attacked by a dragon - putting you face-to-face with multiple enemies at once. If you position yourself cleverly, the dragon will heavily scorch the Draugr as well. If you are skilled at sneaking, the dragon will fly in but turn away again (though this only delays the battle against him).
Another option is to cross the river by swimming. This lures the Draugr away from 3, allowing you to fight the dragon undisturbed later.
Once you arrive at the outer courtyard 4, more Draugr Deathlords run toward you, and the next dragon attacks. Running away is hardly an option, as the Draugr will even pursue you into the water. Choosing the south tower 5 for shelter is not recommended. Therefore, you must face the second dragon as well. It is highly recommended to retreat back to 3 so that no further Draugr follow you.
Once you have mastered this battle too, you can turn your attention to the south tower 5 (though this is optional). However, you should make sure beforehand that a Draugr with a raised weapon is not heading your way from somewhere. A quicksave would be advisable now. Inside, about 5 Draugr await you in a very confined space. It is beneficial if you can cast an area-of-effect destruction spell or use a scroll. Your health can deplete quickly here, so you should fight near the entrance door to heal yourself outside in an emergency. To be looted here are a few loose items and the contents of a chest.
After leaving the south tower 5, you turn to the east and reach the temple courtyard 6 via the double staircase. Beyond it, you can see the north tower 9. Naturally, you will be attacked by Draugr in the temple courtyard - the battle can get particularly intense here. The enemies are stationed outside across 3 levels. If you move forward slowly and cautiously, they may only come at you in pairs. However, the archers on the walls can pose a problem. You can wait for the enemies in the entrance of the ruined tower 7, ensuring at least that your back is covered. A chest awaits there as a reward.
The heavily guarded entrance to the temple in Skuldafn.
Once you have worked your way through the courtyard to the staircase at 8, you will stand in front of the temple entrance 11. Optionally, you can eliminate the remaining archers on the walls, clear the north tower 9 (the treasure chest is only accessible via the balcony), and loot the chest on the altar-like embalming table 10. At least four more Draugr guard the level above the temple entrance but cannot be reached with melee weapons at the moment.
If you pass by to the right, you will find a chest in the dark.
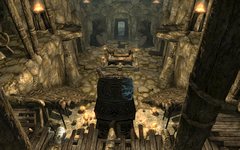
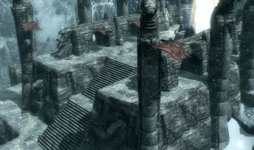
Inside the temple, you can see and feel the millennia that have passed since the Dragon Cult. However, the timeless silence is not peaceful. Advancing a few steps deeper into the entrance hall, you can already see the shadows of the eternal guardians from afar. Sneaking past the wandering Draugr Death Overlords is theoretically possible but proves stressful, as you must solve a puzzle at the end of the entrance area.
The entrance area ends here, and only solving the puzzle will raise the iron gates.
Solution to the First Pillar Puzzle
Three rotating pillars and two murals form a line. The Whale on the left pillar must face the Whale on the wall, and the Snake on the right pillar must face the Snake on the wall. The center pillar selects the iron gate that is to be opened. Above the left gate hangs the Snake, and above the right hangs the Hawk. If you set it to Snake, for example, and pull the lever in the center of the room, the left gate will rise. Afterwards, set it to Hawk and operate the lever once more for the second gate.
Important for orientation: There is a notch on the base of each pillar indicating the direction in which the correct animal symbol must be set. This applies to all rotating pillars. In this case, the notch of the center pillar points toward the lever switch - the Snake or Hawk must be set facing this direction.
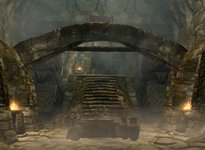
After opening both gates, check the chest behind the right gate first. Then, proceed through the left iron gate. You enter a guarded embalming room, through which you reach an area infested with frostbite spiders. After that, you come to the next puzzle room containing two small stone bridges. The objective here is to lower a wooden drawbridge to advance to the next area.
The next puzzle room featuring three rotating pillars.
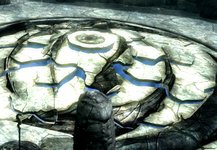
Solution to the Second Pillar Puzzle
The two stone bridges lead to small alcoves, each housing a rotating pillar. These must be set to match the symbols above the alcove entrances: Whale on the left and Hawk on the right. There is also a third rotating pillar on the lower level. This one must be set to match the symbol on the wall beneath the raised wooden bridge – Snake. After doing so, operate the lever on the platform, and the wooden bridge will crash down.
You enter the second area of the temple and reach another mummification room. Here too, your quick passage is hindered. Crossing the bridge leads you to a spiral staircase. The pressure plate on the floor triggers a dart trap and ignites the oil on the ground. Draugr already await you at the top, and some archers shoot through openings in the wall. You must eliminate them, as behind that wall lies a lever for a subsequent iron gate. A chest is also located there.
Through the open iron gate and several winding corridors, you approach a claw puzzle door Standing before it is a lone guardian, who is a particularly powerful Draugr.
Solution to the Claw Puzzle
As with many other claw doors, you need the corresponding dragon claw. The Diamond Claw is carried by the Draugr, and he will not hand it over willingly. Once you have taken the claw from him, you can rotate it in your inventory to see the animal symbols that must be set on the door rings: Fox, Moth, Dragon.
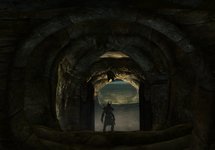
Word Wall shortly before the temple exit.
Behind the door lies a quiet area with a Word Wall. There are no enemies here - a blissful calm before the storm. You learn a Word for the dragon shout "Storm Call". To the left of the wall, a corridor leads to the temple exit. In a side room to the right, you can find a few valuable potions.
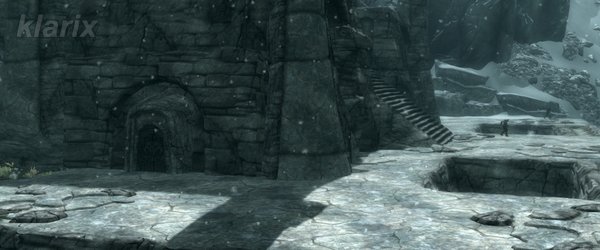
Outside 12, you will immediately be spotted by a Draugr. You should eliminate him near the door if possible to avoid attracting more of them at once. Opposite the door, you can inspect the old tower 13, which contains a chest at the bottom. To ensure you are not disturbed during the final battle, you should now head to the other side of the portal staircase 14 (without climbing it) and take care of the last 2–3 Draugr.
Temple exit into the open air, where the final Draugr await.
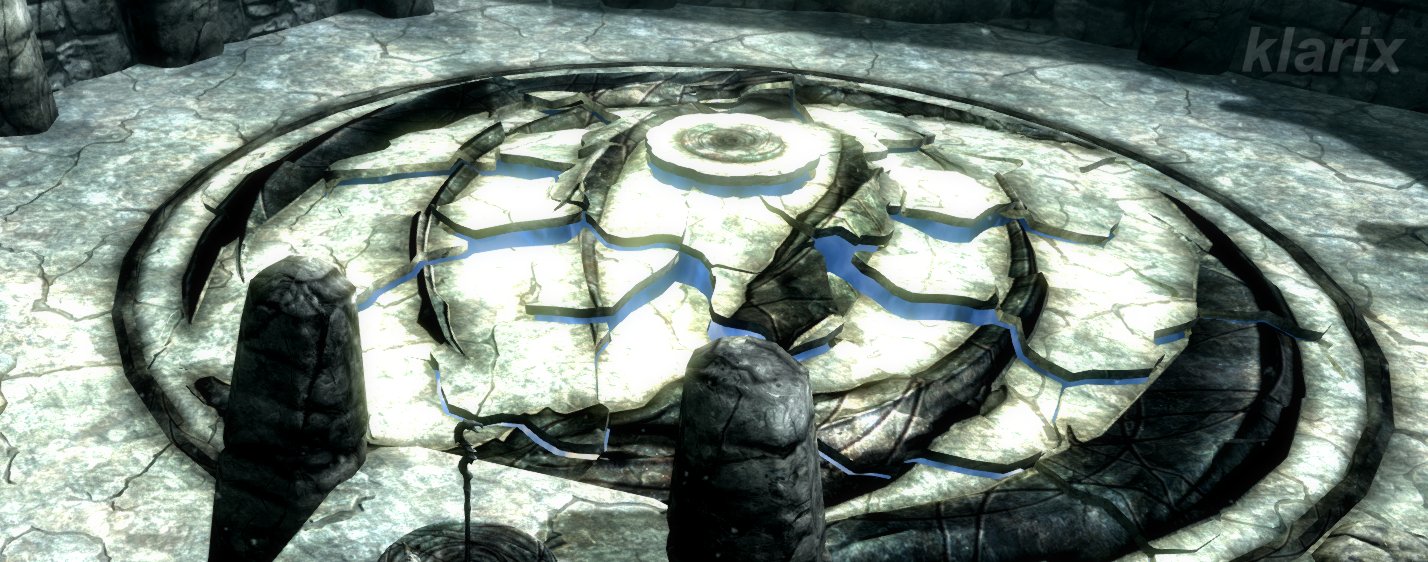
Then, you can turn your attention to the topmost platform in peace, where the portal 16 to Sovngarde is located. This is guarded by the powerful Dragon Priest Nahkriin15.
Enter Sovngarde
As soon as Nahkriin notices you climbing the stairs, he heads toward the portal and murmurs a few incantations to close it. He then removes his staff from the Dragon Seal and attacks. He is a tough opponent and can inflict 50 points of shock damage per second with his staff. Shock resistance enchantments or potions are highly advantageous here. If you are unlucky, Nahkriin will reanimate the slain Draugr. Two dragons perch on the pillars above the portal, watching the events unfold. You now have two options:
You can defeat Nahkriin using weapons, spells, and summons. Be careful not to hit either of the two watching dragons, or you will have to deal with three powerful enemies at the same time. You must loot the staff (and the valuable mask) from the defeated Dragon Priest and insert it back into the Dragon Seal. Following this, the portal opens once more.
Since Nahkriin's priority is to close the portal before doing anything else, you can attempt to prevent him from doing so. Running or sprinting will not get you to him in time, but the "Whirlwind Sprint" shout will. As soon as the shout is executed, stand in Nahkriin's way and attack him, preferably with a weapon - this staggers him backward with each strike, preventing his forward progress. He will not fight back or defend himself, as his AI is programmed to close the portal first. You can therefore cut him down safely and without danger.
Before entering the portal to Sovngarde, you can optionally harvest the two dragon souls. However, you will have to fight two dragons simultaneously.
Once you are ready, leap bravely into the portal's vortex and land in the realm of Sovngarde. The quest ends here, and the next one is activated simultaneously.
Tips & Notes
When comparing the in-game map with other regional maps, Skuldafn appears to be located on or rather just past the eastern border - meaning it is technically in Morrowind.
If you wish to explore everything here and collect every treasure, you must do so now. You can never return to this location after completing this quest.
The north tower 9 is actually not located to the north, but to the east.
Most of the Draugr here are scaled to the highest rank available for your current player level compared to other barrows and ruins. The guardian holding the claw is scaled one rank higher.
The second pillar puzzle does not have to be solved. By using Whirlwind Sprint, you can reach the other side and squeeze past the beams and wooden planks.
The two dragons at the top of the portal will fly in as soon as you exit the temple. They do not attack but instead perch on the pillars to the left and right of the portal to observe. They will only attack if one of them is specifically targeted or hit by an area-of-effect spell.


 the bridge 2, you will quickly attract the attention of the Draugr archers
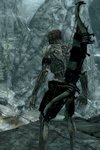 lurking on the other side. You can engage them from a distance or run straight toward them. However, as you pass the bridge at 3, you will be attacked by a dragon - putting you face-to-face with multiple enemies at once. If you position yourself cleverly, the dragon will heavily scorch the Draugr as well. If you are skilled at sneaking, the dragon will fly in but turn away again (though this only delays the battle against him).
 at the outer courtyard 4, more Draugr Deathlords run toward you, and the next dragon attacks. Running away is hardly an option, as the Draugr will even pursue you into the water. Choosing the south tower 5 for shelter is not recommended. Therefore, you must face the second dragon as well. It is highly recommended to retreat back to 3 so that no further Draugr follow you.
 and reach the temple courtyard 6 via the double staircase. Beyond it, you can see the north tower 9. Naturally, you will be attacked by Draugr
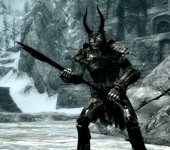 in the temple courtyard - the battle can get particularly intense here. The enemies are stationed outside across 3 levels. If you move forward slowly and cautiously, they may only come at you in pairs. However, the archers on the walls can pose a problem. You can wait for the enemies in the entrance of the ruined tower 7, ensuring at least that your back is covered. A chest awaits there as a reward.
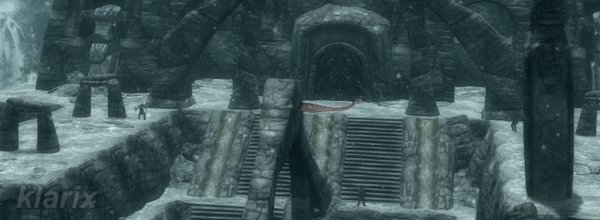
 on the altar-like embalming table 10. At least four more Draugr guard the level above the temple entrance but cannot be reached with melee weapons at the moment.
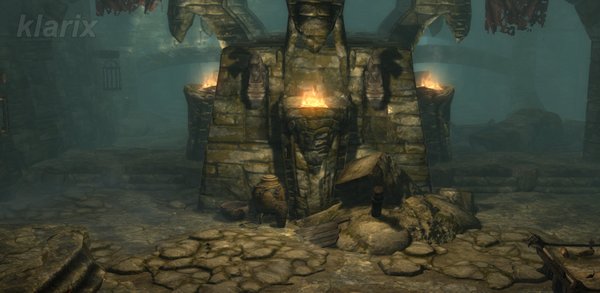
 from afar. Sneaking past the wandering Draugr Death Overlords
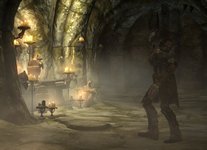 is theoretically possible but proves stressful, as you must solve a puzzle at the end of the entrance area.
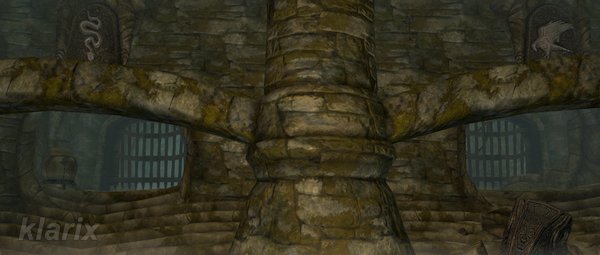
 , through which you reach an area infested with frostbite spiders. After that, you come to the next puzzle room containing two small stone bridges. The objective here is to lower a wooden drawbridge to advance to the next area.
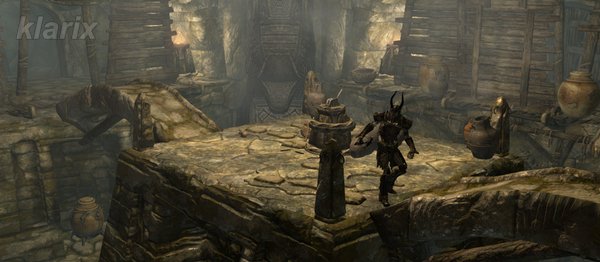
 . Here too, your quick passage is hindered. Crossing the bridge leads you to a spiral staircase
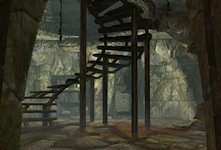 . The pressure plate on the floor triggers a dart trap and ignites the oil on the ground. Draugr already await you at the top, and some archers shoot through openings in the wall. You must eliminate them, as behind that wall lies a lever for a subsequent iron gate. A chest is also located there.
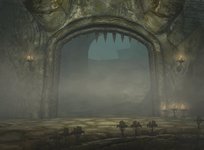 and several winding corridors, you approach a claw puzzle door
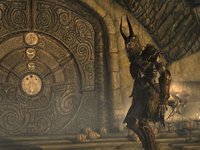 Standing before it is a lone guardian, who is a particularly powerful Draugr.
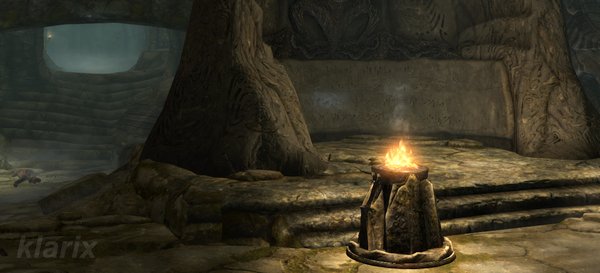
 in peace, where the portal 16 to Sovngarde is located. This is guarded by the powerful Dragon Priest Nahkriin
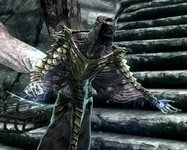 15.
15.
 the bridge 2, you will quickly attract the attention of the Draugr archers
 lurking on the other side. You can engage them from a distance or run straight toward them. However, as you pass the bridge at 3, you will be attacked by a dragon - putting you face-to-face with multiple enemies at once. If you position yourself cleverly, the dragon will heavily scorch the Draugr as well. If you are skilled at sneaking, the dragon will fly in but turn away again (though this only delays the battle against him).
 at the outer courtyard 4, more Draugr Deathlords run toward you, and the next dragon attacks. Running away is hardly an option, as the Draugr will even pursue you into the water. Choosing the south tower 5 for shelter is not recommended. Therefore, you must face the second dragon as well. It is highly recommended to retreat back to 3 so that no further Draugr follow you.
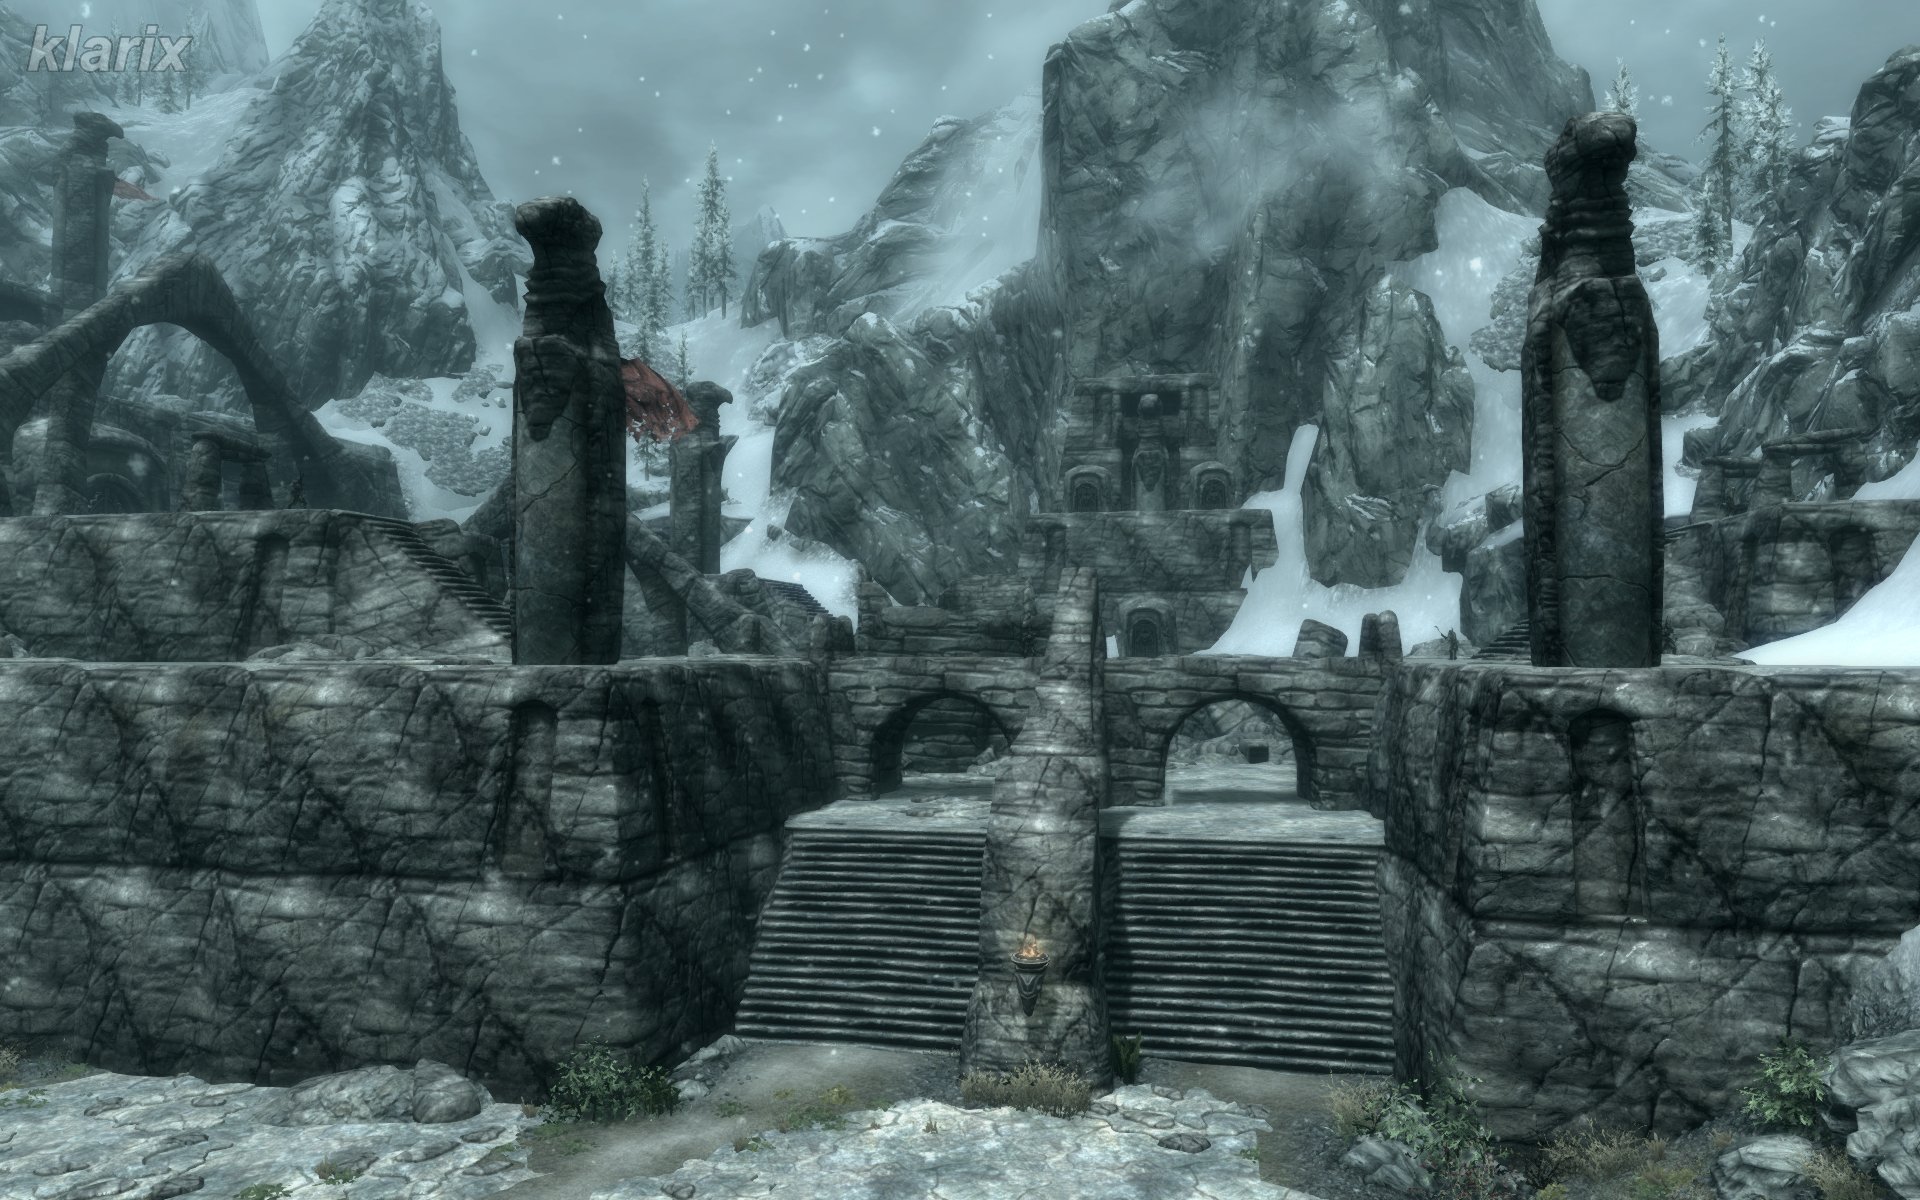 and reach the temple courtyard 6 via the double staircase. Beyond it, you can see the north tower 9. Naturally, you will be attacked by Draugr
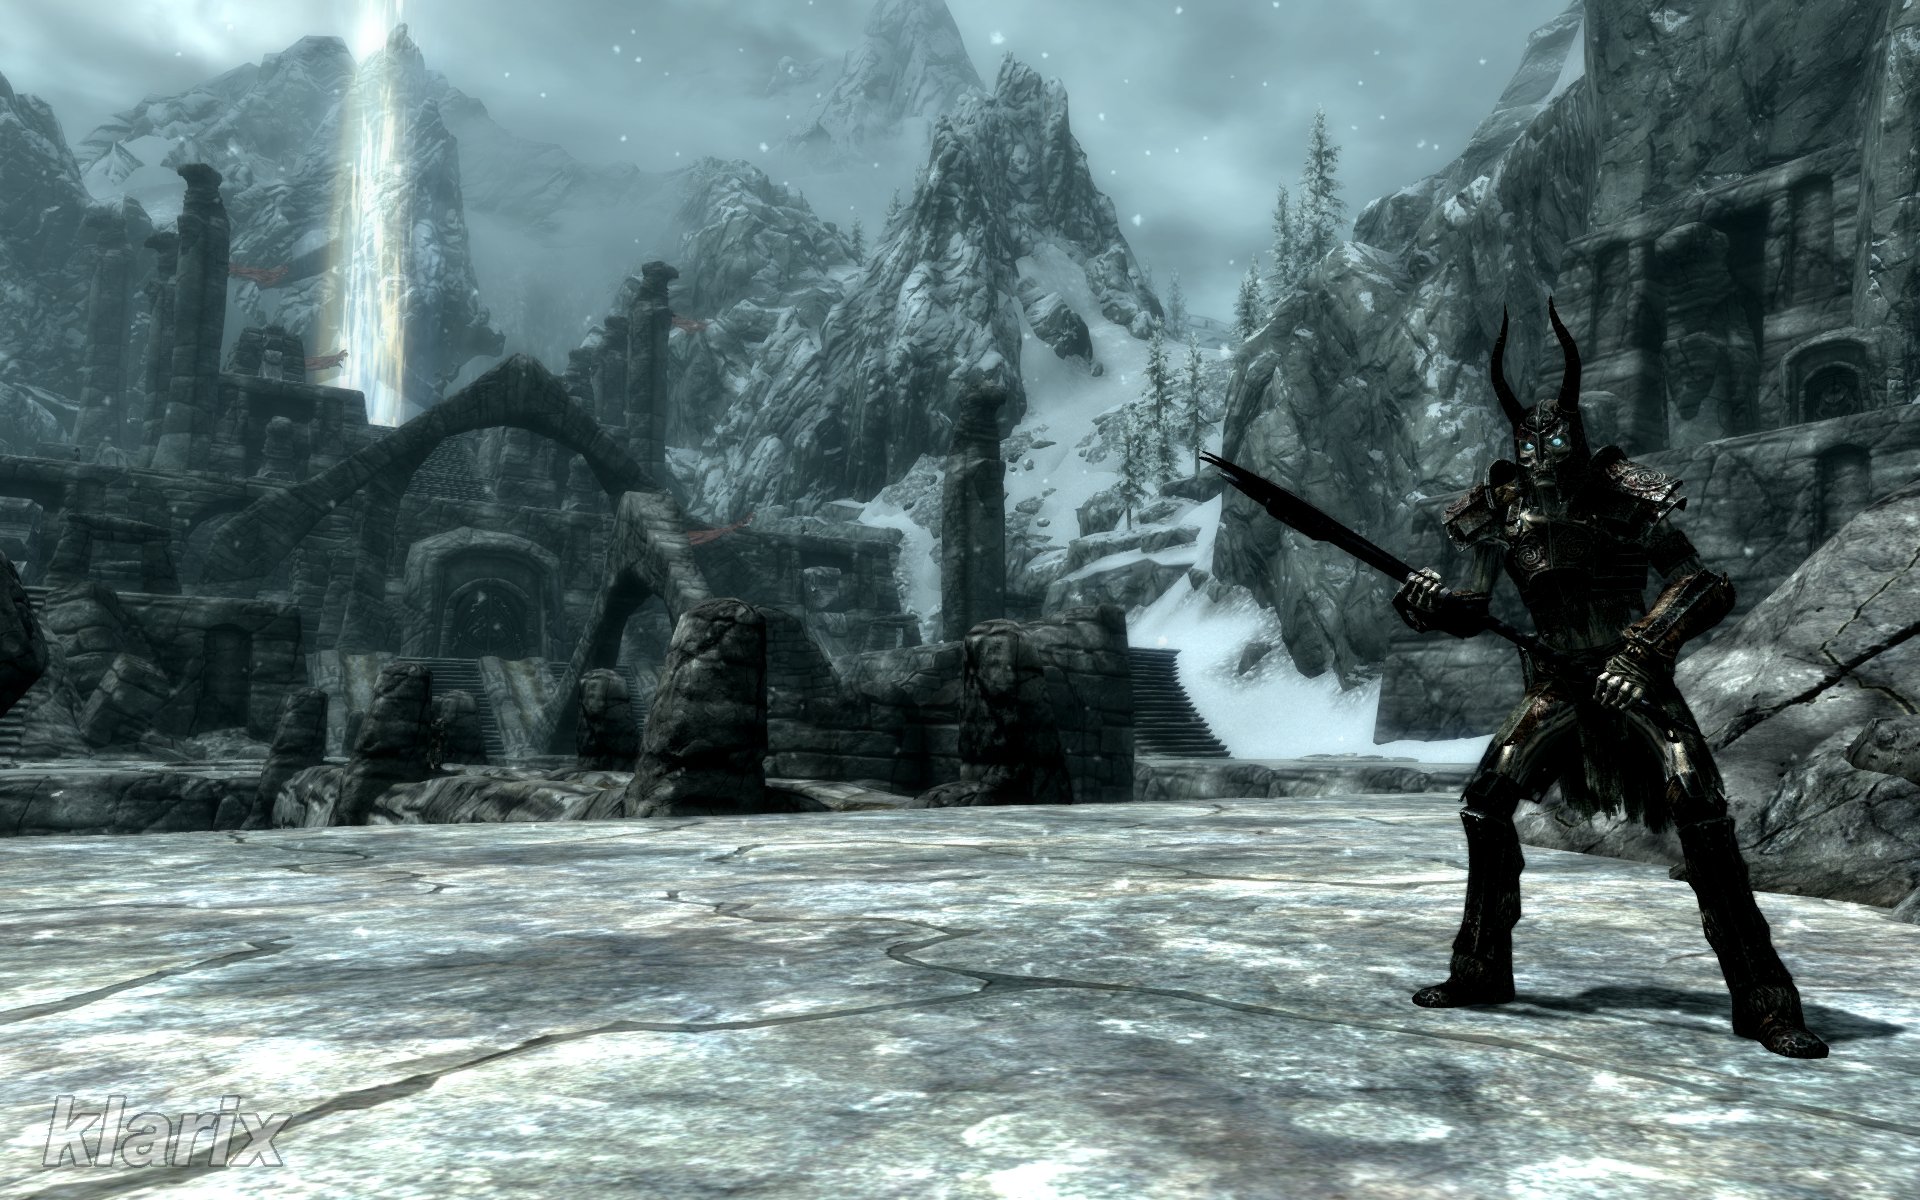 in the temple courtyard - the battle can get particularly intense here. The enemies are stationed outside across 3 levels. If you move forward slowly and cautiously, they may only come at you in pairs. However, the archers on the walls can pose a problem. You can wait for the enemies in the entrance of the ruined tower 7, ensuring at least that your back is covered. A chest awaits there as a reward.
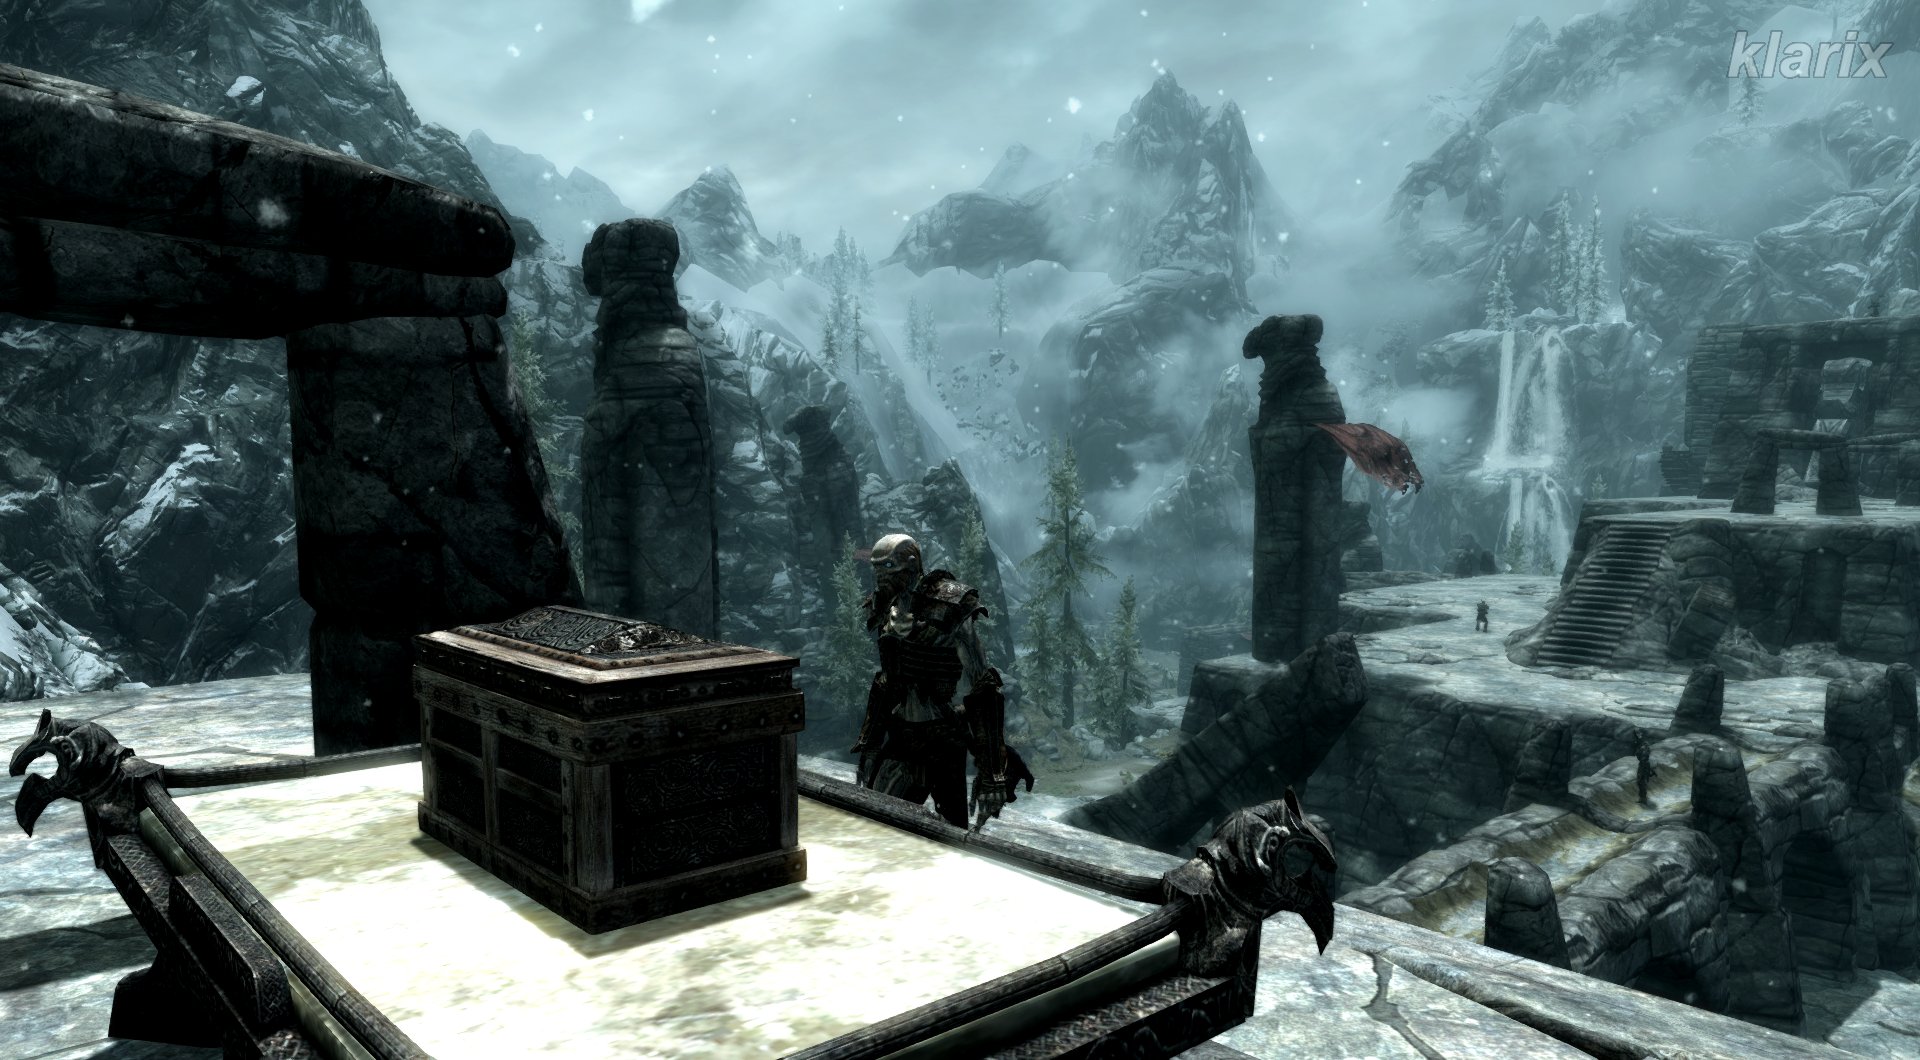 on the altar-like embalming table 10. At least four more Draugr guard the level above the temple entrance but cannot be reached with melee weapons at the moment.
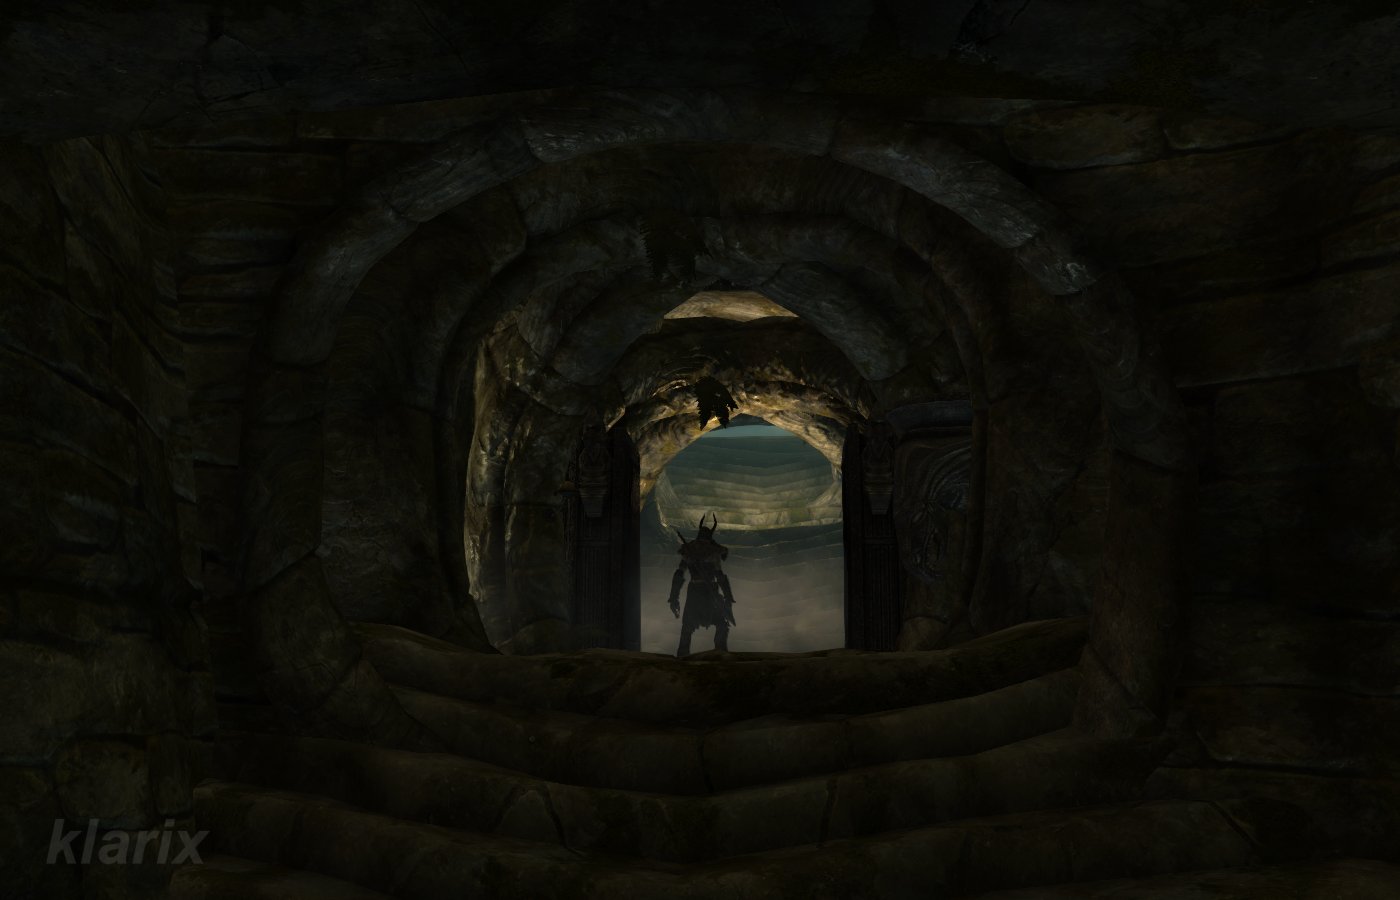 from afar. Sneaking past the wandering Draugr Death Overlords
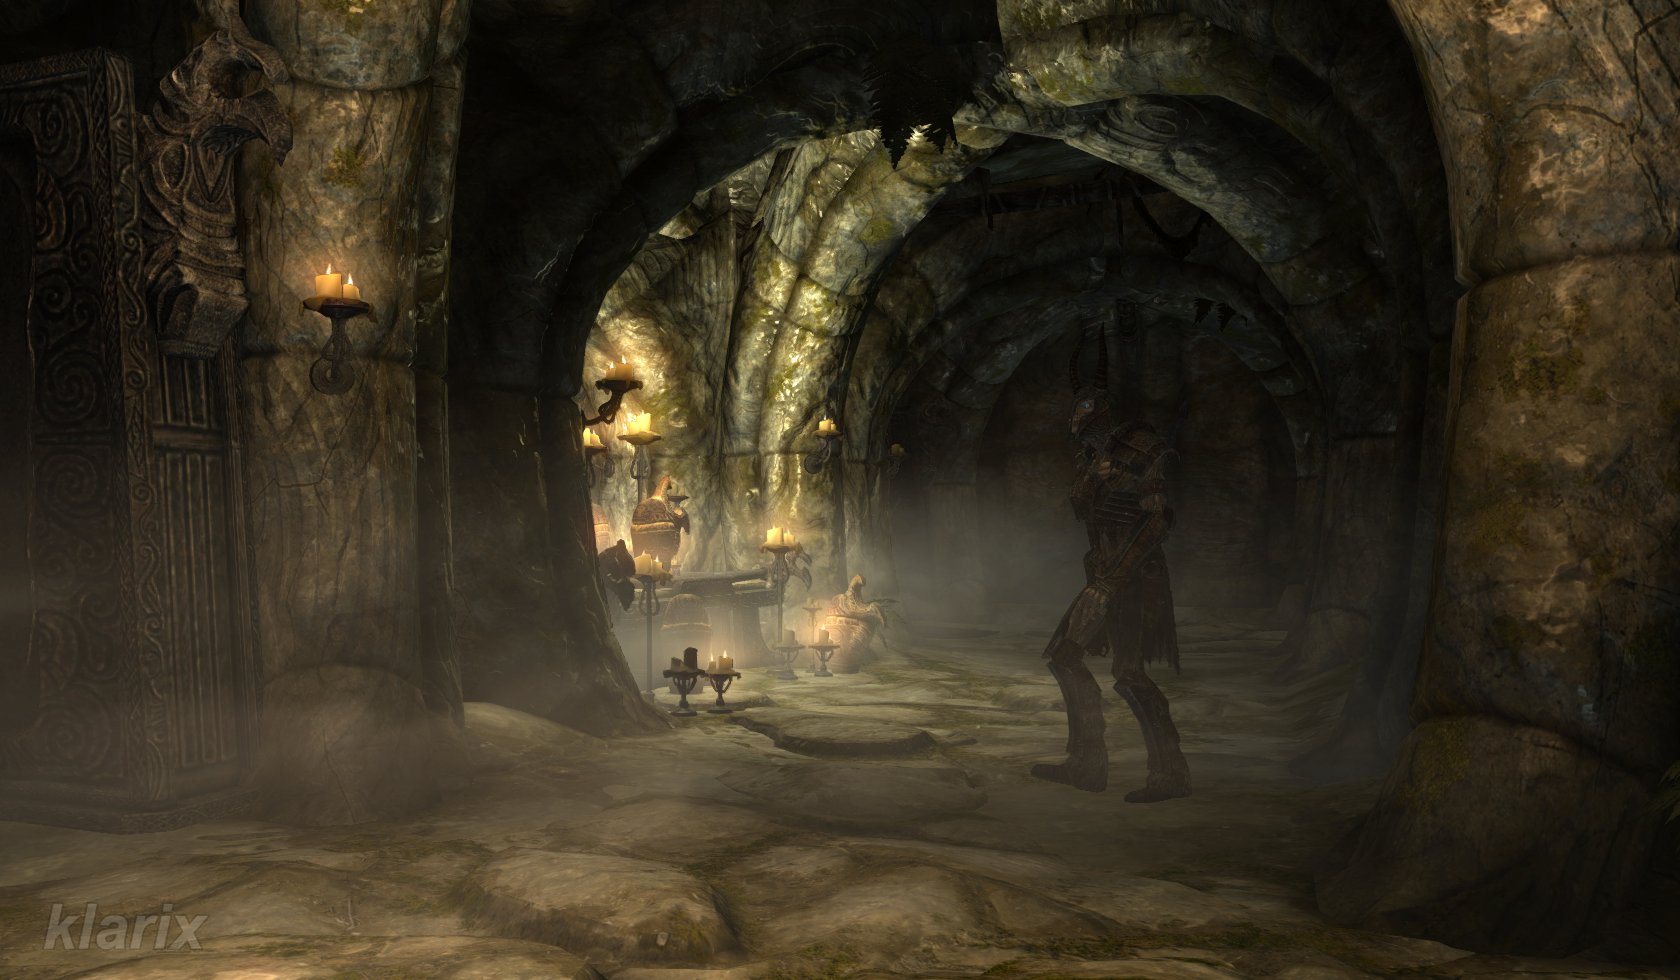 is theoretically possible but proves stressful, as you must solve a puzzle at the end of the entrance area.
 . The Whale on the left pillar must face the Whale on the wall, and the Snake on the right pillar must face the Snake on the wall. The center pillar selects the iron gate that is to be opened. Above the left gate hangs the Snake, and above the right hangs the Hawk. If you set it to Snake, for example, and pull the lever in the center of the room, the left gate will rise. Afterwards, set it to Hawk and operate the lever once more for the second gate.
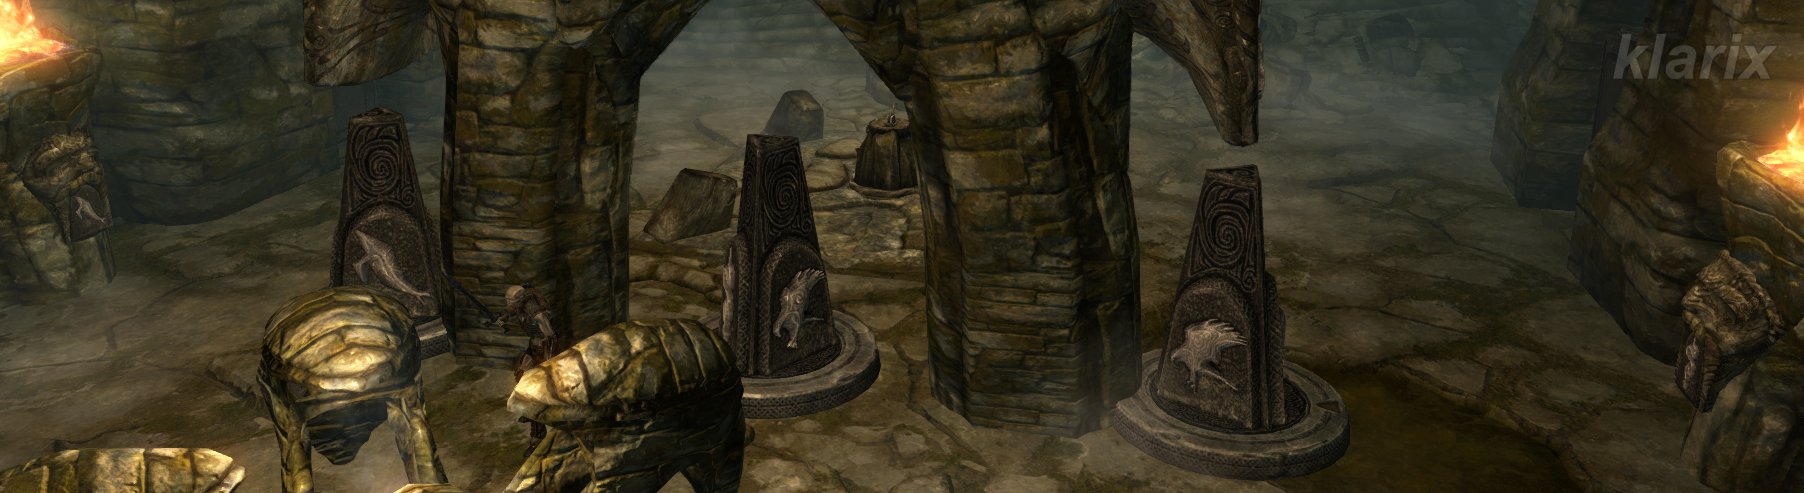 . The Whale on the left pillar must face the Whale on the wall, and the Snake on the right pillar must face the Snake on the wall. The center pillar selects the iron gate that is to be opened. Above the left gate hangs the Snake, and above the right hangs the Hawk. If you set it to Snake, for example, and pull the lever in the center of the room, the left gate will rise. Afterwards, set it to Hawk and operate the lever once more for the second gate.
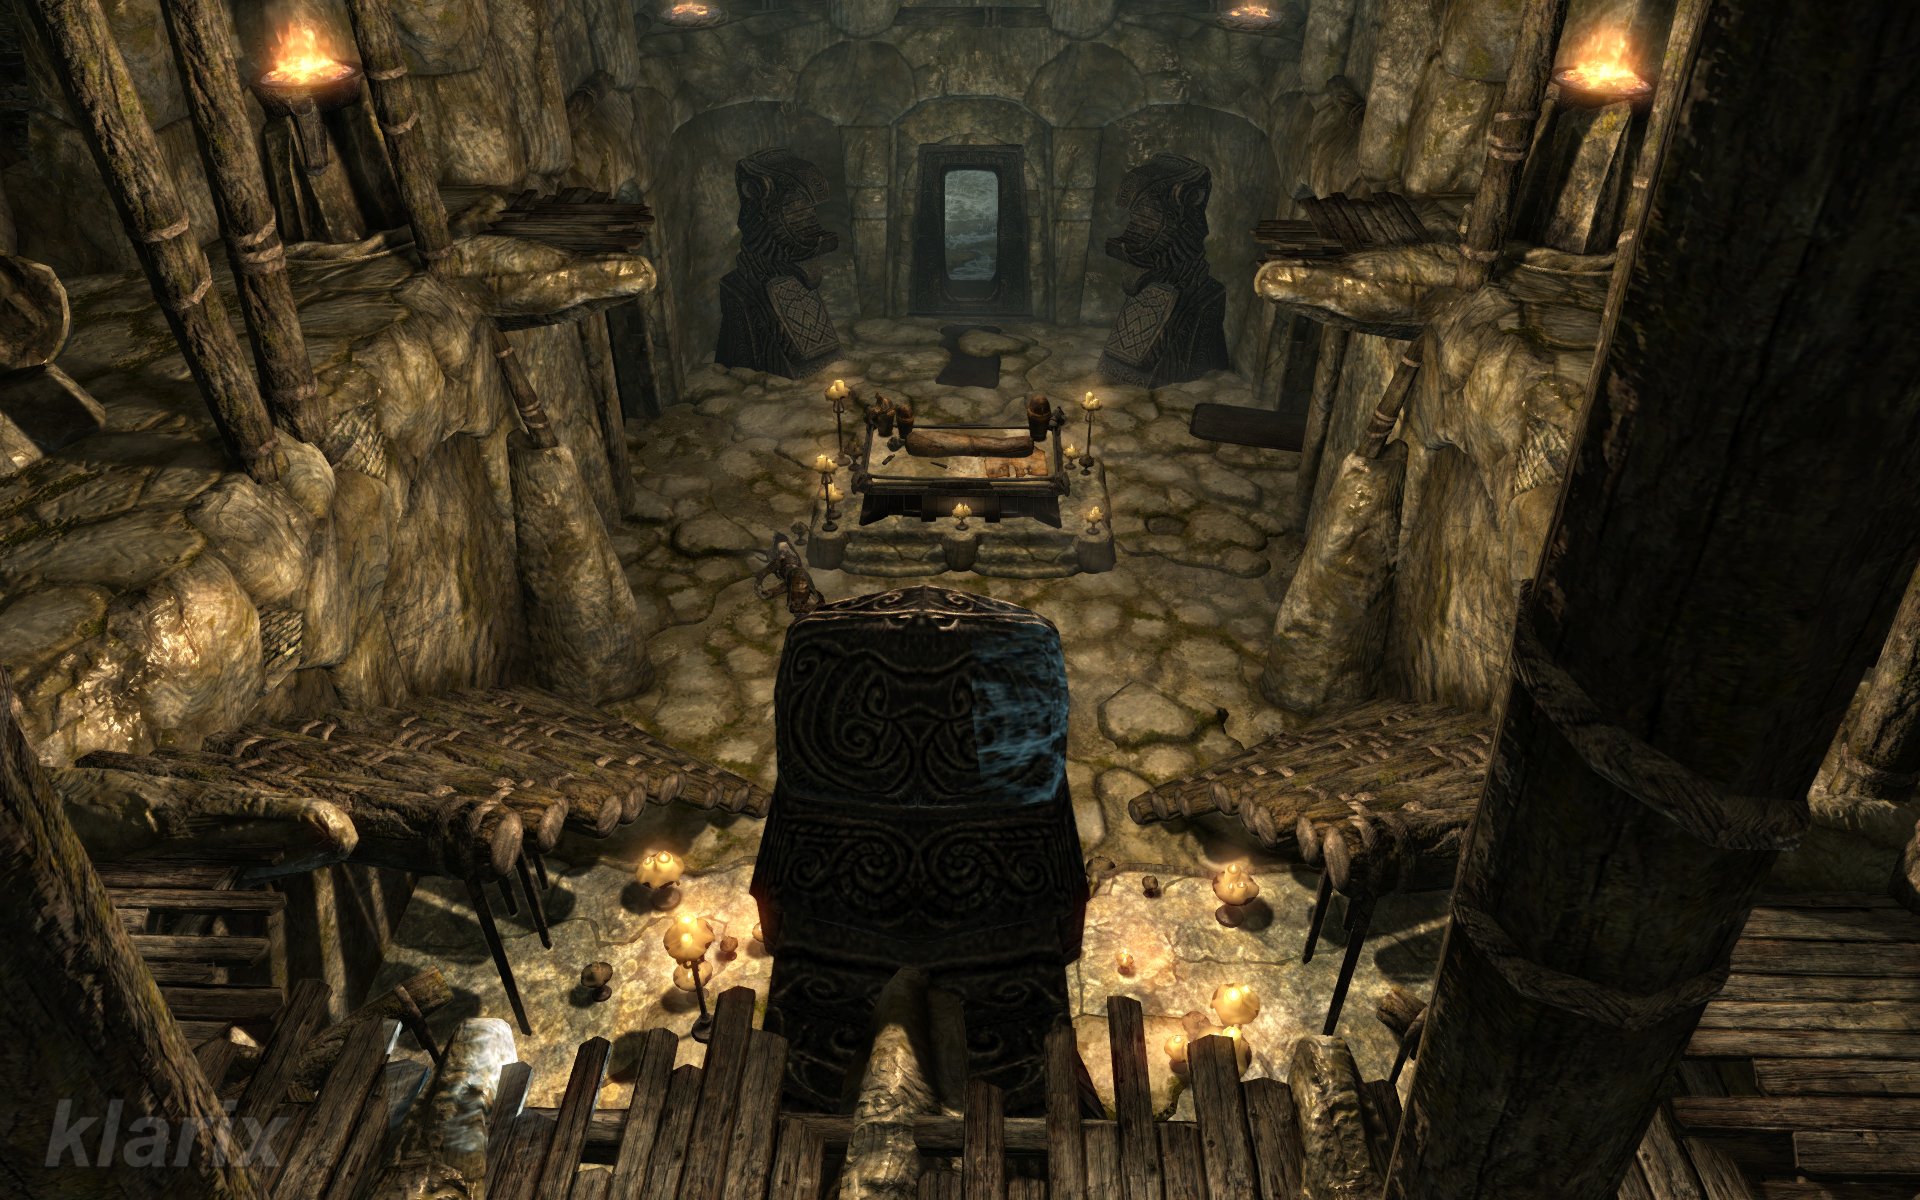 , through which you reach an area infested with frostbite spiders. After that, you come to the next puzzle room containing two small stone bridges. The objective here is to lower a wooden drawbridge to advance to the next area.
 on the left and Hawk
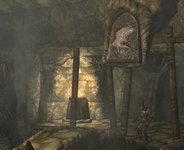 on the right. There is also a third rotating pillar
 on the lower level. This one must be set to match the symbol on the wall beneath the raised wooden bridge – Snake. After doing so, operate the lever on the platform, and the wooden bridge will crash down.
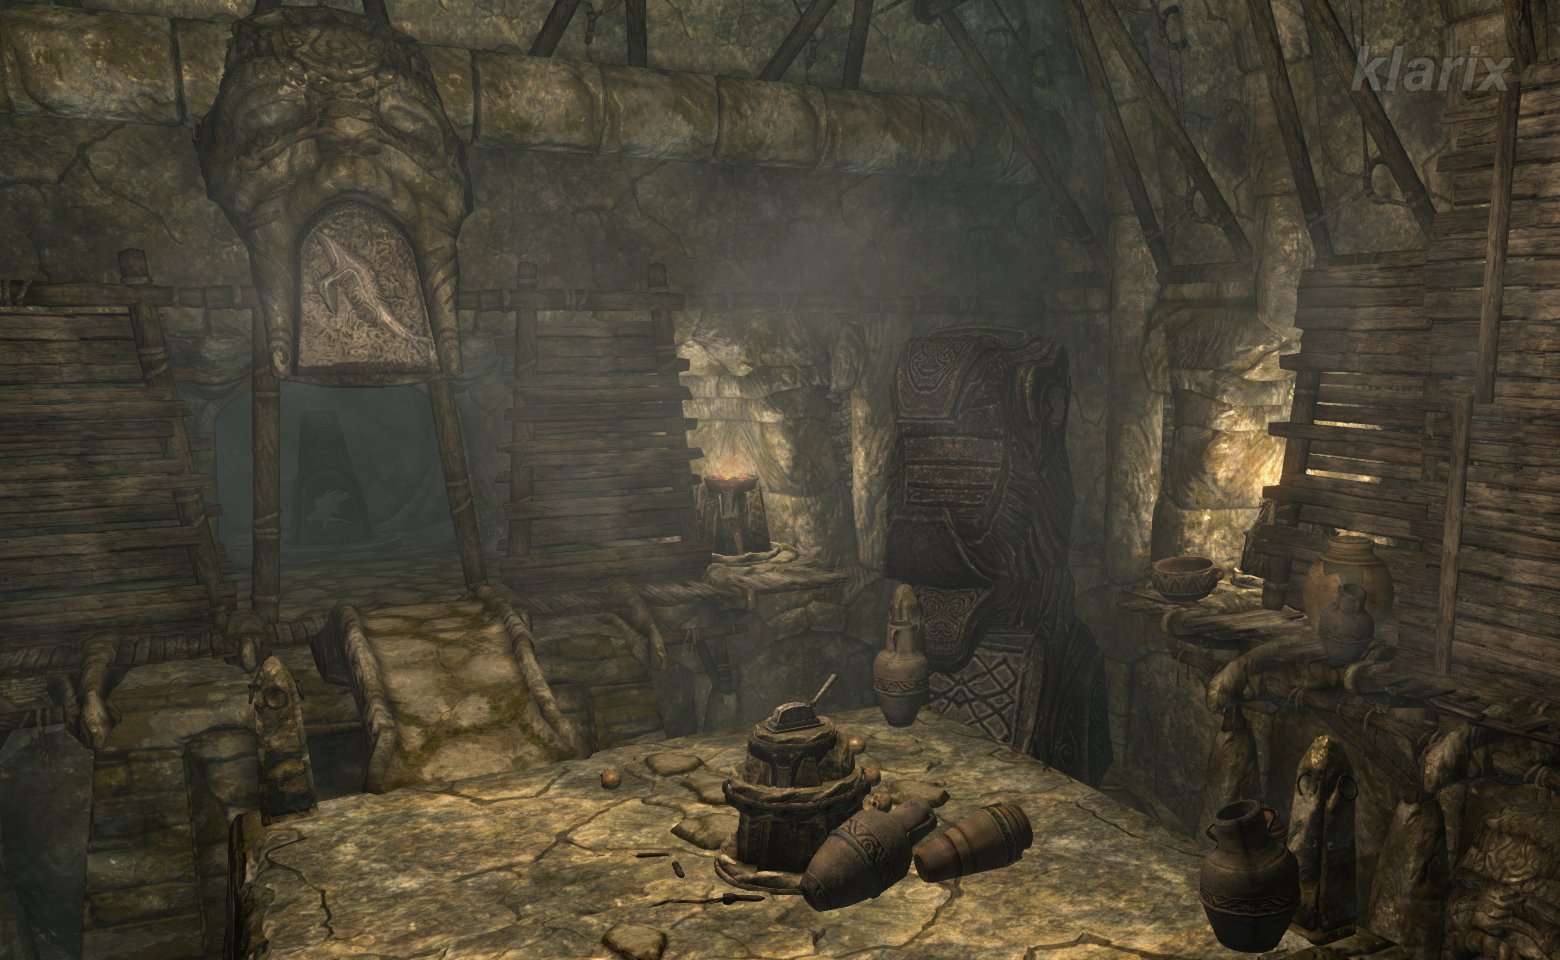 on the left and Hawk
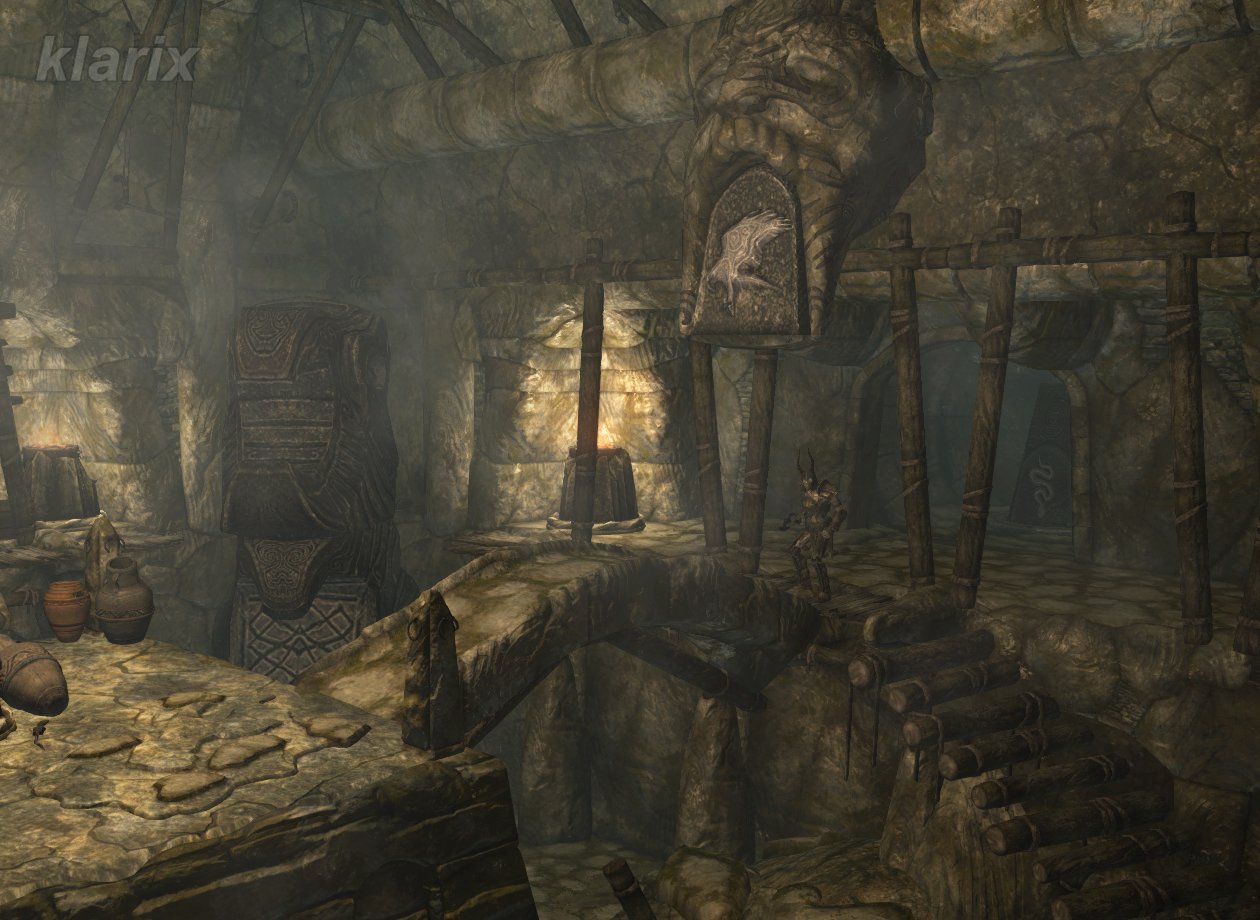 on the right. There is also a third rotating pillar
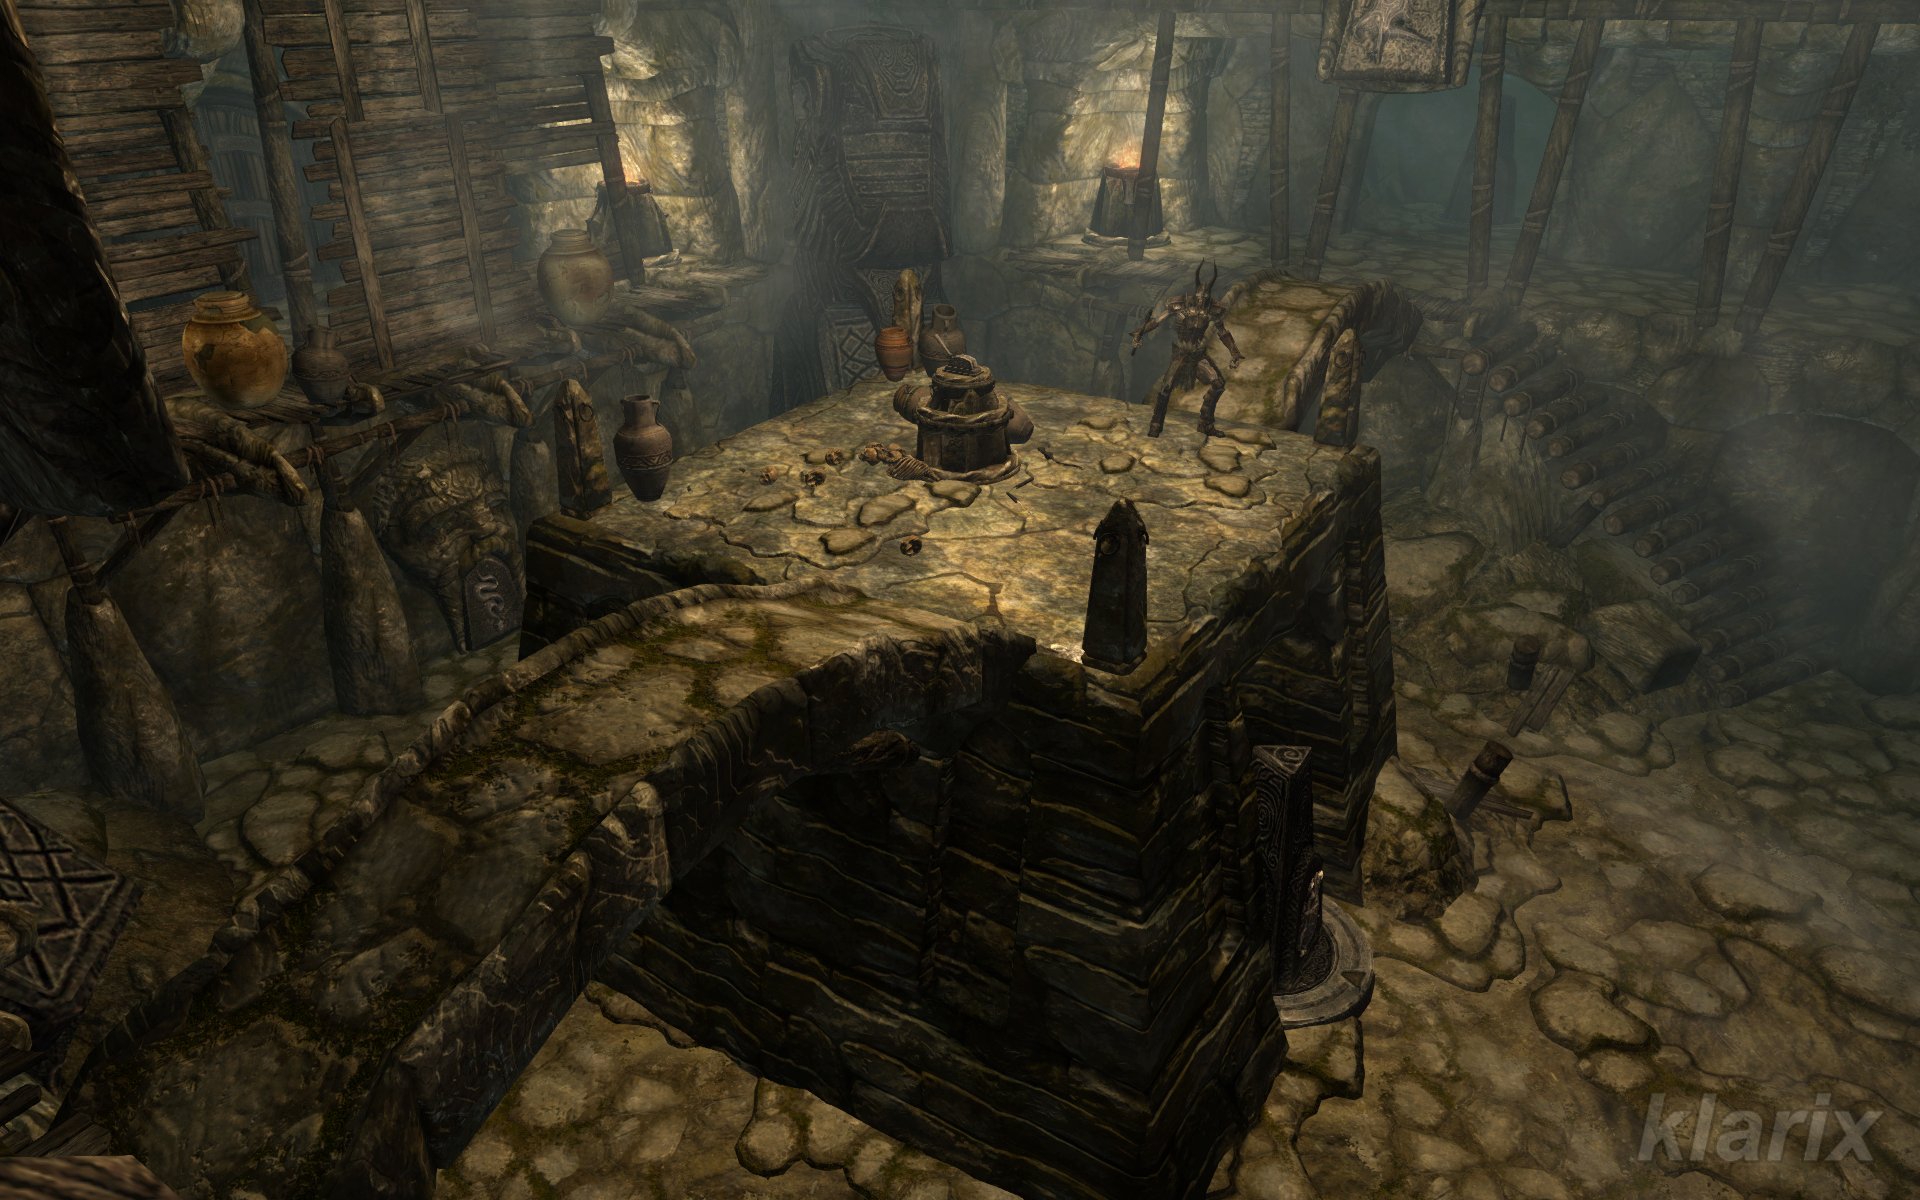 on the lower level. This one must be set to match the symbol on the wall beneath the raised wooden bridge – Snake. After doing so, operate the lever on the platform, and the wooden bridge will crash down.
 . Here too, your quick passage is hindered. Crossing the bridge leads you to a spiral staircase
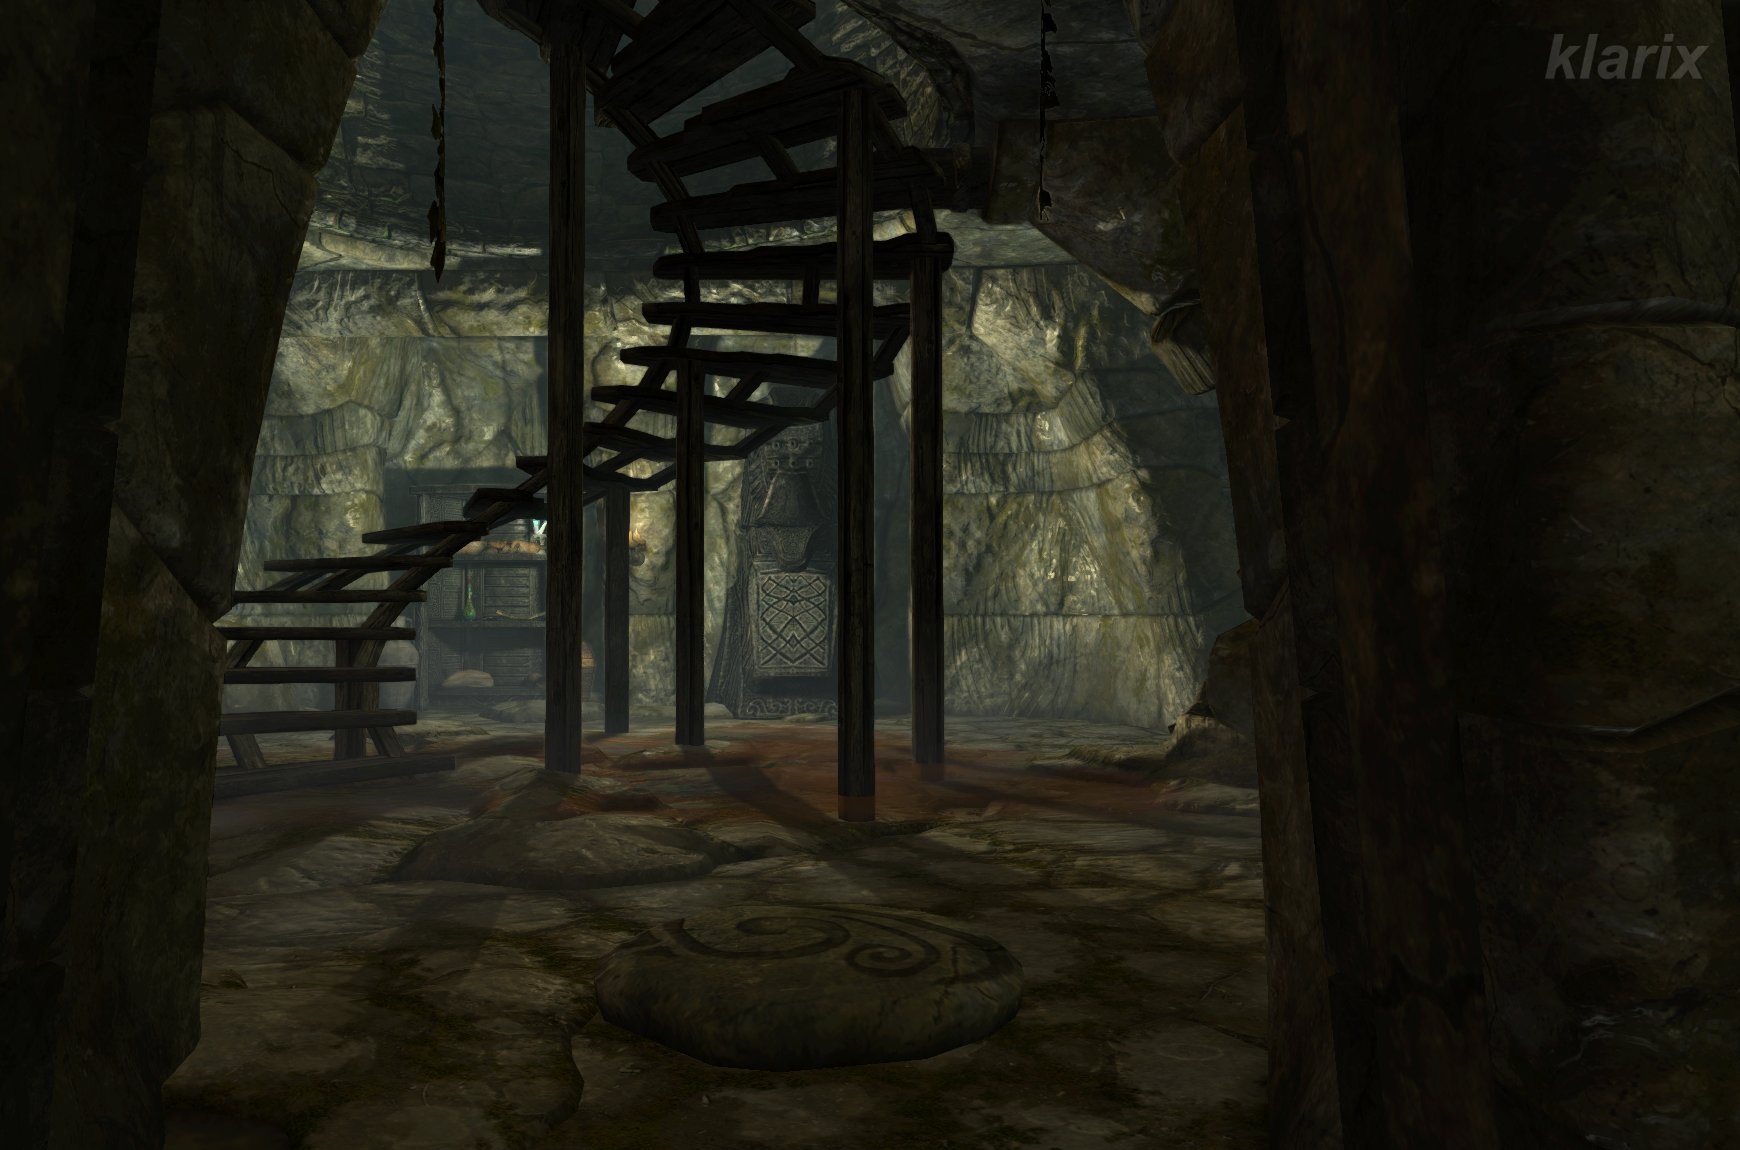 . The pressure plate on the floor triggers a dart trap and ignites the oil on the ground. Draugr already await you at the top, and some archers shoot through openings in the wall. You must eliminate them, as behind that wall lies a lever for a subsequent iron gate. A chest is also located there.
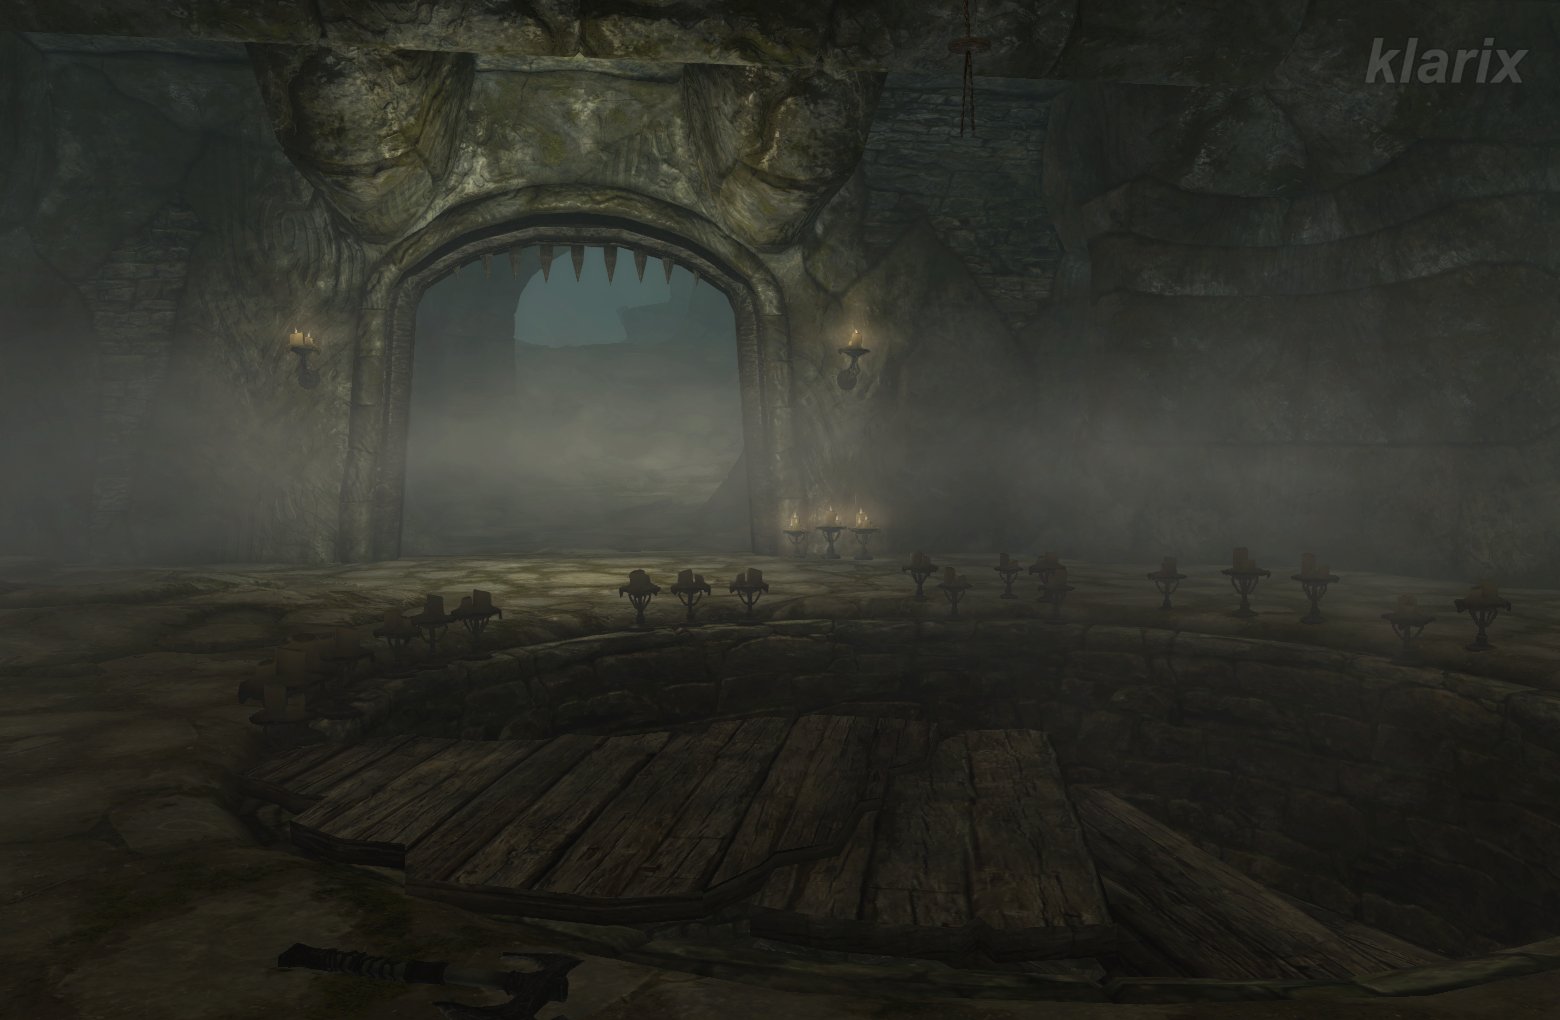 and several winding corridors, you approach a claw puzzle door
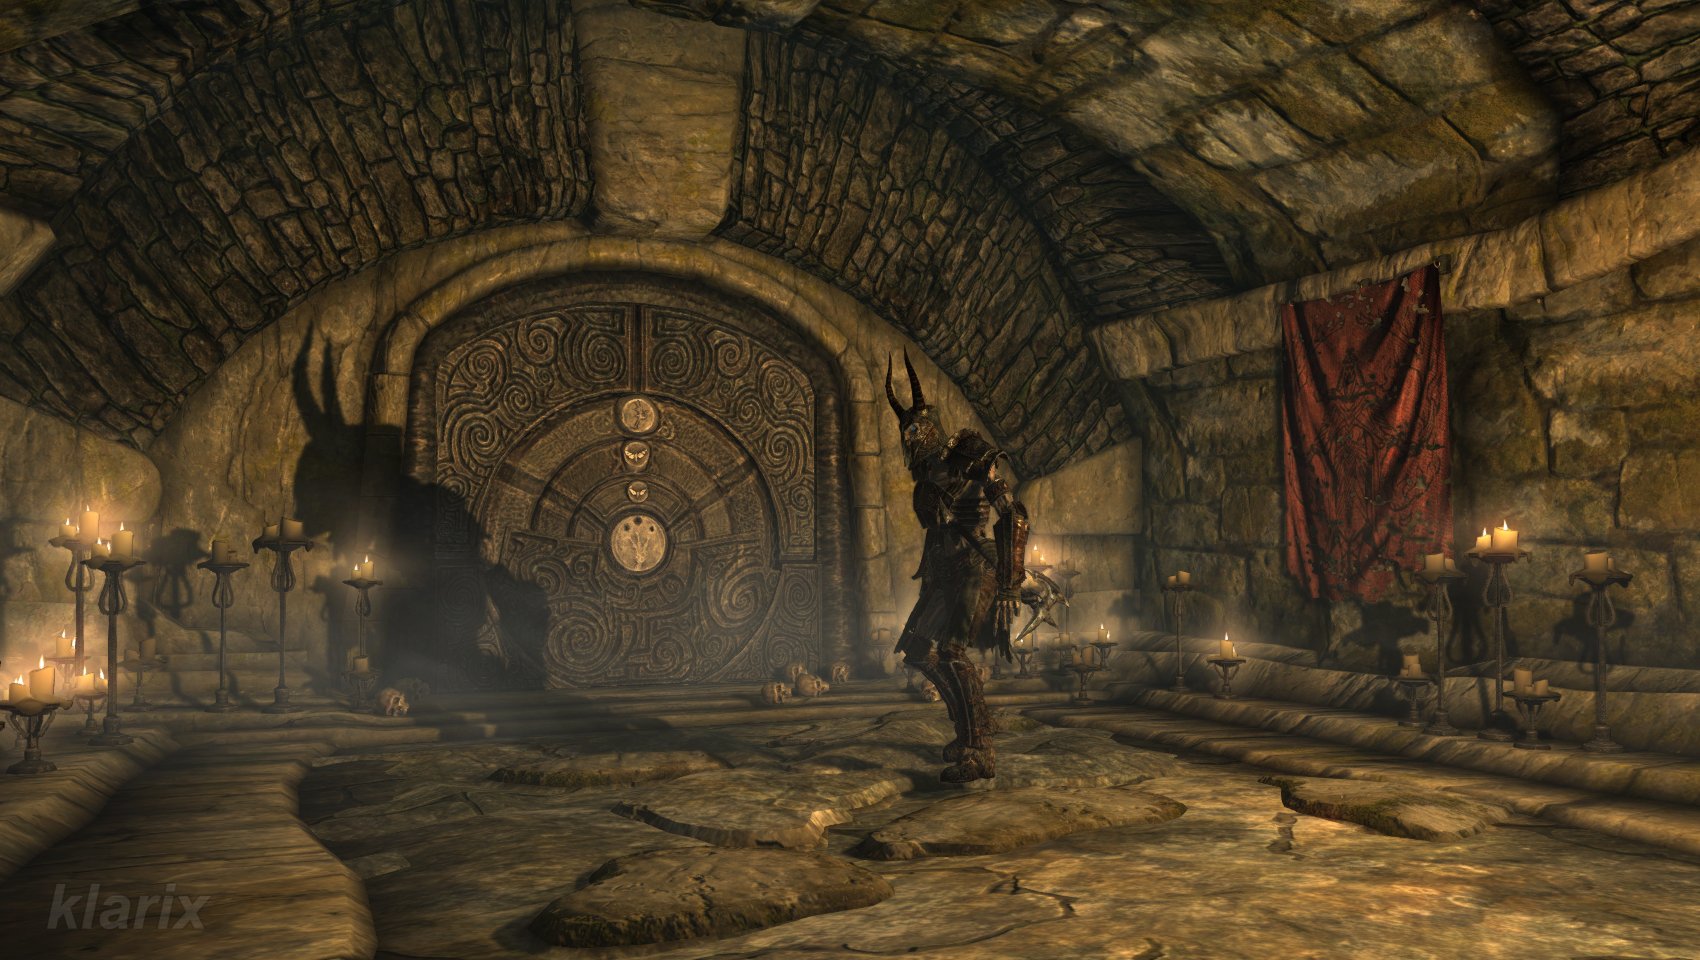 Standing before it is a lone guardian, who is a particularly powerful Draugr.
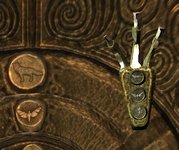 it in your inventory to see the animal symbols that must be set on the door rings: Fox, Moth, Dragon.
 it in your inventory to see the animal symbols that must be set on the door rings: Fox, Moth, Dragon.
 in peace, where the portal 16 to Sovngarde is located. This is guarded by the powerful Dragon Priest Nahkriin
 15.
15. once more.