- Act 1: Quest 3 - Retrieve the Dragonstone and deliver it to Farengar
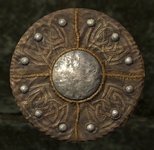
Prerequisites: Completion of the quest "Before the Storm". Quest Giver: Farengar Region: Whiterun, Bleak Falls Barrow Reward: Word of Power FUS, Hide Shield of Fire Resistance (leveled), and permission to purchase property in Whiterun.
Summary: The goal is to retrieve the Dragonstone from Bleak Falls Barrow. Fight several bandits on the way to the barrow; inside, spiders, draugr, and blade traps await. Take the Golden Claw from Arvel and use it to unlock the iron door past the bridge. Behind it is an inscribed dragon word and a Draugr Overlord carrying the Dragonstone, which you then deliver to Farengar in Whiterun.
Completing this quest is considered an achievement
Quest Description
Talk to Farengar
Since Jarl Balgruuf believes he can correctly assess the player's capabilities, you are sent to the court wizard Farengar to complete an important task for him. This task is said to be related to dragons and of great importance. You meet Farengar Secret-Fire in his study and learn that you are to go in search of an ancient stone tablet. This Dragonstone is supposed to contain a map of dragon burial sites in Skyrim and is likely to be found somewhere in the main chamber of the dangerous Bleak Falls Barrow. With the help of the Dragonstone, he hopes to understand why the dragons have returned to Tamriel.
Bleak Falls Barrow. The menacing structure harbors dangers and puzzles.
Retrieve the Dragonstone
Bleak Falls Barrow is an ancient, monumental structure at the peak of the mountain and was erected by the Nords before the Dragon War. The path there is partly the same one you took coming from Riverwood. The access is guarded by bandits, and a few of them also lurk inside the entrance area. The complex is split into two sections, and you initially enter the temple area. You can sneak past the bandits in the entrance room or fight them. Fortunately, only two are sitting by the fire, while two others are already dead.
After passing the entrance area, the path leads down through a tunnel. A few corridors further, you approach a room where a bandit outlaw is attempting to open a gated door. However, the opening mechanism is linked to a puzzle that he failed to solve - he is killed by a dart trap. If you look around the room, the solution is not difficult.
Puzzle Solution
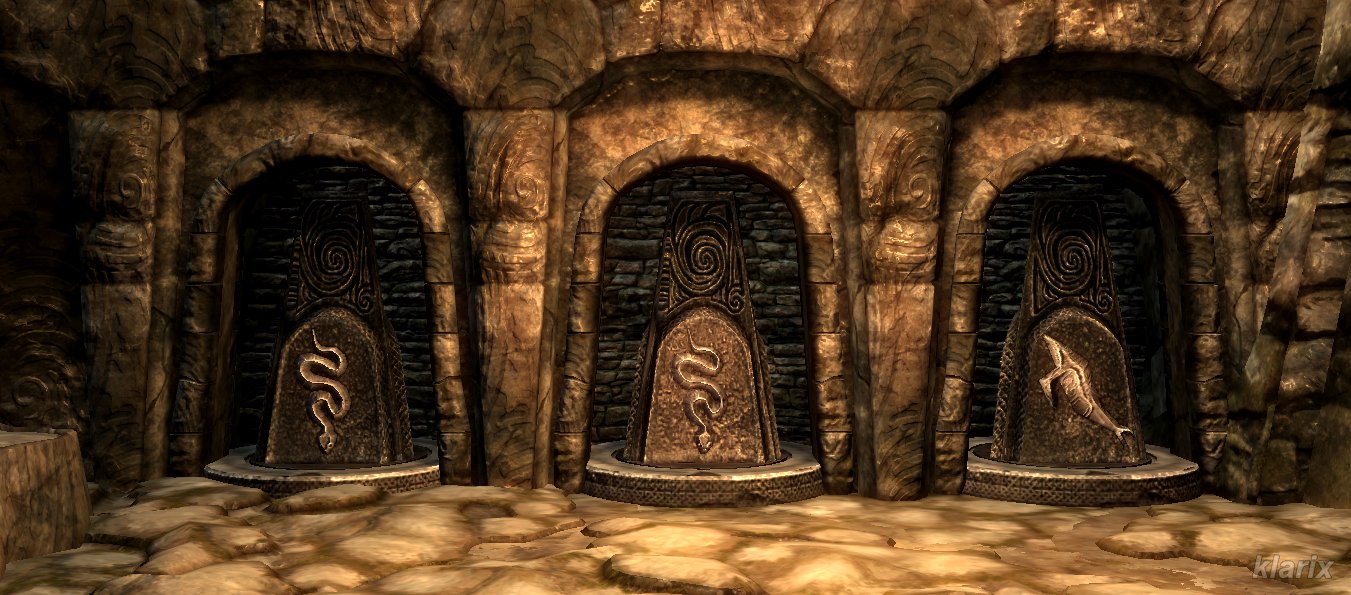
On the left side of the room, three three-sided, rotating pillars are embedded into the wall. Each side depicts an animal, and you must set the correct combination of three animals. The correct order of the animals is shown above the gated door (the middle emblem has broken off from the wall and lies on the floor next to the lever). Thus, the pillars must be rotated into the following order: Snake–Snake–Whale
In the room behind the gated door, a wooden spiral staircase leads down, where unfriendly creatures lurk. The corridor below ends in thick cobwebs that seemingly prevent passage into the next room to the north. You can only hear the shouts of a man who wants to be freed. Passage is, of course, possible.
Getting Through
You can cut through or burn the cobwebs. If you cannot or do not want to cast spells, you can use the scroll that can be found upstairs in the room behind the gated door.
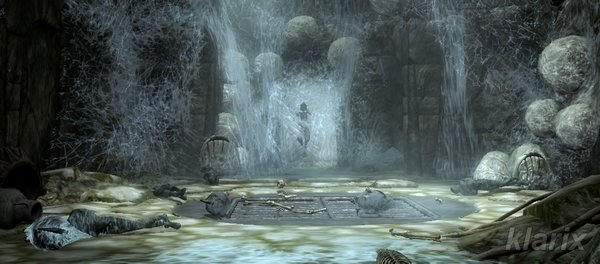
The frostbite spider nest with the ensnared Arvel.
As soon as you enter the room, a giant Frostbite Spider descends from the ceiling. Fortunately, it is already wounded, and after defeating it, you turn your attention to Arvel the Swift, who is crying out for help. He is hanging in the cobwebs and cannot move. He thanks you for killing the spider and begs to be freed. He also admits to possessing the Golden Claw and knows what it is used for. However, the moment you cut him down, he becomes dismissive and runs away.
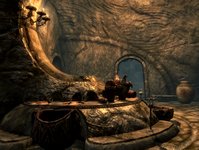
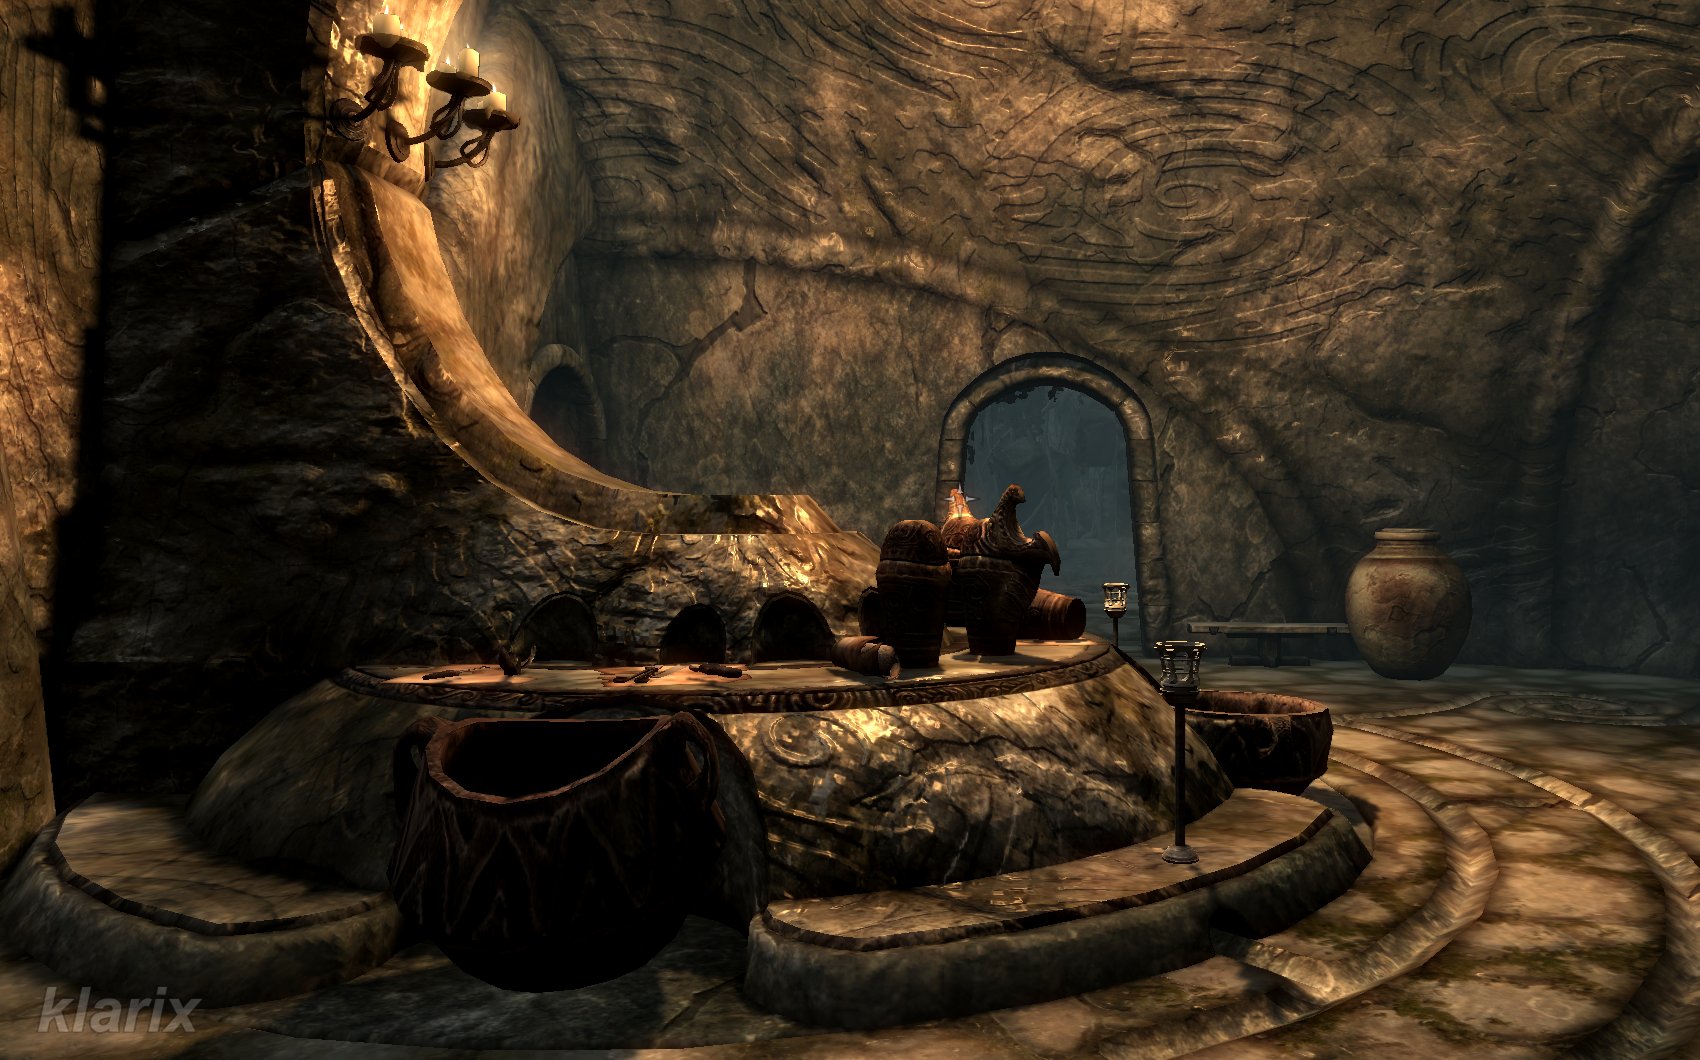
The next room apparently served for the preparation and embalming of the dead. Several corresponding tools are still lying there. If you proceed, you will awaken some of those interred here and must defeat them. Arvel has already been stopped by them, and you can now retrieve the Golden Claw from his body. At the exit of the burial hall, there is a pressure plate in the floor which you should avoid. You should also pass quickly through the exit of the next burial chamber, timing your movement between the swinging blades. You enter a room entwined with roots and partially collapsed, and follow the course of the stream through the iron gate. The stream originates from a waterfall in the next room, from which you can look down into a gorge. A pathway to the south leads down into this gorge, where a treasure chest is hidden in the depths. You leave the gorge heading north and encounter a Restless Draugr guarding the exit from the temple area.
In the next area - the Bleak Falls Sanctum - you must once again pass swinging blades to enter a larger room with several Draugr. You need to cross the bridge above the room and pass through an iron door to enter the Hall of Stories. Walking past walls adorned with reliefs, you arrive at a unique door with another animal puzzle lock.
Puzzle Solution
It is obvious that you need to insert the Golden Claw into the lock. However, before doing so, you must set the three rings with the animal symbols correctly. The correct order of the animals is provided by the claw itself - simply view the back of the claw in your inventory and set the animal rings accordingly. This hint is also mentioned in Arvel's journal. After that, you only need to activate the lock, and the door will lower.
The large cavern room at the end is guarded by a Draugr Overlord.
In the large room at the end of the area, there is a Word Wall with inscribed Words of Power. As you approach the wall, the word FUS (Force) lights up, and you have learned it. It is the first word of the dragon shout "Unrelenting Force". However, you will not be able to take this secret with you that easily. You have awakened the guardian of this shrine - a Draugr Overlord. Once you defeat him, you will obtain his enchanted weapon and the sought-after Dragonstone.
Deliver the Dragonstone to Farengar
A final corridor leads to a small room with a chest. Here, you must jump down from the rocks and cannot return - the only way left is outside.
Back in Whiterun, you will find Farengar in his study. He is talking to a woman about the return of the dragons. As soon as he notices you, he accepts the Dragonstone and speaks praising words. With this, the task is complete, and the next quest starts immediately. You will receive your reward for completing the assignment as soon as the next task is explained by the Jarl.
Known Bugs
If you learn the Word of Power while in sneak mode to surprise the Draugr Overlord with an attack, it can happen that you cannot search his corpse - making the Dragonstone inaccessible and the quest uncompletable. PC players can use the "resurrect" console command to restart the fight and obtain the Dragonstone. Alternatively, you can save and reload your game, after which the corpse can be searched.
Tips & Notes
Before leaving Dragonsreach for the barrow, you can stock up on magical equipment from Farengar. He offers plenty of spell tomes from various schools of magic.
You are also allowed to use the Arcane Enchanter located there.
Farengar knows quite a bit about the Dragon War - you just have to ask him.
If you spoke with Lucan Valerius in Riverwood about the Golden Claw, that side quest can be completed here at the same time.
If you snaked past the bandits in the entrance hall, you can close the puzzle gated door from the other side just to be safe.
In the temple section of the barrow, shortly before the room with the webbed-up Arvel, a chest lies barely visible behind the cobwebs to the east.
On many Draugr, whether awakened or not, you can find useful items and gold coins.
During battles against the Draugr, you can use the environment to your advantage: pressure plates triggering traps, slashing blade traps, and oil pools that can be set on fire.
In the final room, a flock of bats sometimes flies overhead. Chests are hidden behind the Word Wall to both the left and right. There are also valuable potions on the ground, but they are very difficult to see.
The Draugr Overlord uses the dragon shout "Unrelenting Force", specifically with the second Word of Power: RO. He might also call out the third word, DAH, but with a strange pronunciation. This would imply that he also shouts the first word, FUS, though it cannot be heard.
It is also possible to explore the barrow before starting the quest and find the Dragonstone. In that case, the stone can be handed over to Farengar immediately after he assigns the task.


 (leveled), and permission to purchase property in Whiterun.
 in his study and learn that you are to go in search of an ancient stone tablet. This Dragonstone is supposed to contain a map of dragon burial sites in Skyrim and is likely to be found somewhere in the main chamber of the dangerous Bleak Falls Barrow. With the help of the Dragonstone, he hopes to understand why the dragons have returned to Tamriel.
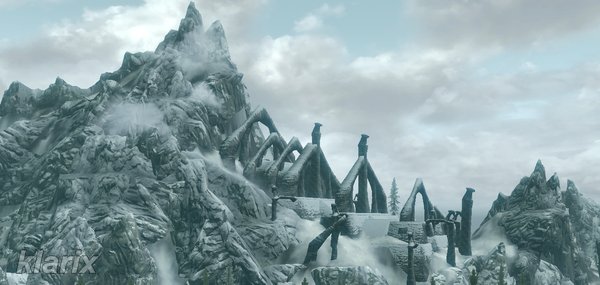
 apparently served for the preparation and embalming of the dead. Several corresponding tools
 are still lying there. If you proceed, you will awaken some of those interred here and must defeat them. Arvel has already been stopped by them, and you can now retrieve the Golden Claw from his body. At the exit of the burial hall, there is a pressure plate in the floor which you should avoid. You should also pass quickly through the exit of the next burial chamber, timing your movement between the swinging blades. You enter a room entwined with roots and partially collapsed, and follow the course of the stream through the iron gate. The stream originates from a waterfall in the next room, from which you can look down into a gorge. A pathway to the south leads down into this gorge, where a treasure chest is hidden in the depths. You leave the gorge heading north and encounter a Restless Draugr guarding the exit from the temple area.
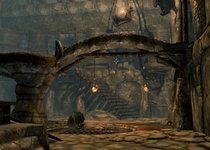 with several Draugr. You need to cross the bridge above the room and pass through an iron door to enter the Hall of Stories. Walking past walls adorned with reliefs, you arrive at a unique door
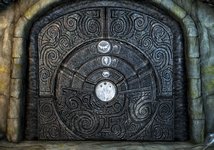 with another animal puzzle lock.
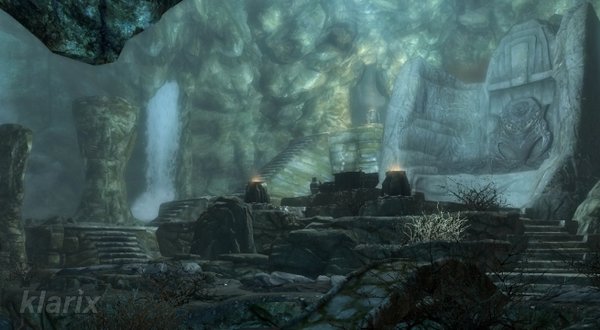
 . Once you defeat him, you will obtain his enchanted weapon and the sought-after Dragonstone
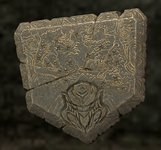 .
. in his study and learn that you are to go in search of an ancient stone tablet. This Dragonstone is supposed to contain a map of dragon burial sites in Skyrim and is likely to be found somewhere in the main chamber of the dangerous Bleak Falls Barrow. With the help of the Dragonstone, he hopes to understand why the dragons have returned to Tamriel.
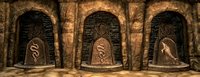
 apparently served for the preparation and embalming of the dead. Several corresponding tools
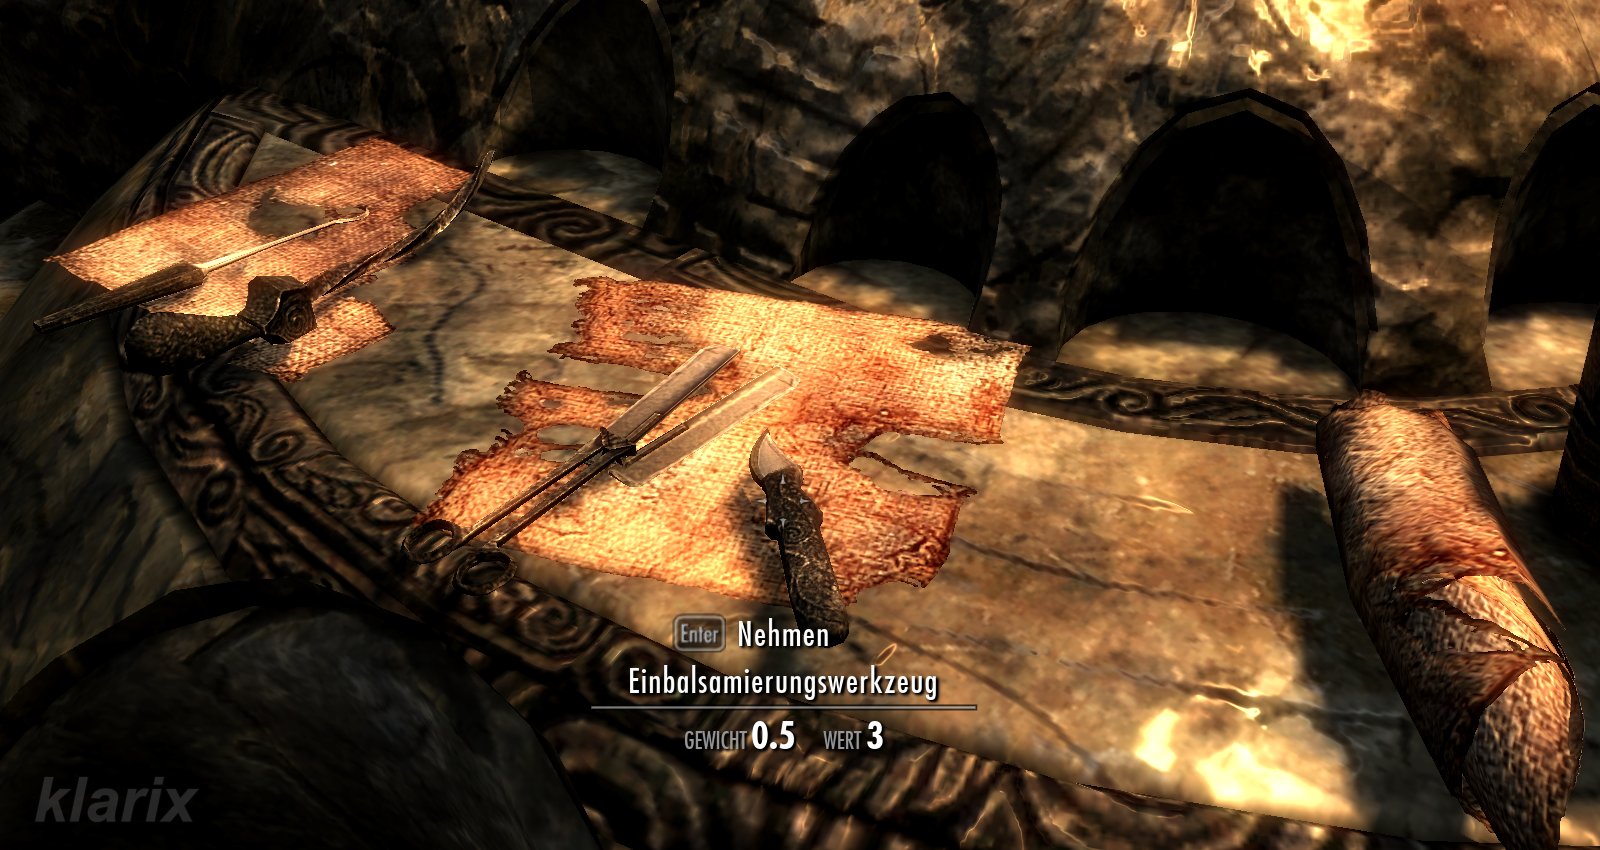 are still lying there. If you proceed, you will awaken some of those interred here and must defeat them. Arvel has already been stopped by them, and you can now retrieve the Golden Claw from his body. At the exit of the burial hall, there is a pressure plate in the floor which you should avoid. You should also pass quickly through the exit of the next burial chamber, timing your movement between the swinging blades. You enter a room entwined with roots and partially collapsed, and follow the course of the stream through the iron gate. The stream originates from a waterfall in the next room, from which you can look down into a gorge. A pathway to the south leads down into this gorge, where a treasure chest is hidden in the depths. You leave the gorge heading north and encounter a Restless Draugr guarding the exit from the temple area.
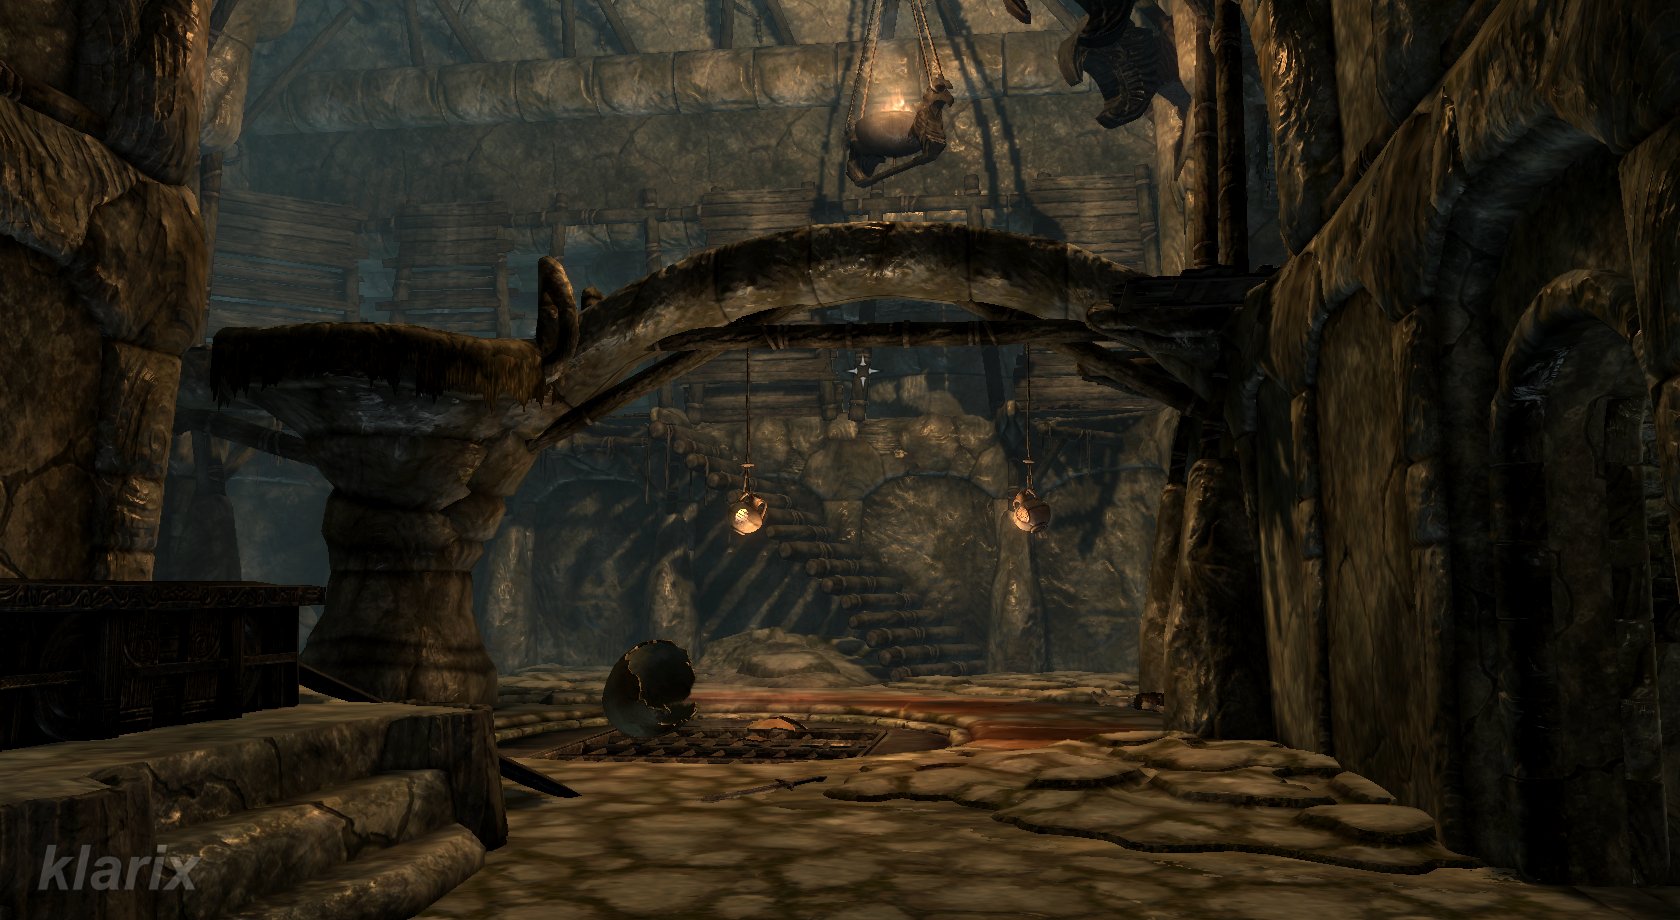 with several Draugr. You need to cross the bridge above the room and pass through an iron door to enter the Hall of Stories. Walking past walls adorned with reliefs, you arrive at a unique door
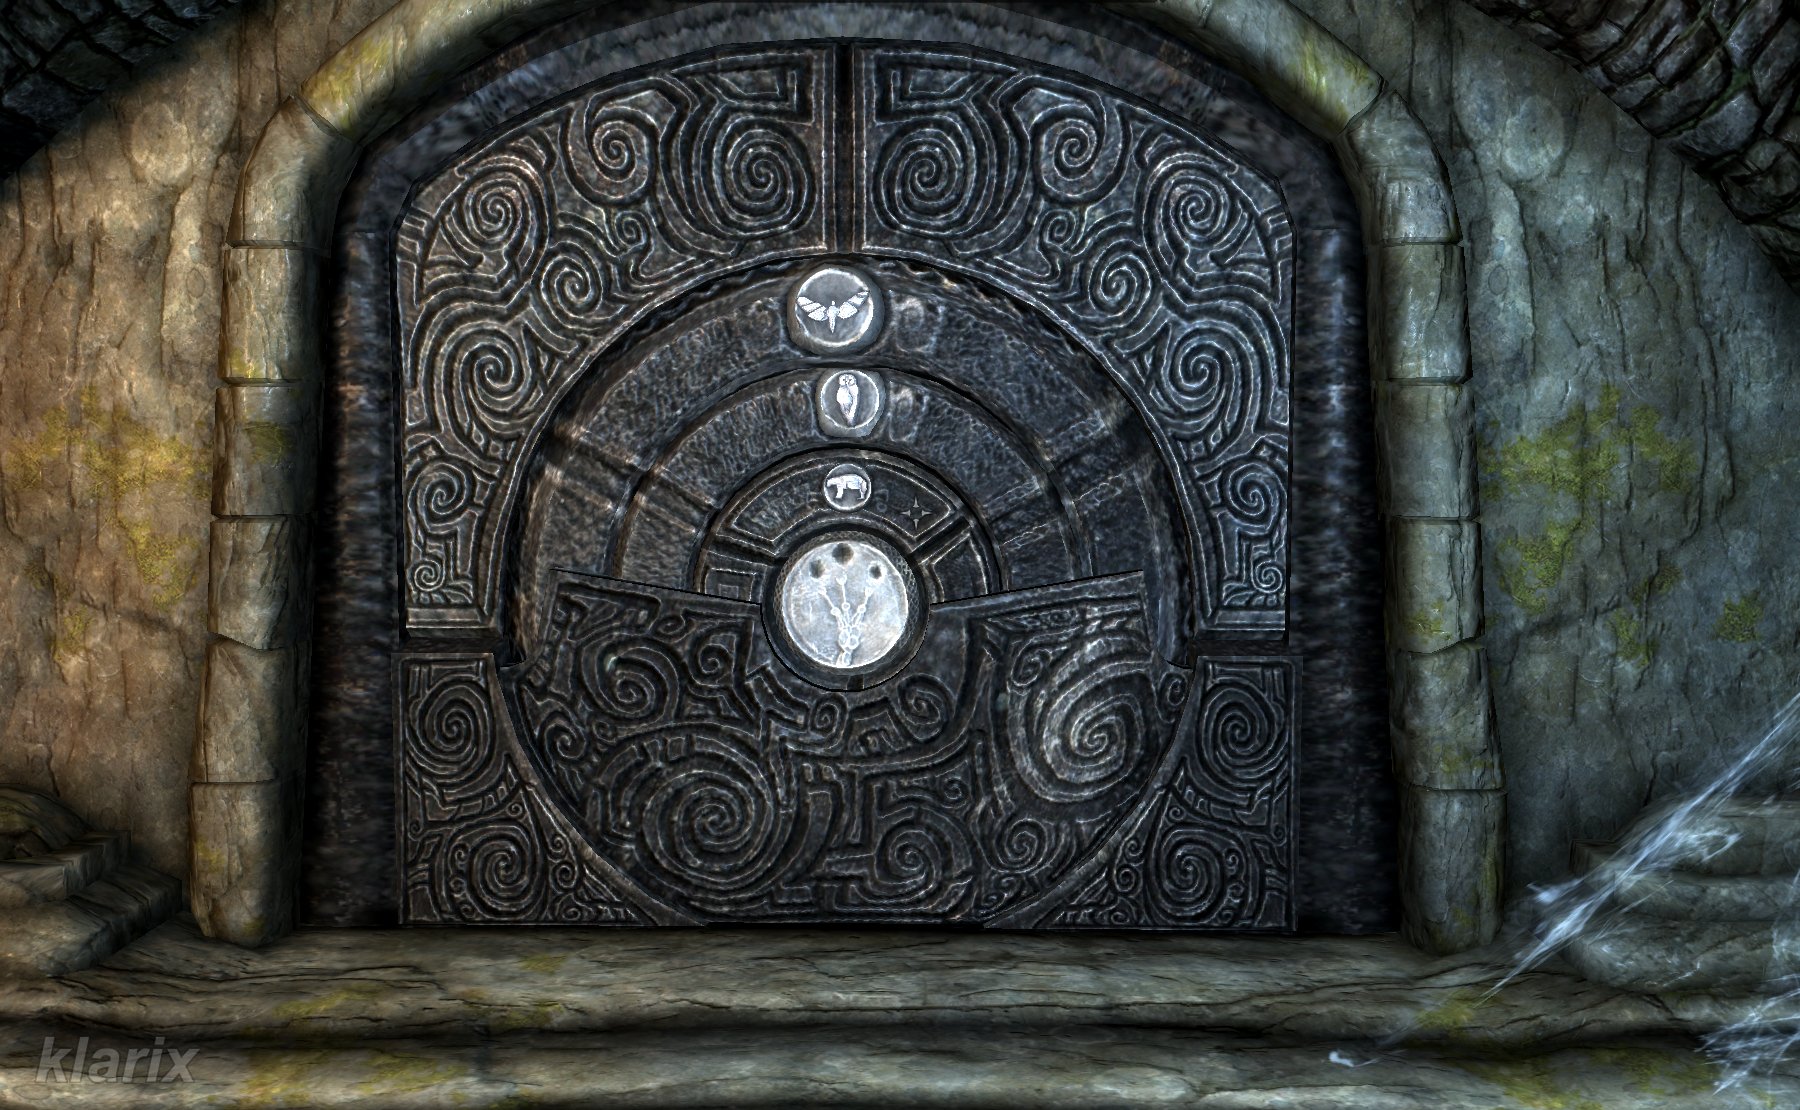 with another animal puzzle lock.
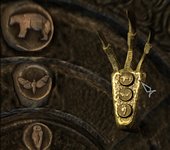 . This hint is also mentioned in Arvel's journal. After that, you only need to activate the lock, and the door will lower.
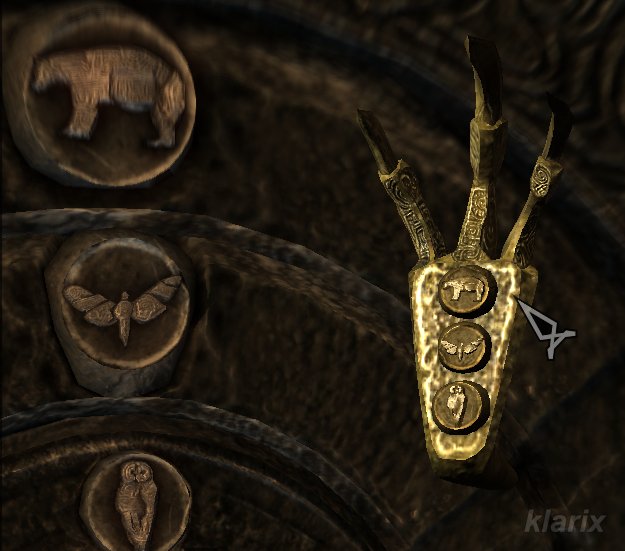 . This hint is also mentioned in Arvel's journal. After that, you only need to activate the lock, and the door will lower.
 . Once you defeat him, you will obtain his enchanted weapon and the sought-after Dragonstone
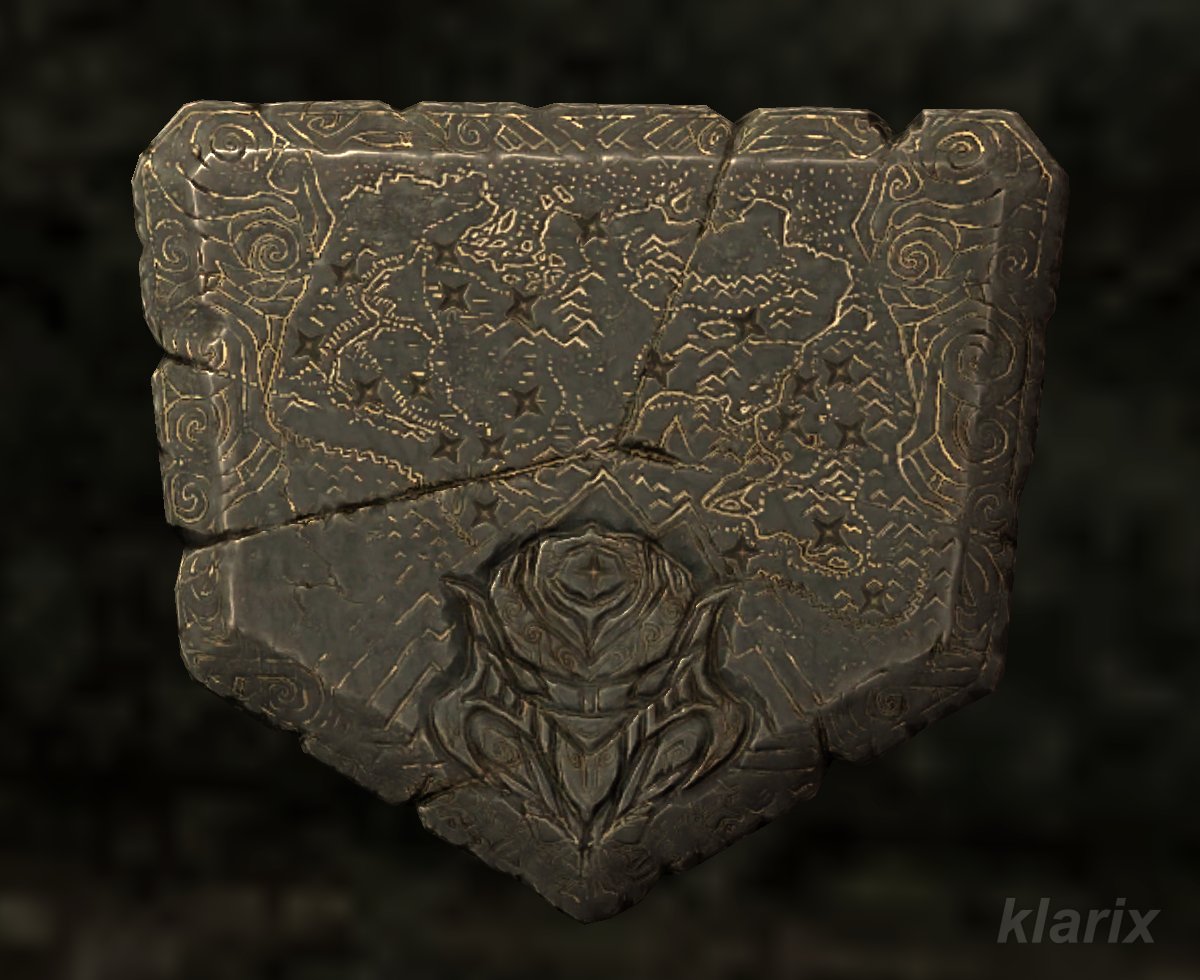 .
.