- Act 1: Quest 1 - Fighting the way to freedom across Helgen
Prerequisites: (none) Quest Giver: (self) Region: Town of Helgen Reward: (escaped with your life)
Summary: The goal is to escape the dragon's attack. In the process, you can choose to follow the Stormcloak rebel Ralof or the Imperial soldier Hadvar. After facing several enemies in underground areas and gathering your first loot, you emerge into daylight with your companion.
Completing this quest is considered an achievement
Quest Description
Introduction
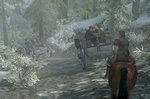
An Imperial prisoner transport is on its way to the town of Helgen to execute the prisoners. In the carriage next to the player sit the Nordic Stormcloak rebel Ralof of Riverwood, the Redguard horse thief Lokir, and the gagged Ulfric Stormcloak, Jarl of Windhelm. In the carriage ahead of them sit another four prisoners. The convoy to Helgen is led by the military commander General Tullius, and the escort includes the Imperial soldier Hadvar and two other soldiers.
Prisoner transport to Helgen. True to tradition, the player is part of it.
After the player wakes up, a conversation develops between Ralof and Lokir, providing the first pieces of information about the situation. The carriages arrive in Helgen, and the prisoners are called forward individually. Lokir attempts to flee and is killed by an archer. Strangely enough, the player is not on the list and must step forward to introduce themselves ★.
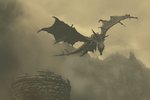
Once the player's origins are clarified, the first Nord is brought before the executioner. The execution is overseen by General Tullius, whom Ralof believes is working with the Thalmor. During the General's address, it becomes clear why Ulfric is gagged - he is a master of the Thu'um. Suddenly, the first dragon shout is heard from afar, yet the execution continues, and the Nord is beheaded. The player is next in line, but right before their end, a huge black dragon lands on the tower, causing chaos with its devastating roar. It is the divine Alduin, the World-Eater.
Make it to the Keep
Everyone is running for their lives or trying to fend off the dragon attacks. In the confusion, Ralof urges the player to come with him ★. You find refuge in a watchtower, where Ulfric Stormcloak is already present ★. Ralof runs up the stairs and advises the player to jump out of the window to get to safety, saying he will join the player later. You must jump into the upper floor of the destroyed inn to cross over to the other side of the village.
The black dragon devastates the town of Helgen.
There, Hadvar is busy bringing a young boy to safety. He then intends to look for General Tullius and shouts to the player to follow him. You should do exactly that. While the dragon continues his attacks, the two of you move past casualties, charred corpses, and destroyed buildings toward a courtyard in front of the fortress, where you encounter Ralof once again.
Enter the Keep with Hadvar or Ralof
Both run to different entrances and urge the player to follow. The player must now choose between the Imperial soldier and the Stormcloak rebel. The path through the keep is identical after a few steps, but the enemies and allies differ. While this choice impacts the civil war quests, you can still switch sides later on.
Escape Helgen
Your respective companion cuts your bindings and immediately advises you to look around for useful items: Hadvar suggests searching the chests, while Ralof urges you to take the armor of his fallen comrade Gunjar ★. There are also books lying around here and there, some of which are spell tomes.
You can throw yourself into every battle to practice your combat skills. However, you can also let Hadvar or Ralof handle all the fighting while you explore every corner at your leisure. Especially in the frostbite spider cavern, you should let your companion go first - both are strong and well-equipped, while you are still relatively inexperienced and vulnerable.
In the bear's cave, your companion advises caution and recommends not waking the bear. So, you either sneak past her or engage in battle. A few cavern passageways further, the exit becomes visible.
Finally, daylight is visible again, which means freedom.
As soon as you are outside again, you see the dragon flying away, and the quest is considered complete. The next quest begins automatically, leading the player to Riverwood first.
Tips & Notes
It immediately stands out that by now, people refer to the "Eight Divines" as a matter of course.
The dragon devastates Helgen using the shout YOL TOOR SHUL (Fire Breath).
In the rooms and corridors of the keep, you can equip yourself with your first items: weapons, clothing/armor, arrows, gold coins, potions, and lockpicks.
In the torture chamber and the cell block, you have the opportunity to level up your Lockpicking skill - there are also a few useful items to be found there.
If you are unsure which side you want to join in the end, you can also find neutral clothing/armor, so you are not immediately perceived as an enemy by either faction.
You will automatically receive a bow from your companion in the bear's cave.
The bear provides an excellent opportunity to practice your Sneak skill. It is not necessary to sneak toward the exit right away - you can also sneak against the wall or around the rocks until you have leveled up the skill a few times. Afterward, you still have the option to fight the bear.
Character creation takes place here.
You can select your race, gender, and appearance.
Up to this point, the player was immobile
and controlled by the game script -
only the camera direction could be turned.
From here on, you can control the player character,
but apart from the settings, you cannot open any menus yet.
This is where the first quest of the main plot officially begins
and the first quest objective is activated: "Make it to the Keep"
From this point onward, the game menus can be accessed:
Inventory, Magic, Skills (Perks)/Stats, and the Map.


 is led by the military commander General Tullius, and the escort includes the Imperial soldier Hadvar and two other soldiers.
 individually. Lokir attempts to flee and is killed by an archer. Strangely enough, the player is not on the list
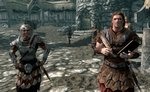 and must step forward to introduce themselves ★.
 . The execution is overseen by General Tullius, whom Ralof believes is working with the Thalmor. During the General's address, it becomes clear why Ulfric is gagged
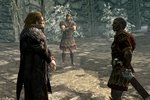 - he is a master of the Thu'um. Suddenly, the first dragon shout is heard from afar, yet the execution continues, and the Nord is beheaded. The player is next in line, but right before their end, a huge black dragon lands on the tower, causing chaos with its devastating roar. It is the divine Alduin
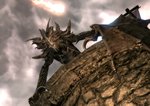 , the World-Eater.
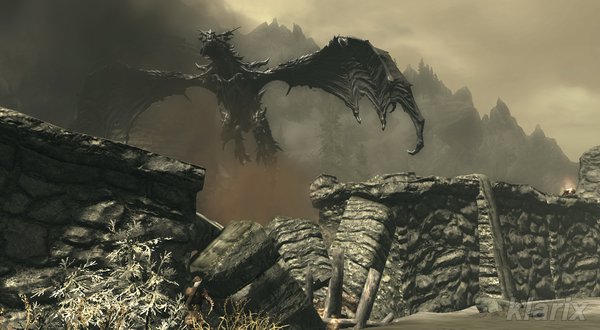
 , the two of you move past casualties, charred corpses, and destroyed buildings toward a courtyard in front of the fortress, where you encounter Ralof once again.
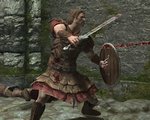 or Ralof
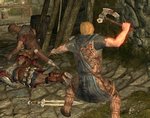 handle all the fighting while you explore every corner at your leisure. Especially in the frostbite spider cavern
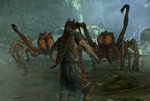 , you should let your companion go first - both are strong and well-equipped, while you are still relatively inexperienced and vulnerable.
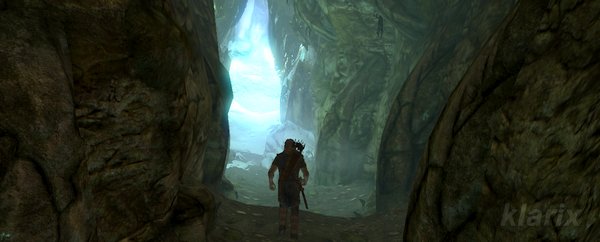
 is led by the military commander General Tullius, and the escort includes the Imperial soldier Hadvar and two other soldiers.
 individually. Lokir attempts to flee and is killed by an archer. Strangely enough, the player is not on the list
 and must step forward to introduce themselves ★.
 . The execution is overseen by General Tullius, whom Ralof believes is working with the Thalmor. During the General's address, it becomes clear why Ulfric is gagged
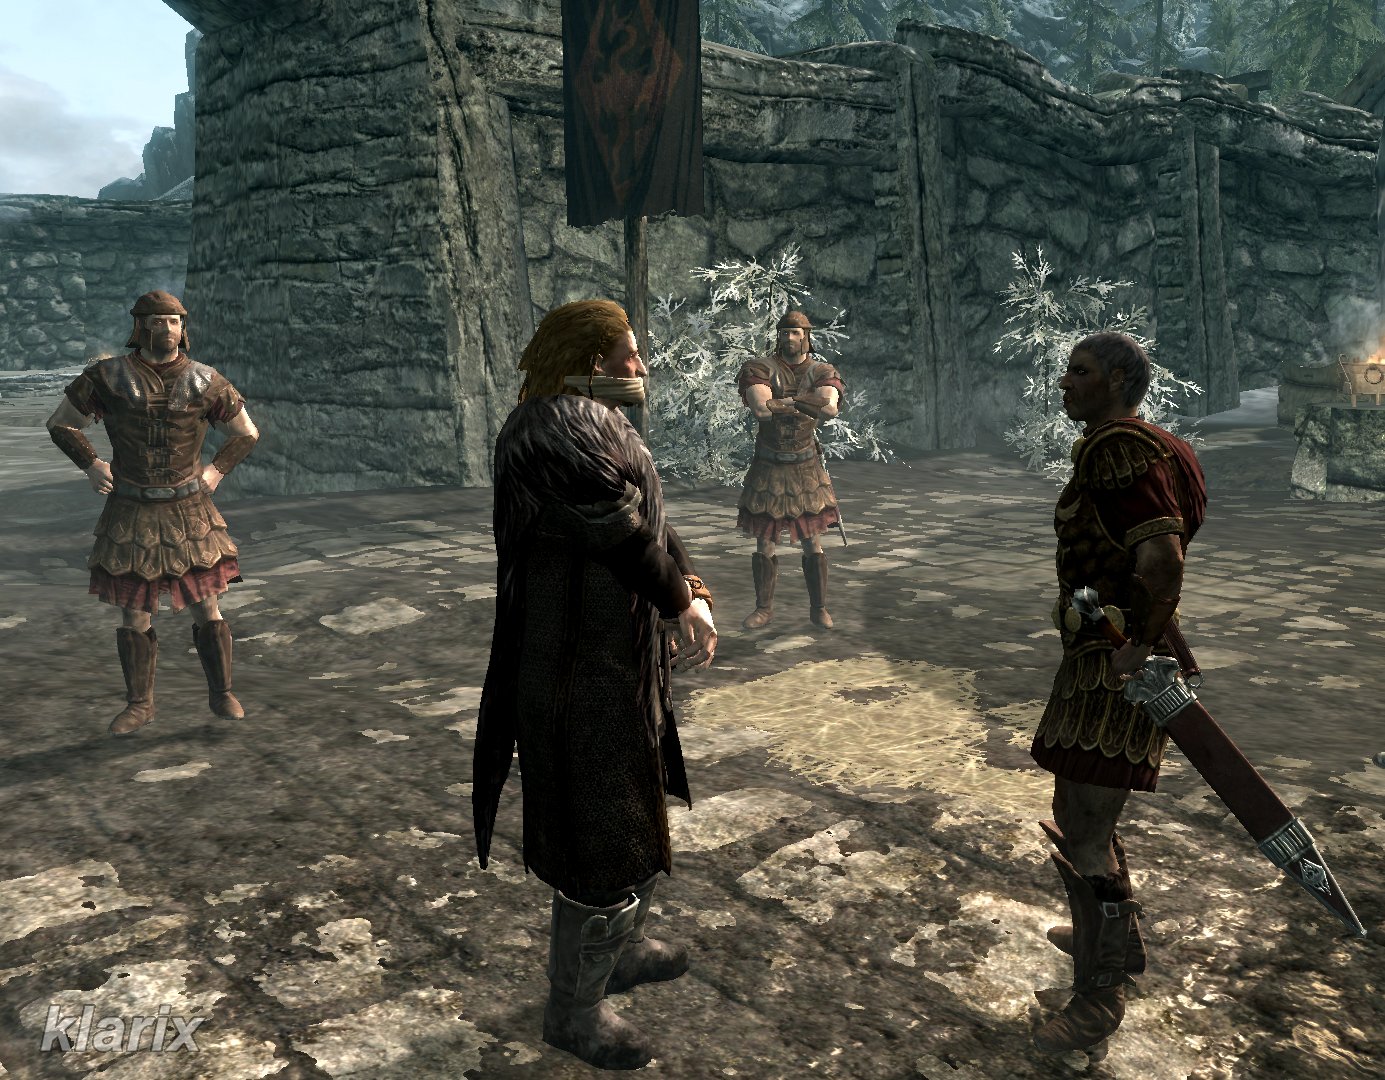 - he is a master of the Thu'um. Suddenly, the first dragon shout is heard from afar, yet the execution continues, and the Nord is beheaded. The player is next in line, but right before their end, a huge black dragon lands on the tower, causing chaos with its devastating roar. It is the divine Alduin
 , the World-Eater.
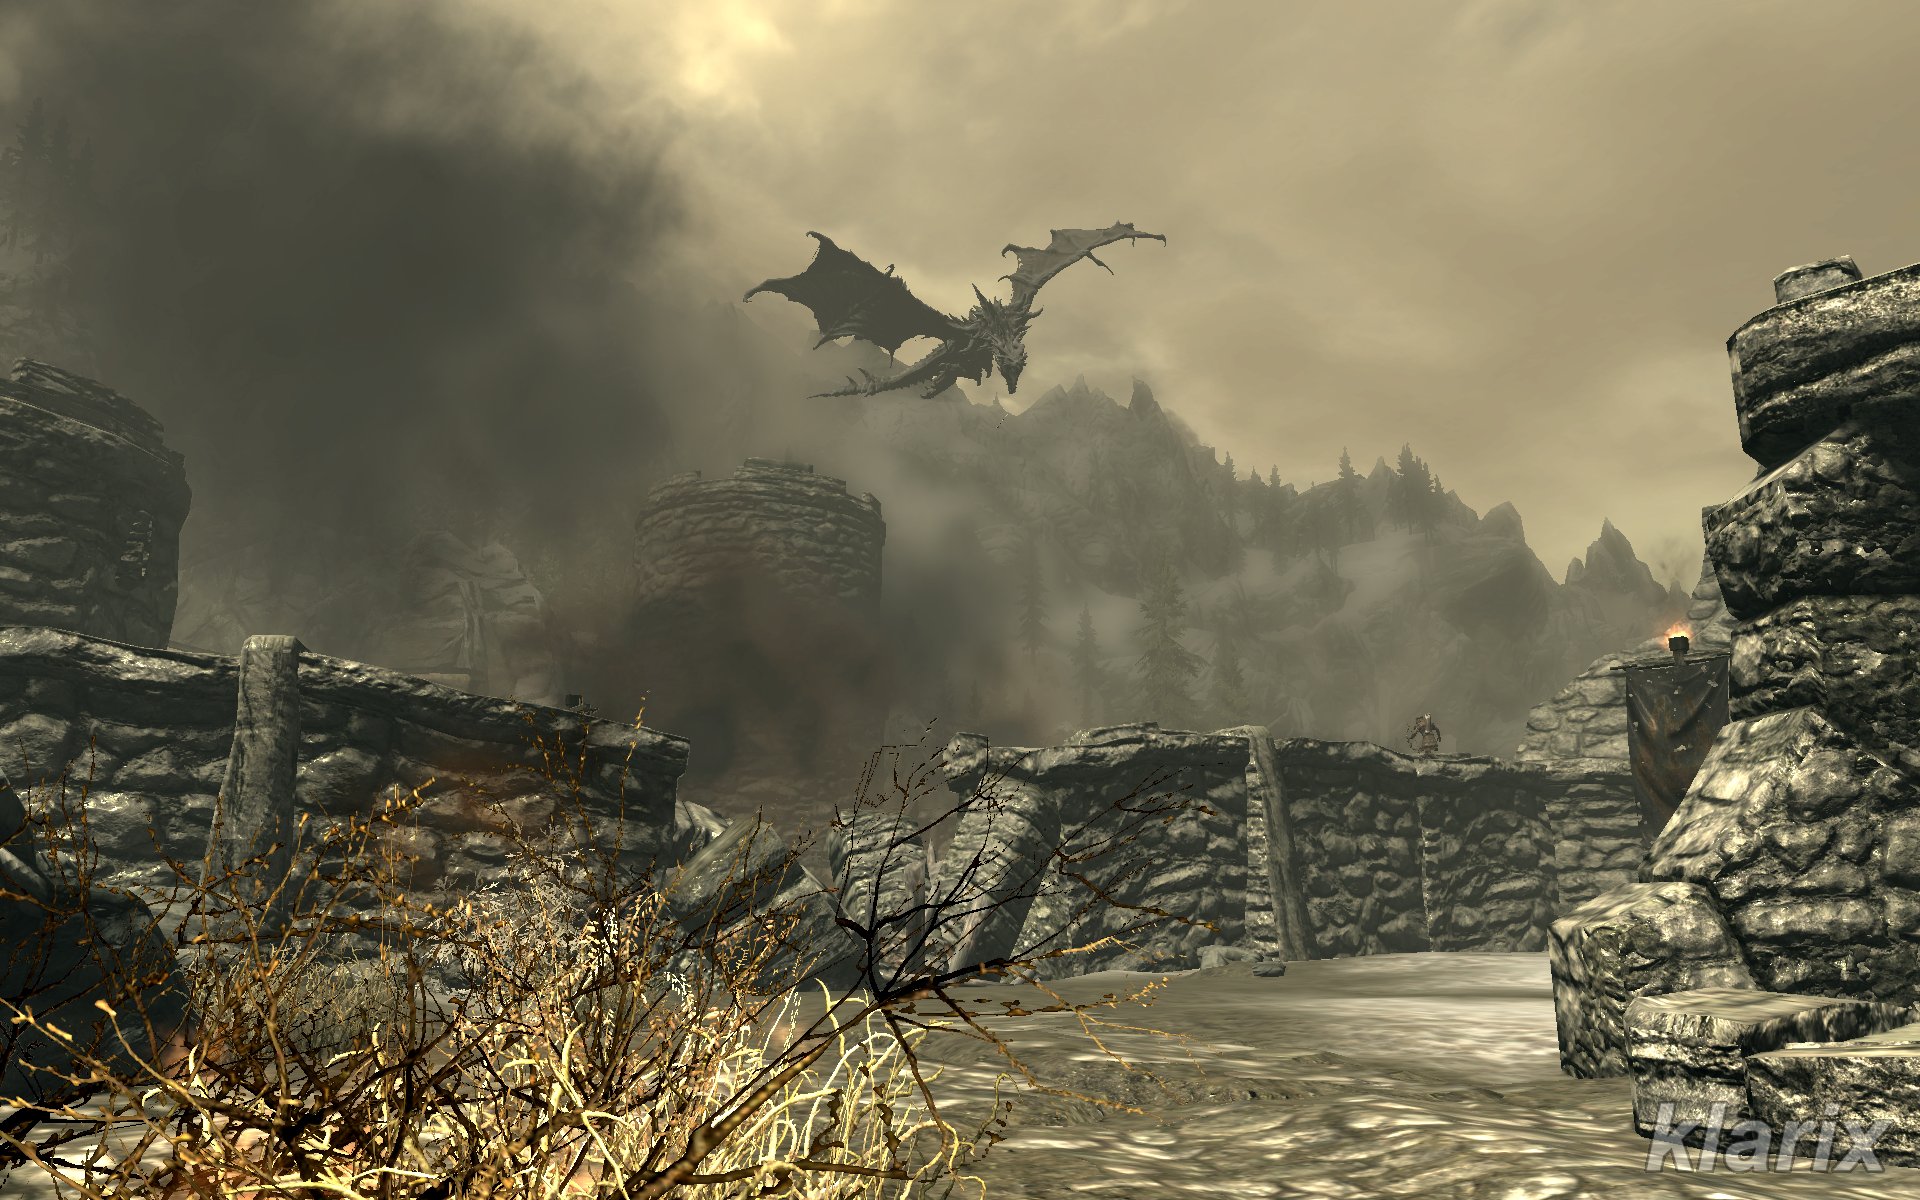 , the two of you move past casualties, charred corpses, and destroyed buildings toward a courtyard in front of the fortress, where you encounter Ralof once again.
 or Ralof
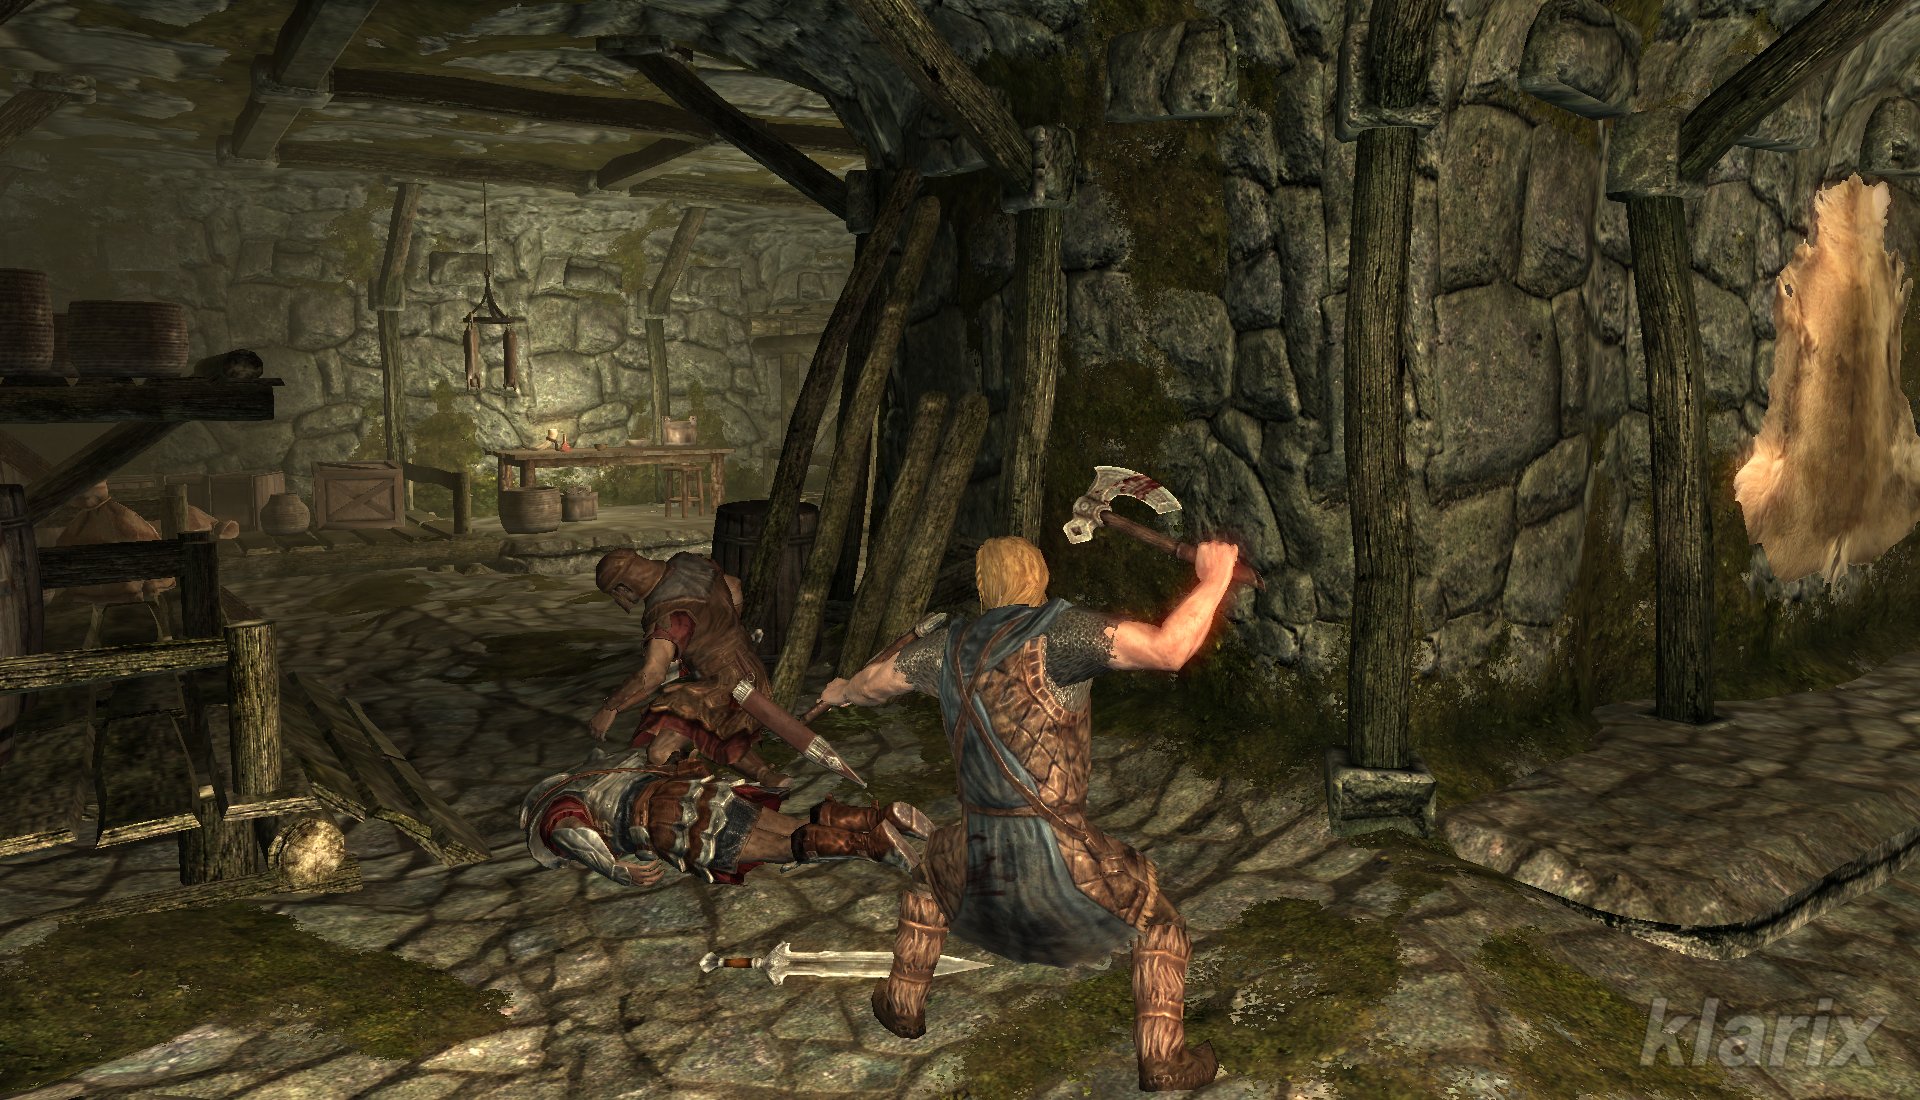 handle all the fighting while you explore every corner at your leisure. Especially in the frostbite spider cavern
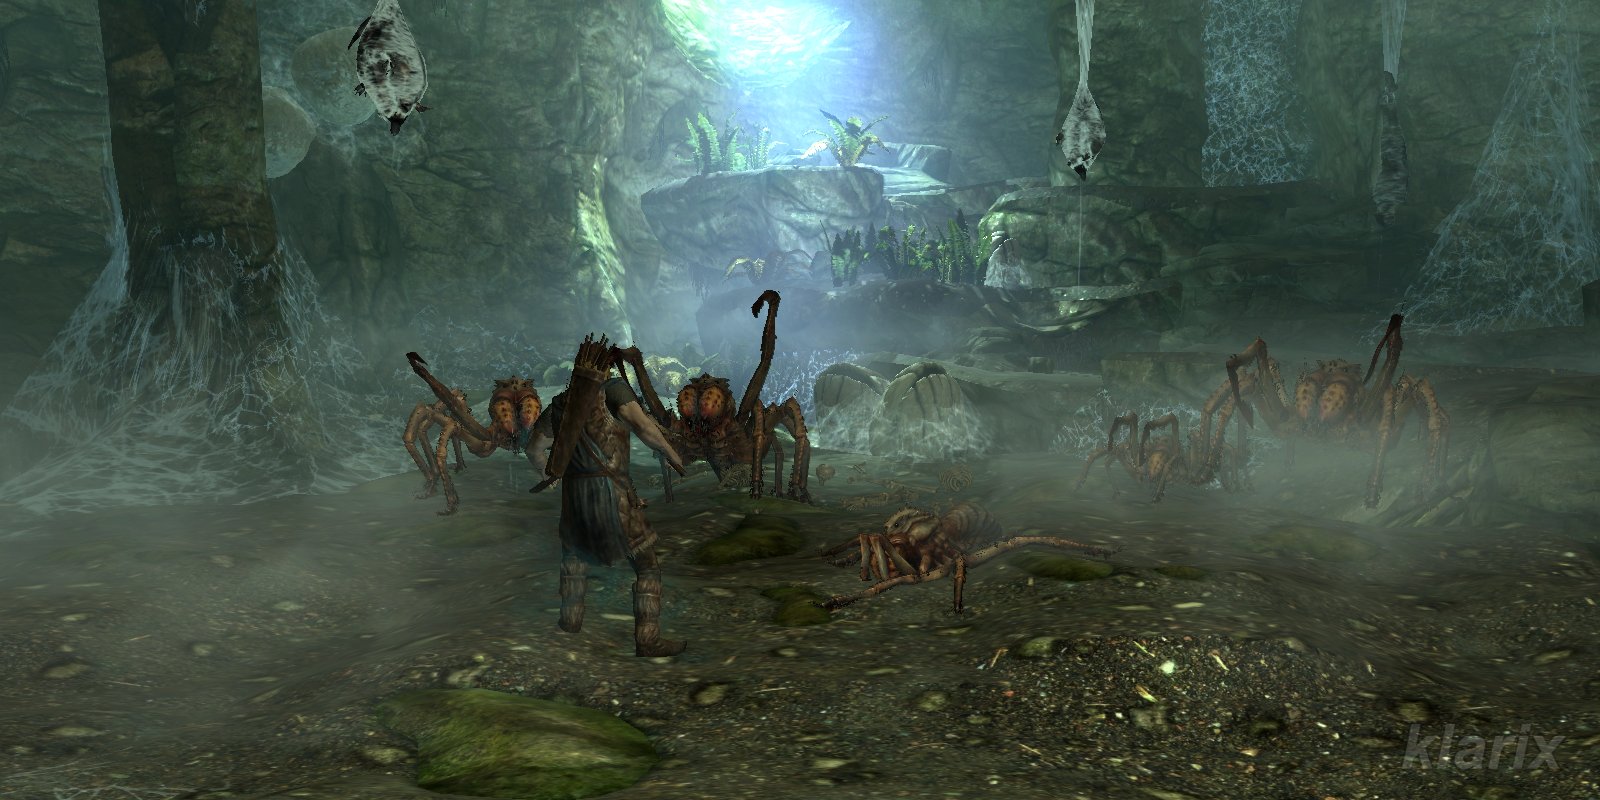 , you should let your companion go first - both are strong and well-equipped, while you are still relatively inexperienced and vulnerable.