Prerequisites: (none) Quest Giver: Erandur Region: Dawnstar, Nightcaller Temple Reward:Skull of Corruption or Erandur as a follower
Summary: The inhabitants of Dawnstar suffer from nightmares. The priest of Mara, Erandur, knows the underlying cause and requests assistance. Deep within the interior of the Nightcaller Temple, the Skull of Corruption lies upon the shrine of Vaermina. In order to reach it, the awakened guardians must be defeated and magical barriers dissolved. Ultimately, one must choose between Erandur and the Daedric artifact.
Quest Description
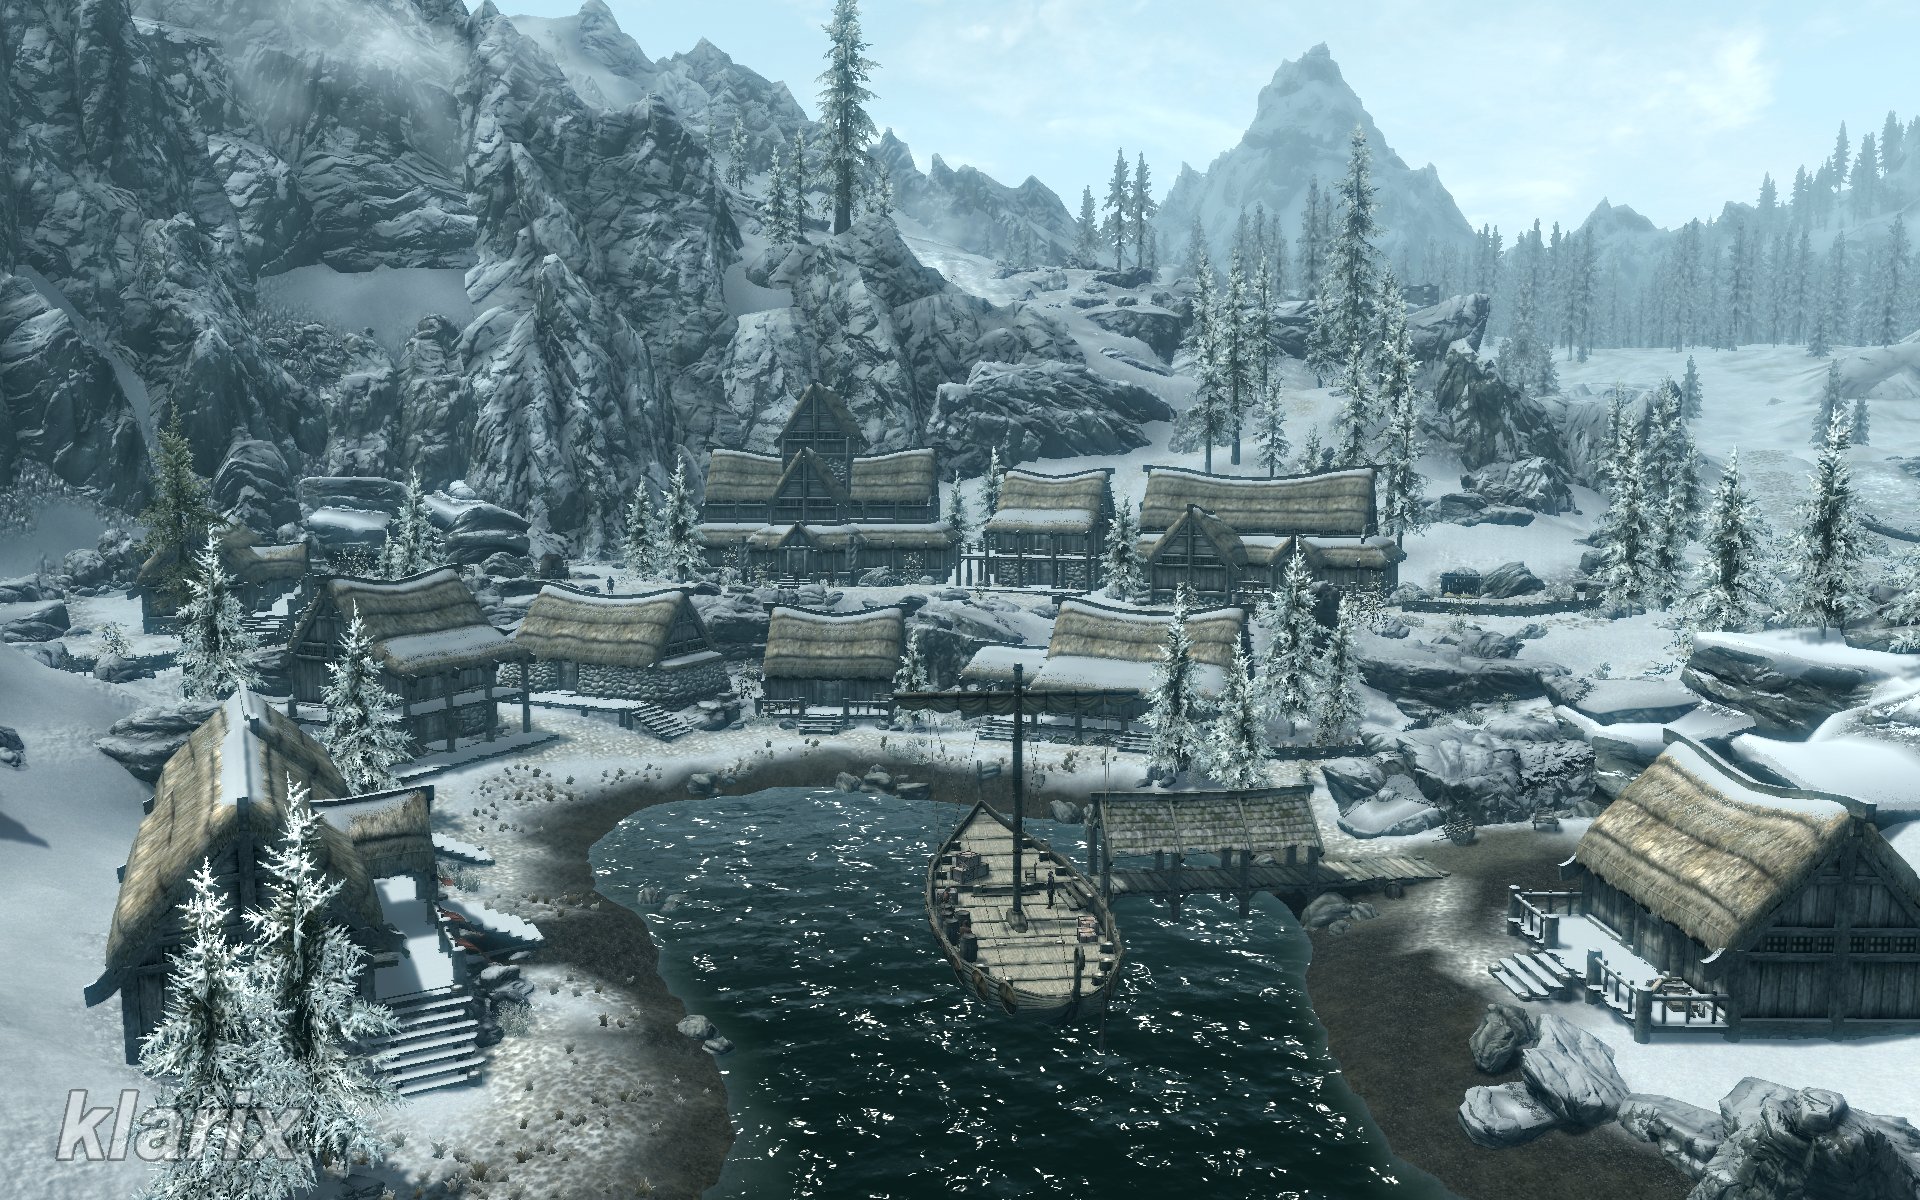
When walking through the streets of Dawnstar, many exhausted inhabitants are encountered complaining about nightmares - nightmares that appear real to them. They wake up more tired in the morning than the day before and can scarcely stay on their feet. The court wizard Madena requested assistance from the College of Winterhold, but so far to no avail. Allegedly, a priest of Mara intends to look into the matter.
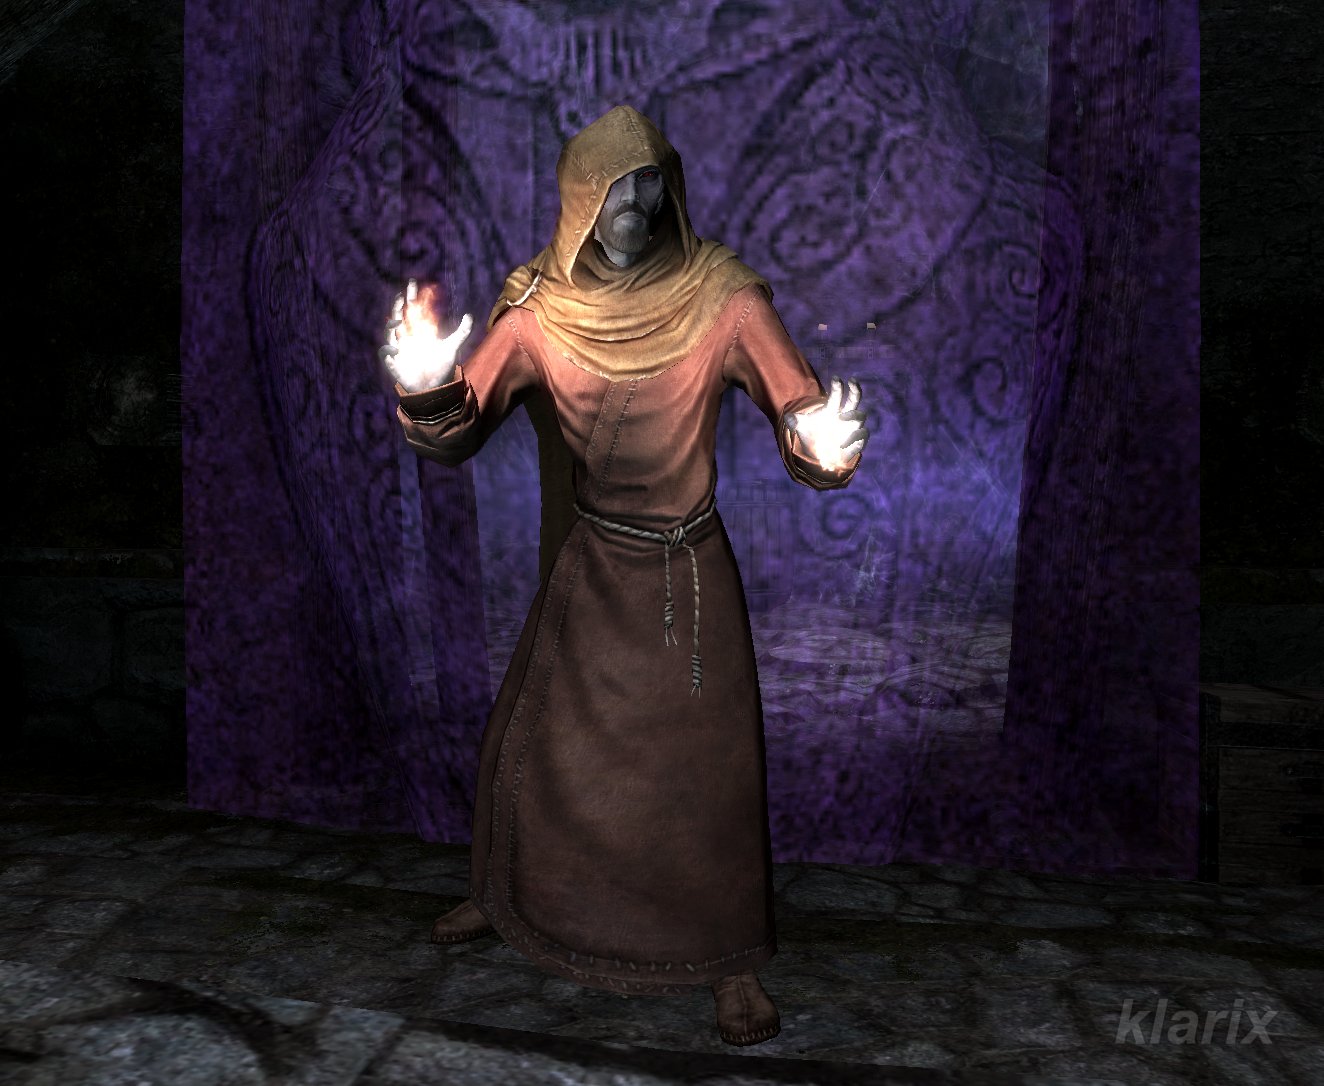
Inside the "Windpeak Inn", one can overhear from conversations that the "curse" is driving everyone mad. The priest Erandur implores the citizens to trust in the Divines. If questioned regarding the dreams, he explains that they are created by the Daedric Prince Vaermina. He states that she covets memories and leaves nightmares in their stead. Erandur is determined to end this influence on the inhabitants and intends to depart for the source of the problem - the Nightcaller Temple. If one is willing to assist, he requests to be trusted and followed.
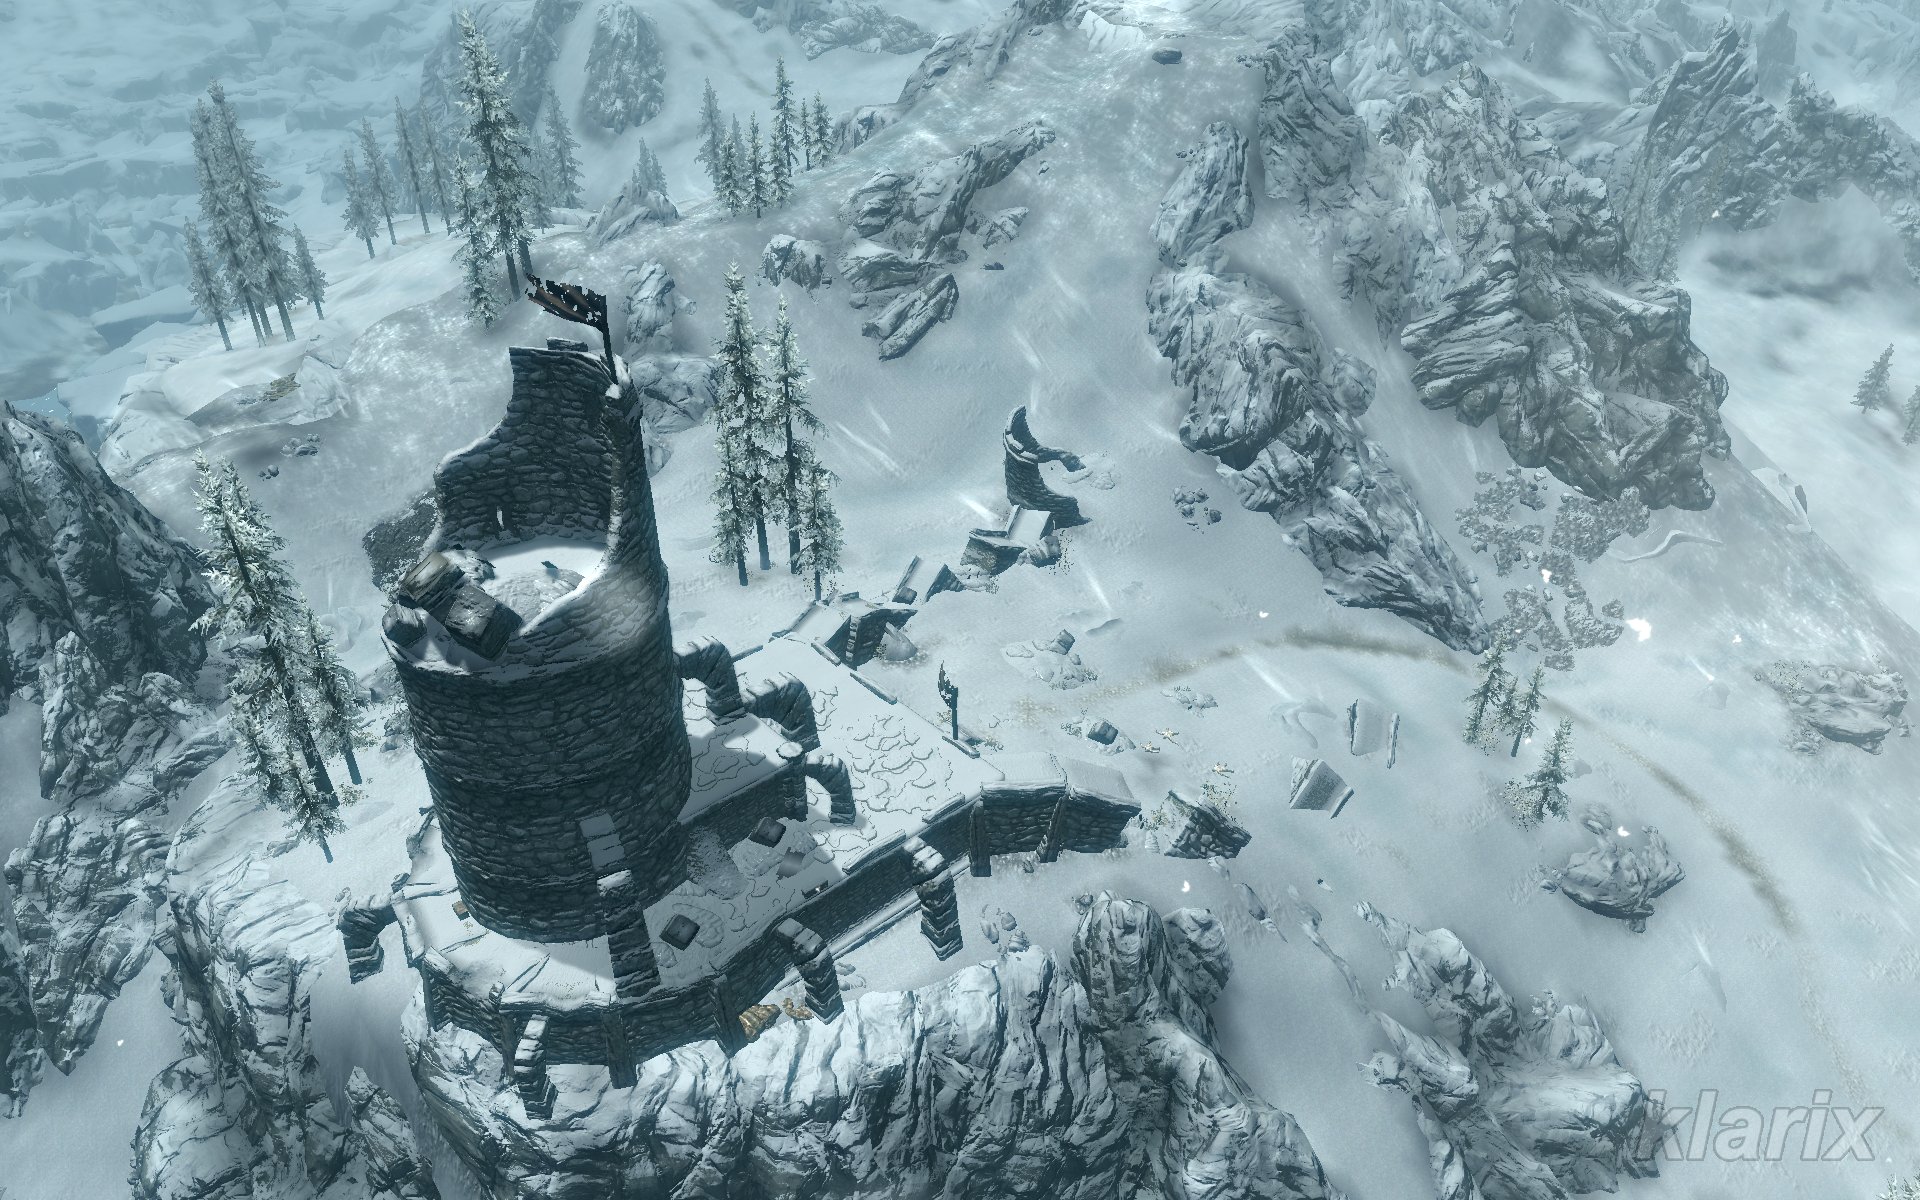
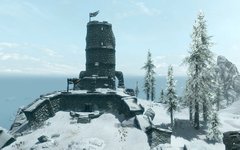
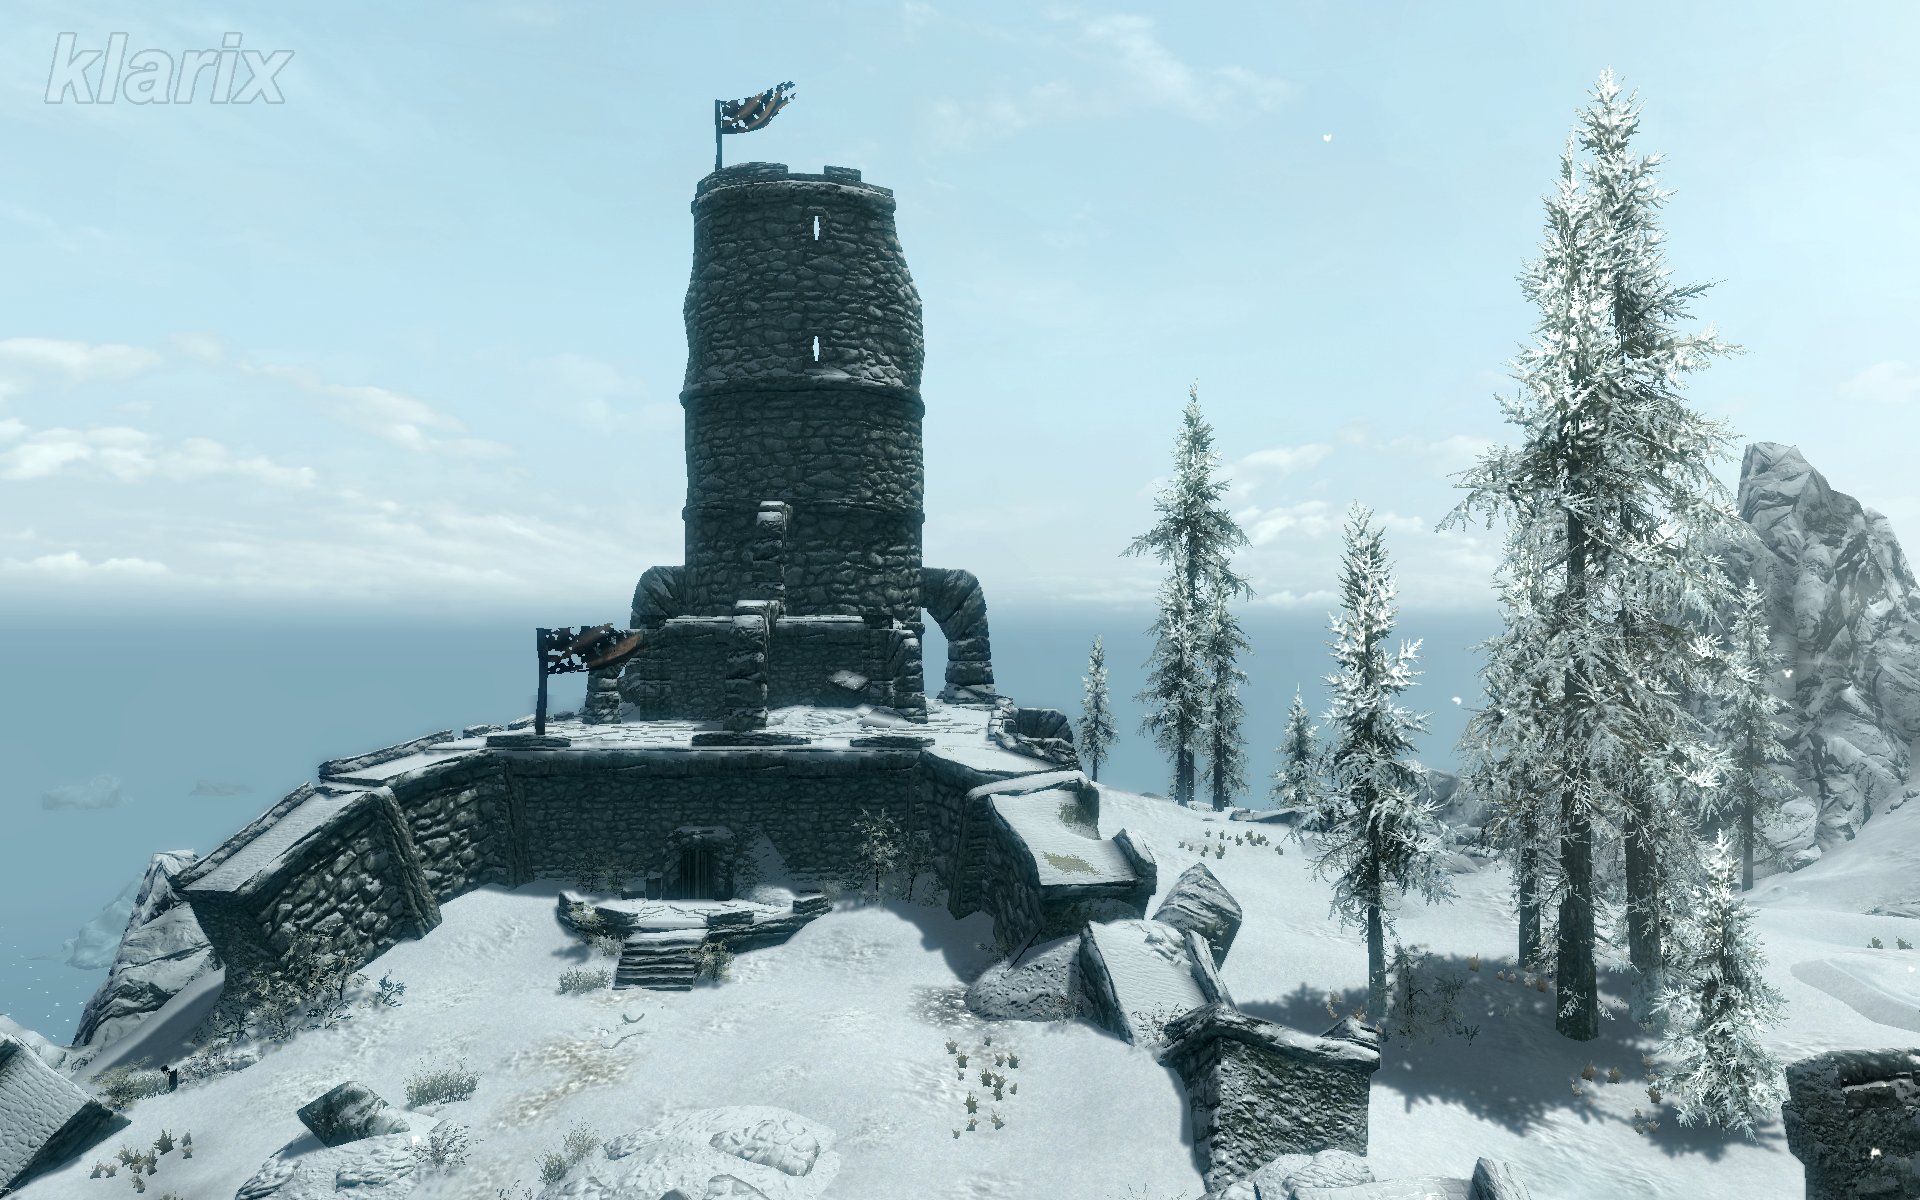
The ancient Temple Tower stands high above the city.
Follow Erandur to Nightcaller Temple★
When questioned regarding Vaermina, Erandur explains that her realm - Quagmire - constitutes a nightmarish land in which reality alters in impossible manners. He notes that she collects memories, leaving nothing but visions of terror and despair in their stead. Along the path to the tower, Erandur shares further details regarding the temple and its priests, adding that the temple has curiously been abandoned for decades. He also mentions the small shrine dedicated to Mara that he established in the entrance hall.
Speak to Erandur
In front of the temple entrance, Erandur warns of the dangers lurking within. Years ago, a group of Orcs allegedly raided the temple because they too were being plagued by nightmares. The priests had no alternative but to release a gas known as the Miasma, which induced a deep slumber upon everyone present. Erandur fears that upon opening the temple, the Miasma will escape, causing both the Orcs and the priests to awaken.
Follow Erandur
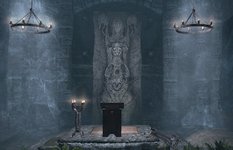
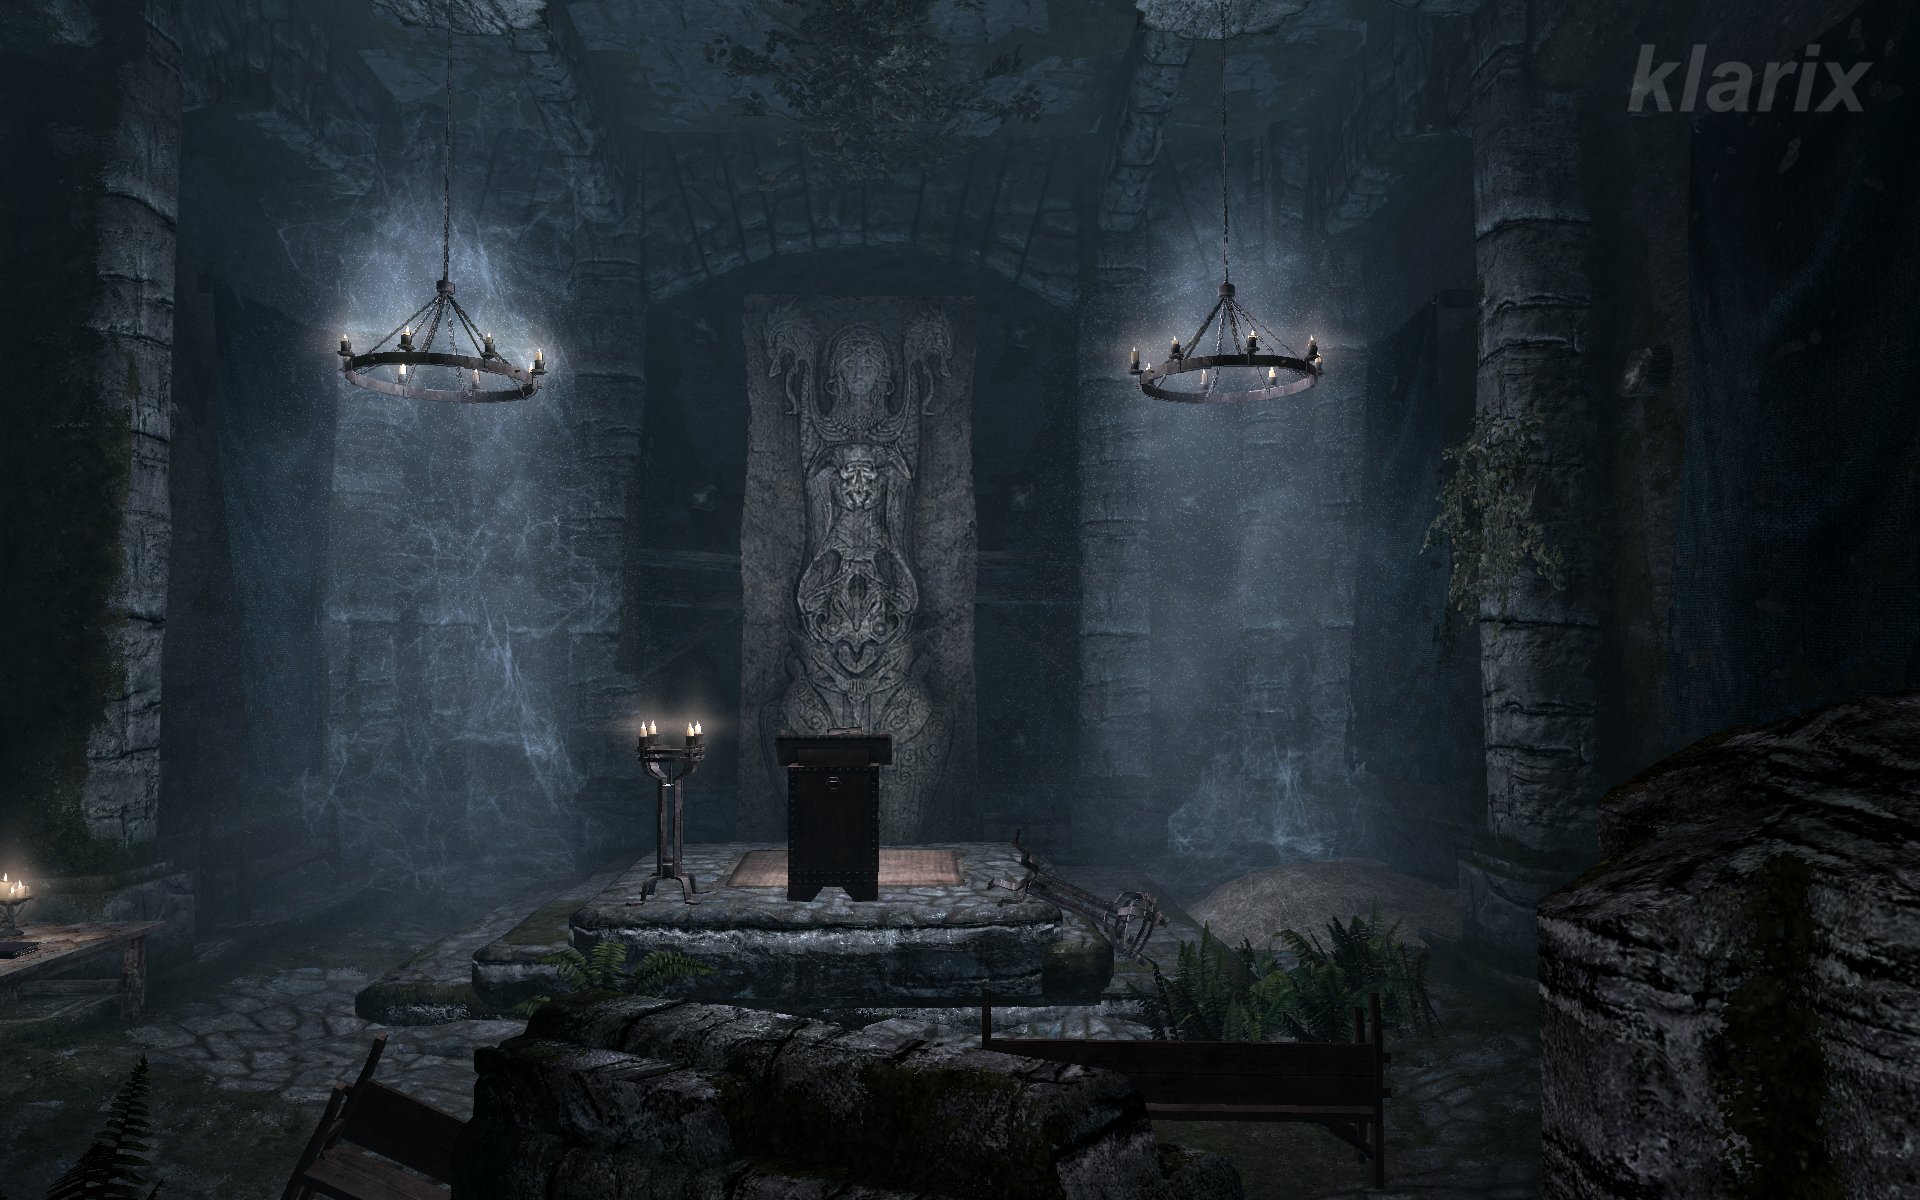
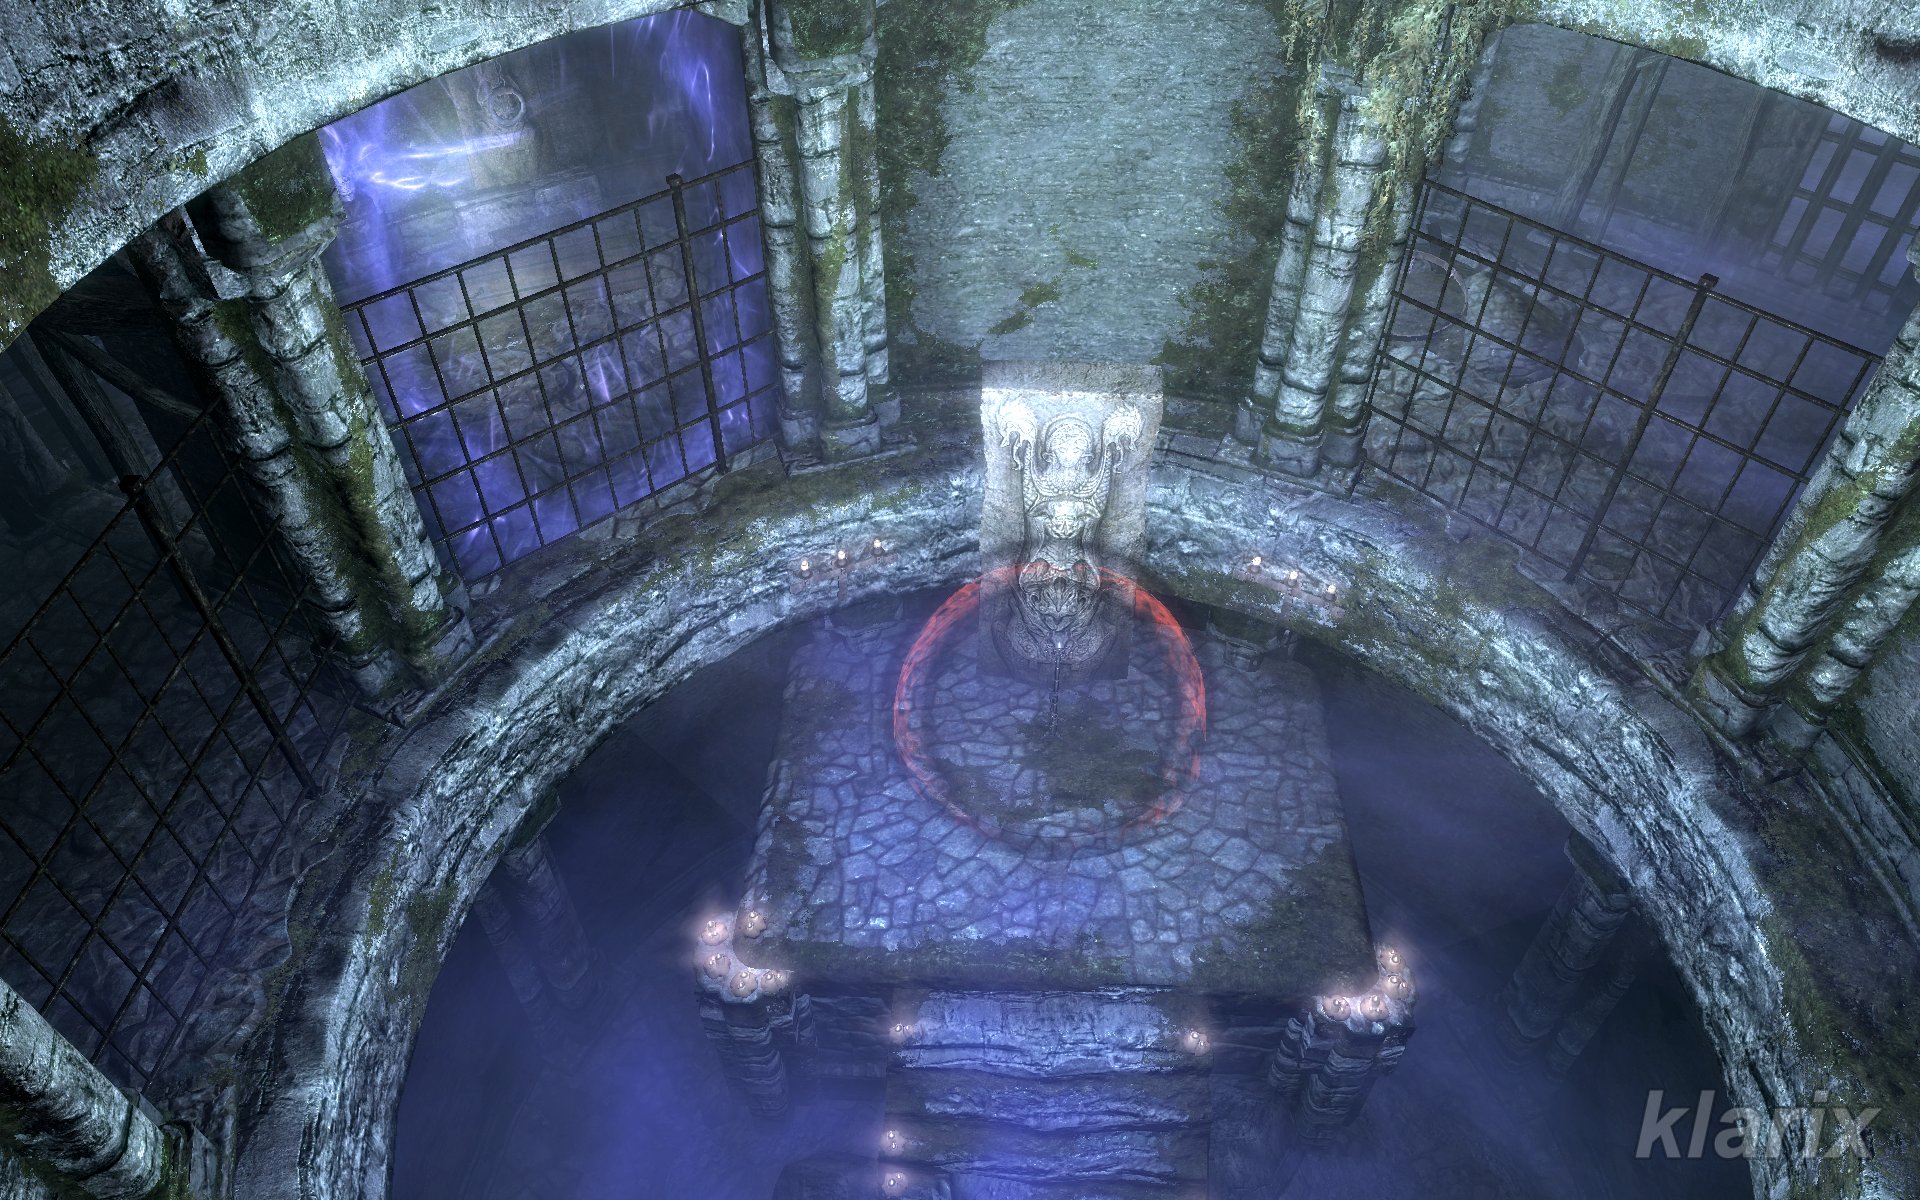
In the entrance hall, access to the temple is blocked by a large effigy of Vaermina. However, Erandur knows how to dissolve this barrier. The wall subsequently becomes transparent and passable. He leads the player to the center of the tower, where the source of the nightmares - the Skull of Corruption - can be observed through a grate. Erandur's objective is to destroy it.
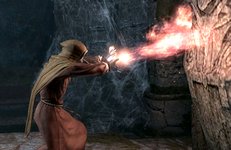
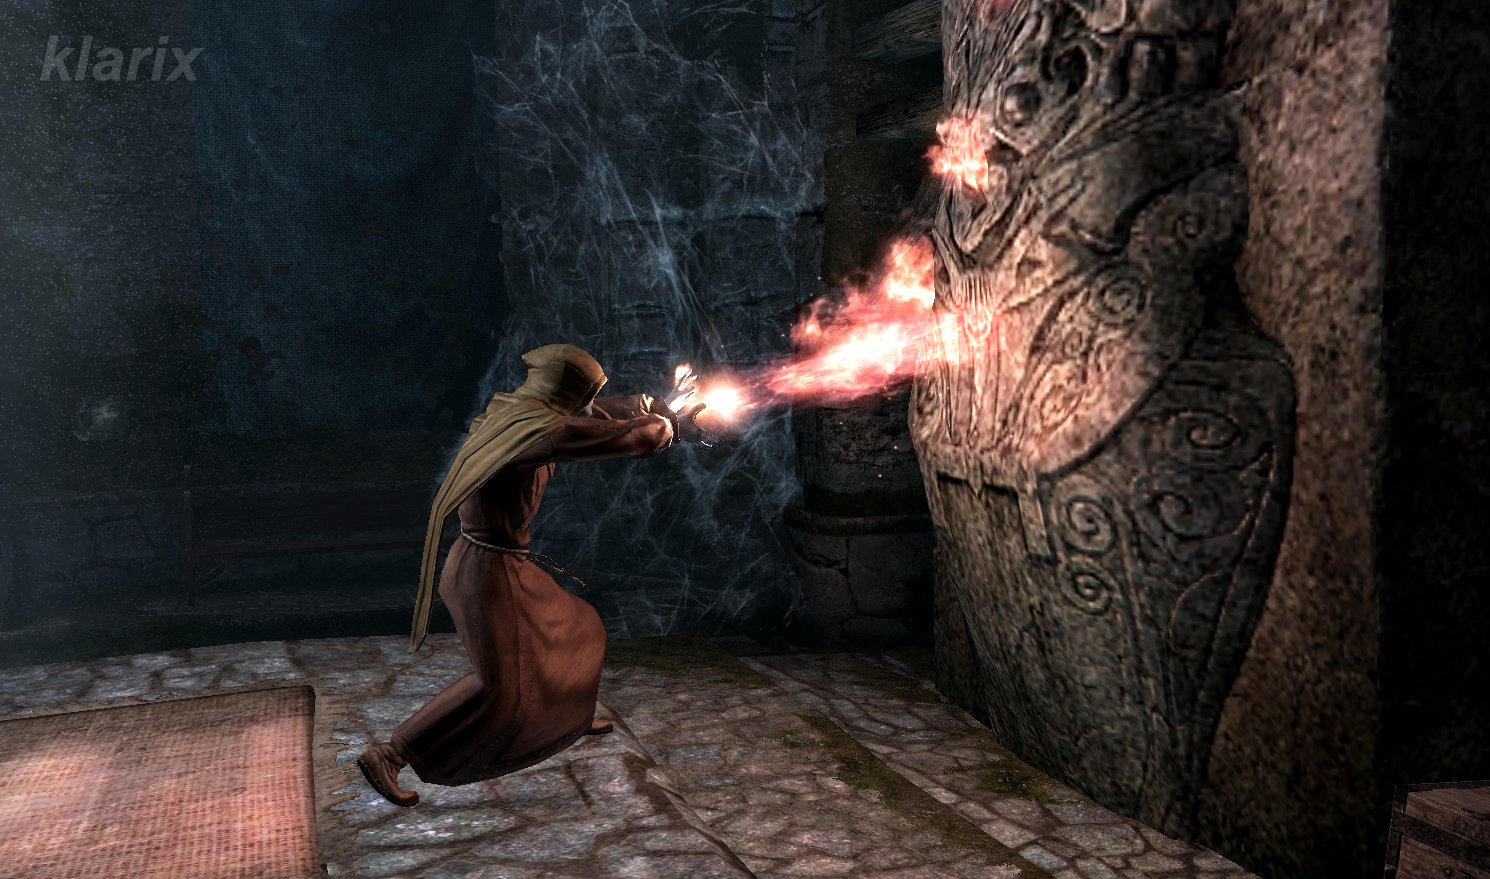
Soon, however, a passage is reached that is magically blocked, and the first Orcs begin to awaken. Erandur proves to be a capable melee fighter and an excellent battlemage. He suspects that the priests activated the barrier during the release of the Miasma, and suggests there might be a way to bypass it, though he notes this must be verified within the library. When questioned about how he possesses such extensive knowledge regarding this location, he admits that he was once a priest of Vaermina himself. He explains he was previously ashamed to speak the truth because he fled during the Orc attack, leaving his brothers and sisters to die. Over the past decades, he states he has repeatedly regretted his actions and prayed to Mara for redemption. Now, his intention is to make full amends.
Follow Erandur to the Library / Speak to Erandur / Locate "The Dreamstride"
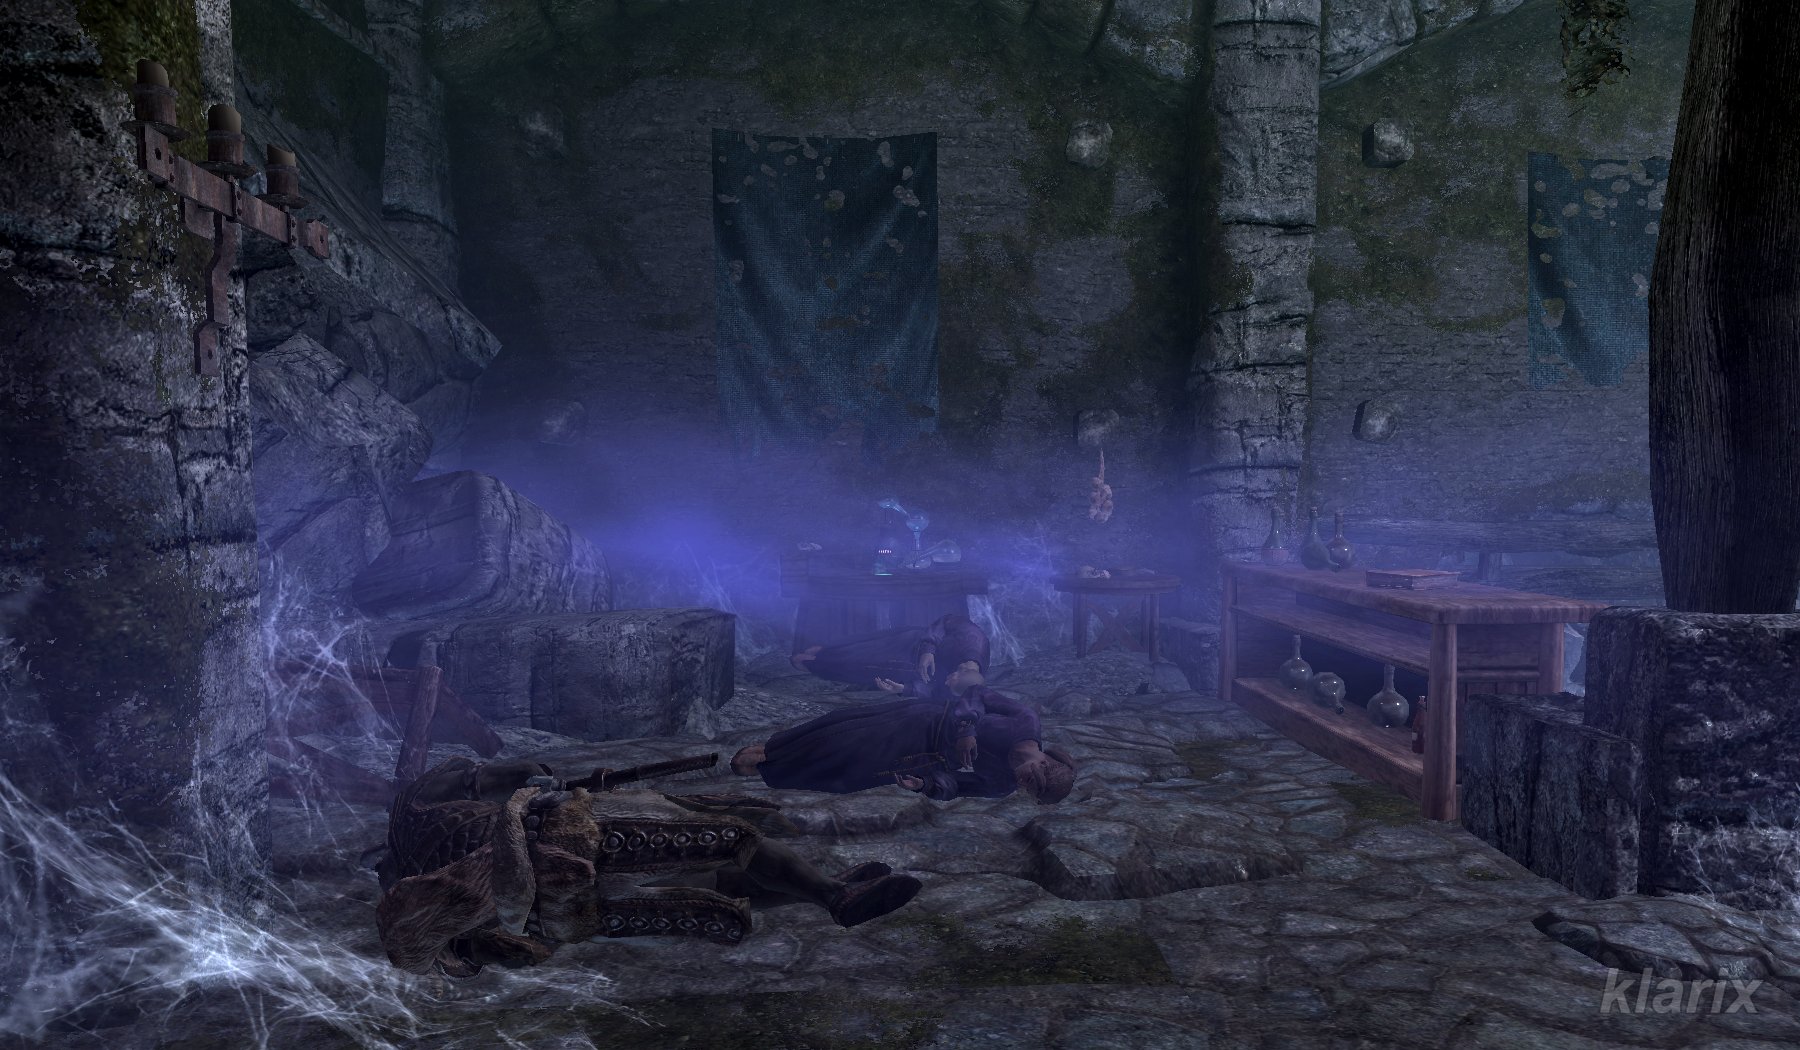
Upon entering the library, the Miasma dissipates and the sleepers turn into attackers. However, Erandur remains determined and fearlessly confronts every danger.
Sleeping priests and Orcs inside the ruined library.
The objective now is to locate the book titled "The Dreamstride" amidst the chaos of the debris. Vaermina's effigy is said to be depicted on the cover.
Where is the book located?
The book rests upon a pedestal on the balcony level, which can be reached via a toppled pillar.
Speak to Erandur
Once Erandur finds his suspicion confirmed within the book, he explains the subsequent course of action. There is a fluid known as "Vaermina's Torpor" that grants the ability to traverse distances within the real world through dreams. Erandur notes that he has not experienced this dreamstride himself, and now that he is a priest of Mara, the potion would exert no effect upon him. Consequently, one will have to consume it themselves. A sample of Torpor should be located within the laboratory.
Follow Erandur to the Laboratory / Speak to Erandur / Locate Vaermina's Torpor
Within the laboratory, the Miasma dissipates as well, and the awakened individuals attack. After they have been defeated, the laboratory must be searched for the bottle of Torpor.
Speak to Erandur / Drink Vaermina's Torpor
Erandur is pleased that an undamaged bottle has been retrieved and requests that it be consumed now. He states that the fate of Dawnstar depends upon this action and promises that it will function.
As soon as it is consumed, a color-distorted and washed-out world is perceived. One participates in a conversation with Brother Veren Duleri and Brother Thorek, which apparently occurred during the raid by the Orcs. Since their numbers are depleted and the Skull of Corruption must not fall into enemy hands, they state they have no choice - the Miasma must be released. One is then addressed as Brother Casimir and questioned whether one is prepared to activate the barrier and release the Miasma. While the two remain at the shrine to defend the artifact with their lives, one is instructed to proceed on their way.
Release the Miasma
Getting lost is impossible, even though the path leads through multiple rooms and corridors - there is only a single way forward. Fighting occurs to the left and right, but distractions should be avoided. Not much could be done regardless, as one is not within their own body and possesses no access to the inventory or hotkeys. Picking up items is also impossible.
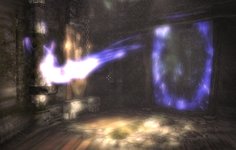
Eventually, further progress is blocked, and the situation becomes clear: one is in the past and is about to pull the chain to release the Miasma, while simultaneously observing the active barrier from the present. That was the primary objective - to reach the other side of the barrier in order to deactivate it.
Disable the Magical Barrier / Speak to Erandur
As soon as the gas is released, the effect of the Torpor terminates, and only the present exists once more. Erandur is observed on the other side of the barrier. The forcefield is deactivated by removing the soul gem from its holder.
Erandur is pleased that the method functioned and envies the player for this experience. However, the objective has not yet been fully achieved.
Follow Erandur to the Skull of Corruption / Defeat Veren and Thorek / Speak to Erandur
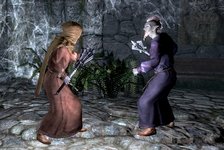
One must now retrace the same path back with Erandur to the priests Veren and Thorek. Along the way, attacks from the awakened are encountered again. In front of the shrine, the two priests are met, who address Erandur as Casimir, accusing him of betrayal and fleeing. They prevent Erandur from advancing, making a confrontation inevitable.
Erandur is deeply distressed and shaken by the fact that he was forced to kill his friends, viewing it as punishment for his past misdeeds.
Wait for Erandur to dispel the barrier
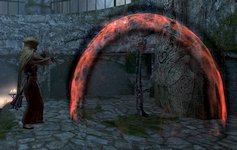
Erandur now requests that one waits until he has performed the ritual granted to him by Mara, so that the magical protection around the Skull of Corruption is eliminated. As soon as the protection is gone, a voice resonates within one's mind:
"- He's deceiving you. When the ritual's complete, the Skull will be free and then Erandur will turn on you. Quickly! Kill him now. Kill him and claim the Skull for your own! Vaermina commands you!"
Murder Erandur or Allow Erandur to complete his ritual
One is now presented with a choice:
Allowing the ritual: One does nothing and waits until Erandur has banished the artifact to Oblivion.
Afterward, Erandur returns exhausted. He explains that he intended to spend the rest of his days at his small shrine to Mara, praying for forgiveness. However, he now wishes to offer his services to the player. If required as a follower, he can be found here.
He expresses gratitude, also on behalf of the inhabitants of Dawnstar, and proceeds to his Mara shrine. The quest concludes.
Interrupted ritual: As soon as the magical protection is gone, Erandur begins the banishment ritual. One possesses a window of 30 seconds to kill him before the skull disappears.
Take the Skull of Corruption
Once the skull has been removed from its holder, the quest concludes.
Known Bugs
When instructed to follow Erandur - for instance, into the library - he occasionally remains stationary, preventing the progression of the quest line. For certain players, utilizing the Unrelenting Force shout reportedly resolved the issue. Others ensured that Erandur was not overtaken along the way. Alternatively, entering the library utilizing the console command unlock caused Erandur to manifest inside. During testing for this guide, utilizing the wait function for one hour successfully resolved the stagnation.
The determination of who is intended to lead is occasionally ambiguous. Erandur states: "We must reach the Skull [...]. Lead on!", while simultaneously activating the objective: "Follow Erandur to the Skull of Corruption".
Occasionally, Erandur may become completely unresponsive, rendering any interaction with him impossible. Retracing the path back to the entrance, exiting the temple, and re-entering resolves this issue.
Patch 1.8 introduced a bug causing the game to crash to desktop if a save is performed between the conclusion of the dreamstride and the quest finale. Consequently, saving the game prior to drinking the Torpor and avoiding further saves afterward is recommended. Decreasing the difficulty setting and disabling the auto-save functions assists in completing the quest without extensive repetitions.
Tips & Notes
If the tavern is visited at the appropriate moment, one witnesses a heated conversation regarding the "curse" between the sisters Irgnir and Fruki. Erandur intervenes, and once enough has been overheard, the initial miscellaneous objective is activated: "Speak to Erandur".
An individual named Erandur previously appeared in TES IV: Oblivion in relation to a lich transformation during the quest line involving the "Caverns of the Lost Boy." It represents a different individual in all probability, even though the age of the Dunmer would align.
The citadel structure housing the Nightcaller Temple is designated by the locals as the Tower of Dawn.
A moonstone ore vein is situated at the western exterior wall of the tower, and a chest is located one level higher to the north.
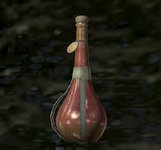
The bottle of Torpor is not difficult to locate. Nevertheless, Erandur causes confusion with his indications. If questioned regarding its appearance, he responds: "It should be in a small bottle[...]". Once the search commences, he offers a final piece of advice: "The Torpor should be in a tall bottle with dark liquid.".
During the dreamstride, the memories of another individual are experienced. Controlling whose memories are perceived, as well as where, when, or for how long the sequence will be experienced, is impossible. Why these four parameters of the Torpor's efficacy align flawlessly to resolve the objective remains a mystery known solely to the developers.
If the voice perceived within one's mind originated from Vaermina, she lied. Erandur does not turn against the player.
In order to secure the Steam achievement "Oblivion Walker," murdering Erandur and claiming the skull is mandatory, unless both artifacts were obtained from Hircine.
A chest is situated at the bottom right alongside the Shrine of Vaermina.
 or Erandur
 as a follower
 , many exhausted inhabitants are encountered complaining about nightmares - nightmares that appear real to them. They wake up more tired in the morning than the day before and can scarcely stay on their feet. The court wizard Madena requested assistance from the College of Winterhold, but so far to no avail. Allegedly, a priest of Mara intends to look into the matter.
 . If one is willing to assist, he requests to be trusted and followed.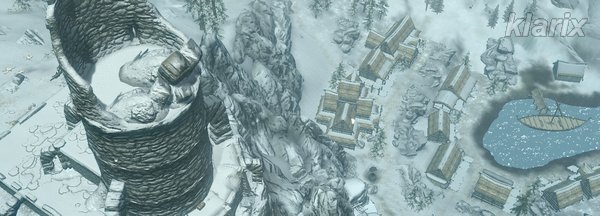
 . However, Erandur knows how to dissolve this barrier
 . The wall subsequently becomes transparent and passable. He leads the player to the center of the tower, where the source
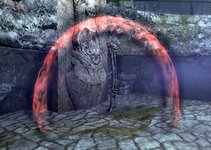 of the nightmares - the Skull of Corruption
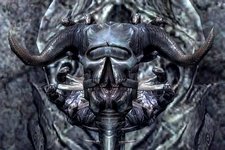 - can be observed through a grate
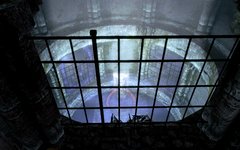 . Erandur's objective is to destroy it.
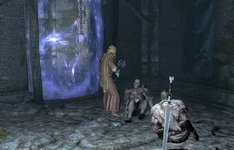 , and the first Orcs begin to awaken. Erandur proves to be a capable melee fighter and an excellent battlemage
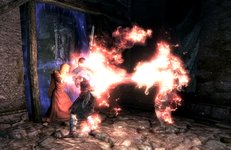 . He suspects that the priests activated the barrier during the release of the Miasma, and suggests there might be a way to bypass it, though he notes this must be verified within the library. When questioned about how he possesses such extensive knowledge regarding this location, he admits that he was once a priest of Vaermina himself. He explains he was previously ashamed to speak the truth because he fled during the Orc attack, leaving his brothers and sisters to die. Over the past decades, he states he has repeatedly regretted his actions and prayed to Mara for redemption. Now, his intention is to make full amends.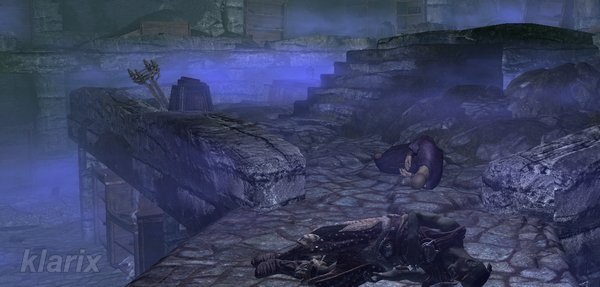
 , the Miasma dissipates as well, and the awakened individuals attack. After they have been defeated, the laboratory must be searched for the bottle of Torpor.
 is perceived. One participates in a conversation with Brother Veren Duleri and Brother Thorek, which apparently occurred during the raid by the Orcs. Since their numbers are depleted and the Skull of Corruption must not fall into enemy hands, they state they have no choice - the Miasma must be released. One is then addressed as Brother Casimir and questioned whether one is prepared to activate the barrier and release the Miasma. While the two remain at the shrine to defend the artifact with their lives, one is instructed to proceed on their way.
 from the present. That was the primary objective - to reach the other side of the barrier in order to deactivate it.
 are met, who address Erandur as Casimir, accusing him of betrayal and fleeing. They prevent Erandur from advancing, making a confrontation inevitable.
 granted to him by Mara, so that the magical protection around the Skull of Corruption is eliminated. As soon as the protection is gone, a voice resonates within one's mind:
 , many exhausted inhabitants are encountered complaining about nightmares - nightmares that appear real to them. They wake up more tired in the morning than the day before and can scarcely stay on their feet. The court wizard Madena requested assistance from the College of Winterhold, but so far to no avail. Allegedly, a priest of Mara intends to look into the matter.
 . If one is willing to assist, he requests to be trusted and followed.
 . However, Erandur knows how to dissolve this barrier
 . The wall subsequently becomes transparent and passable. He leads the player to the center of the tower, where the source
 of the nightmares - the Skull of Corruption
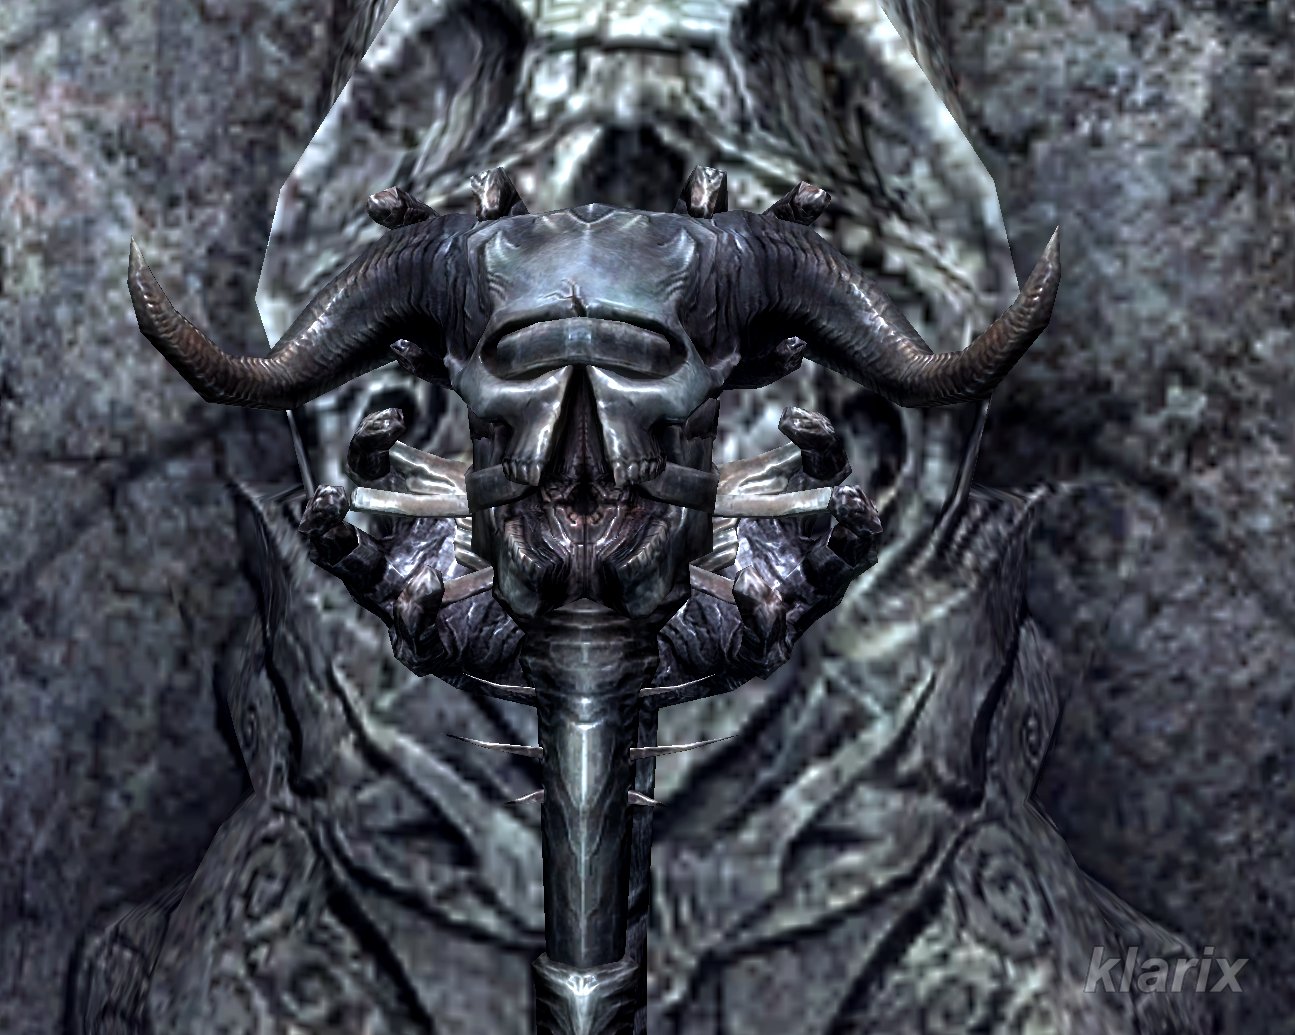 - can be observed through a grate
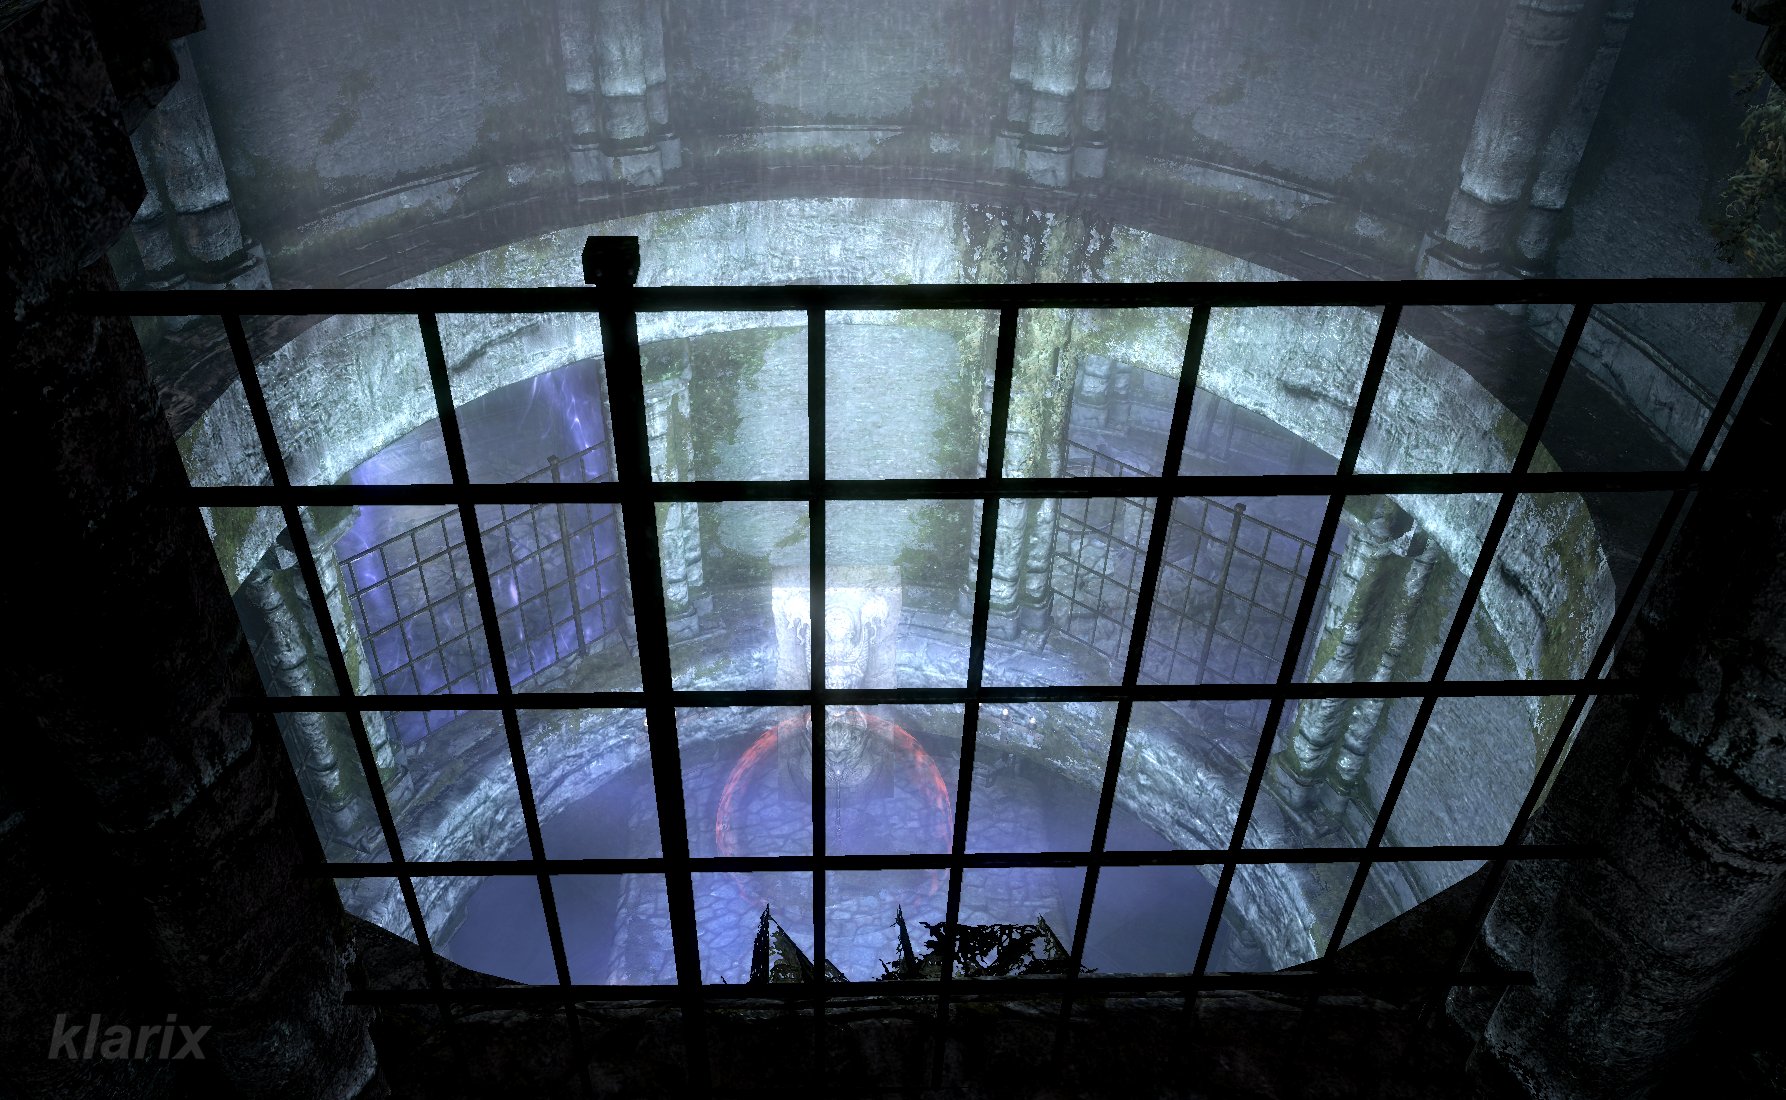 . Erandur's objective is to destroy it.
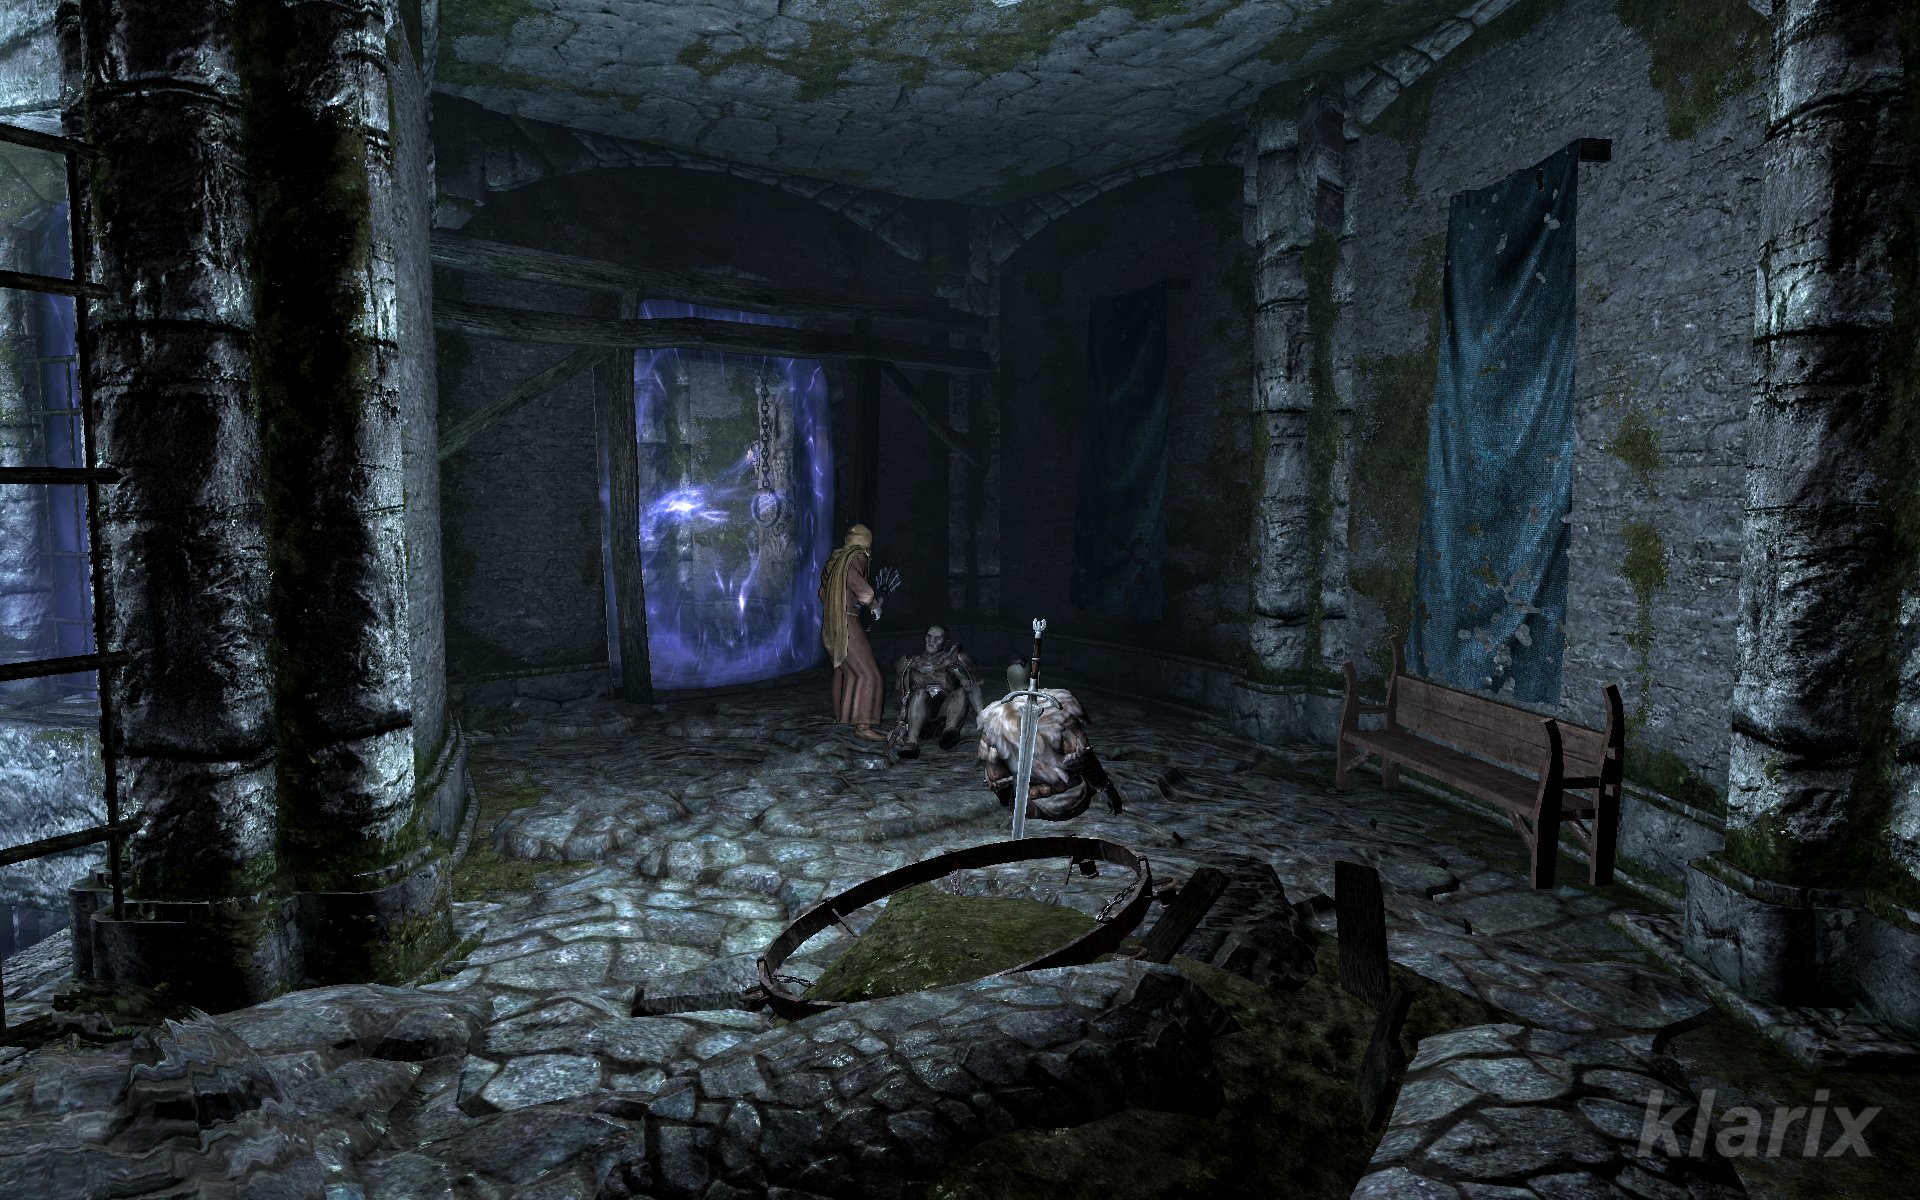 , and the first Orcs begin to awaken. Erandur proves to be a capable melee fighter and an excellent battlemage
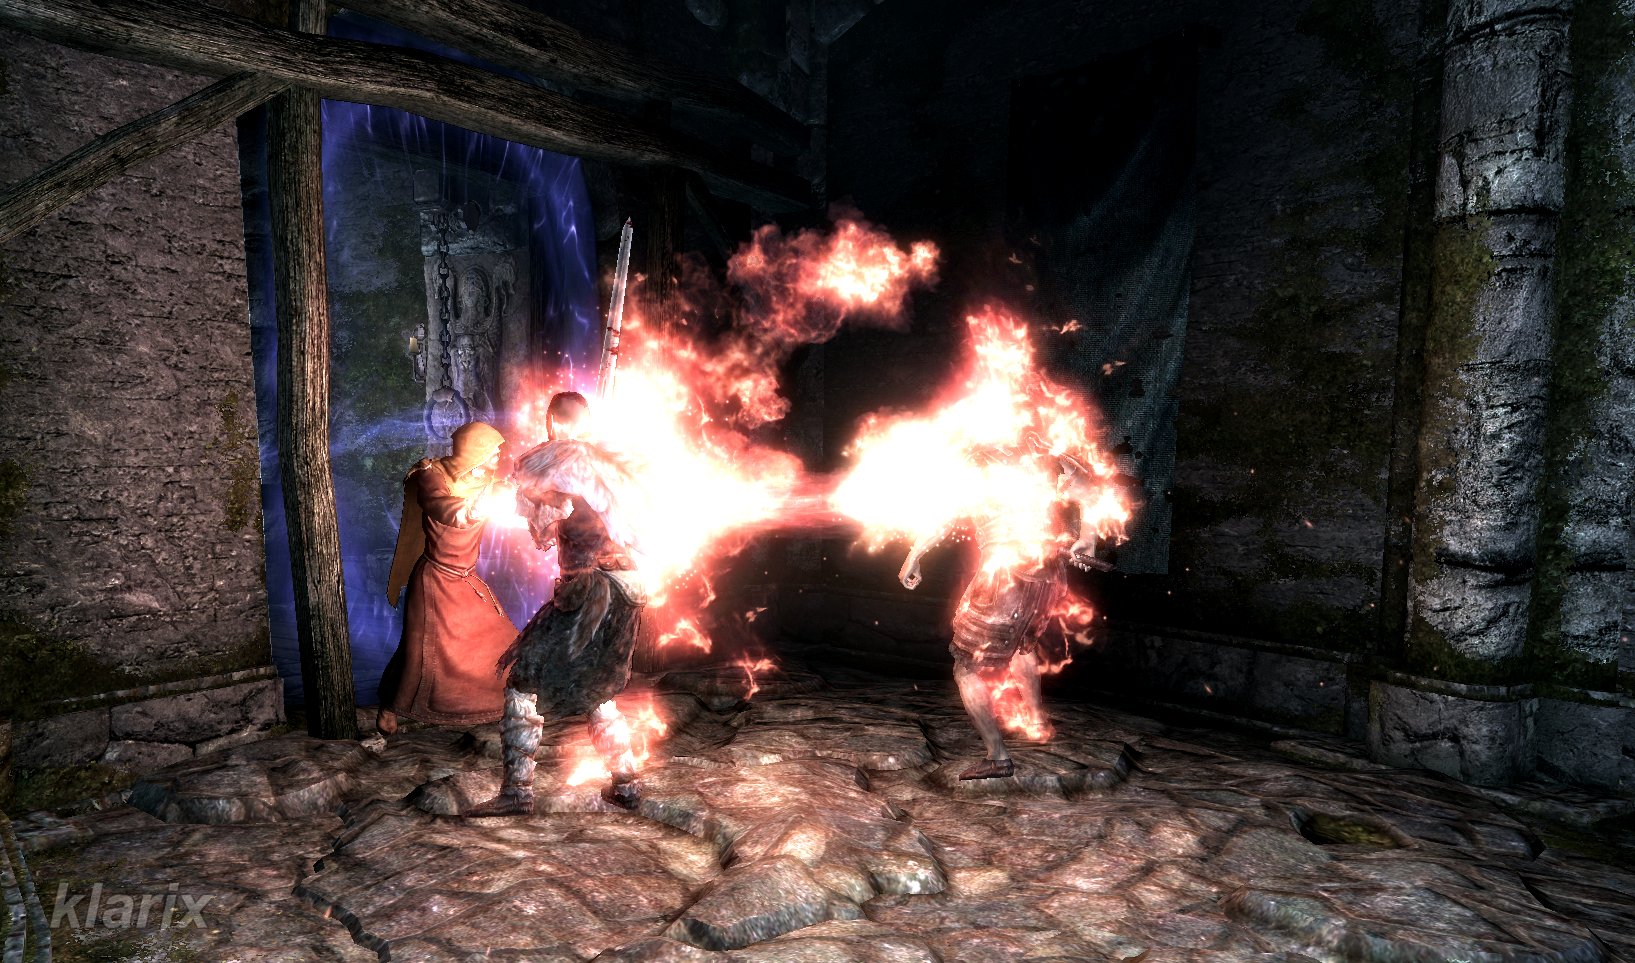 . He suspects that the priests activated the barrier during the release of the Miasma, and suggests there might be a way to bypass it, though he notes this must be verified within the library. When questioned about how he possesses such extensive knowledge regarding this location, he admits that he was once a priest of Vaermina himself. He explains he was previously ashamed to speak the truth because he fled during the Orc attack, leaving his brothers and sisters to die. Over the past decades, he states he has repeatedly regretted his actions and prayed to Mara for redemption. Now, his intention is to make full amends.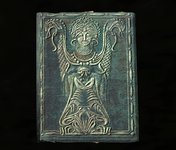

 , the Miasma dissipates as well, and the awakened individuals attack. After they have been defeated, the laboratory must be searched for the bottle of Torpor.
 stands on the center shelf
 on the lower level.
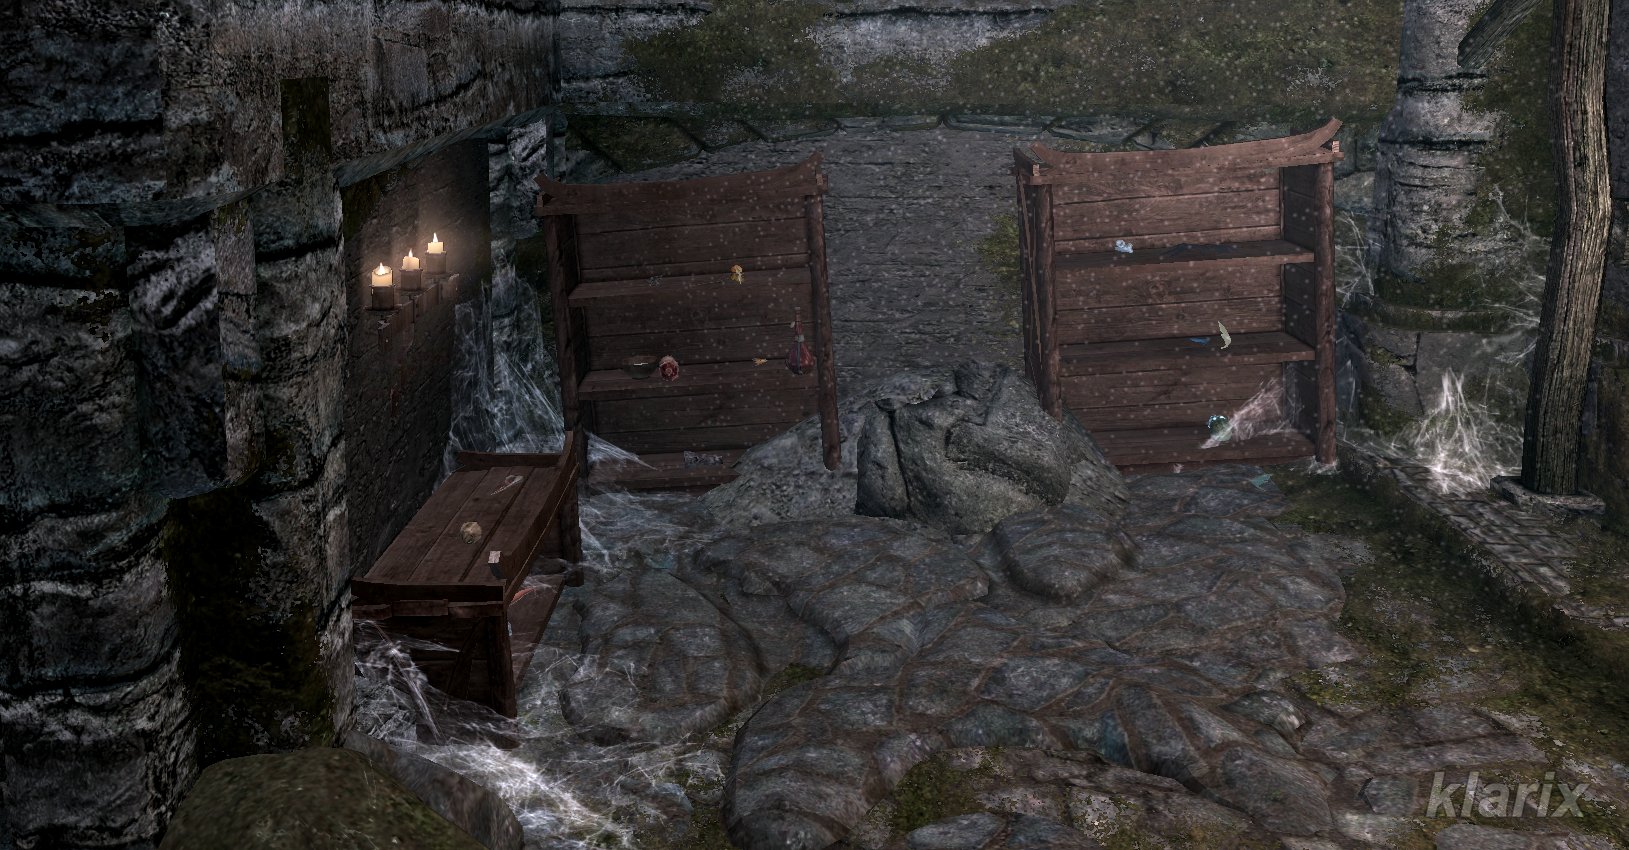 on the lower level.
 is perceived. One participates in a conversation with Brother Veren Duleri and Brother Thorek, which apparently occurred during the raid by the Orcs. Since their numbers are depleted and the Skull of Corruption must not fall into enemy hands, they state they have no choice - the Miasma must be released. One is then addressed as Brother Casimir and questioned whether one is prepared to activate the barrier and release the Miasma. While the two remain at the shrine to defend the artifact with their lives, one is instructed to proceed on their way.
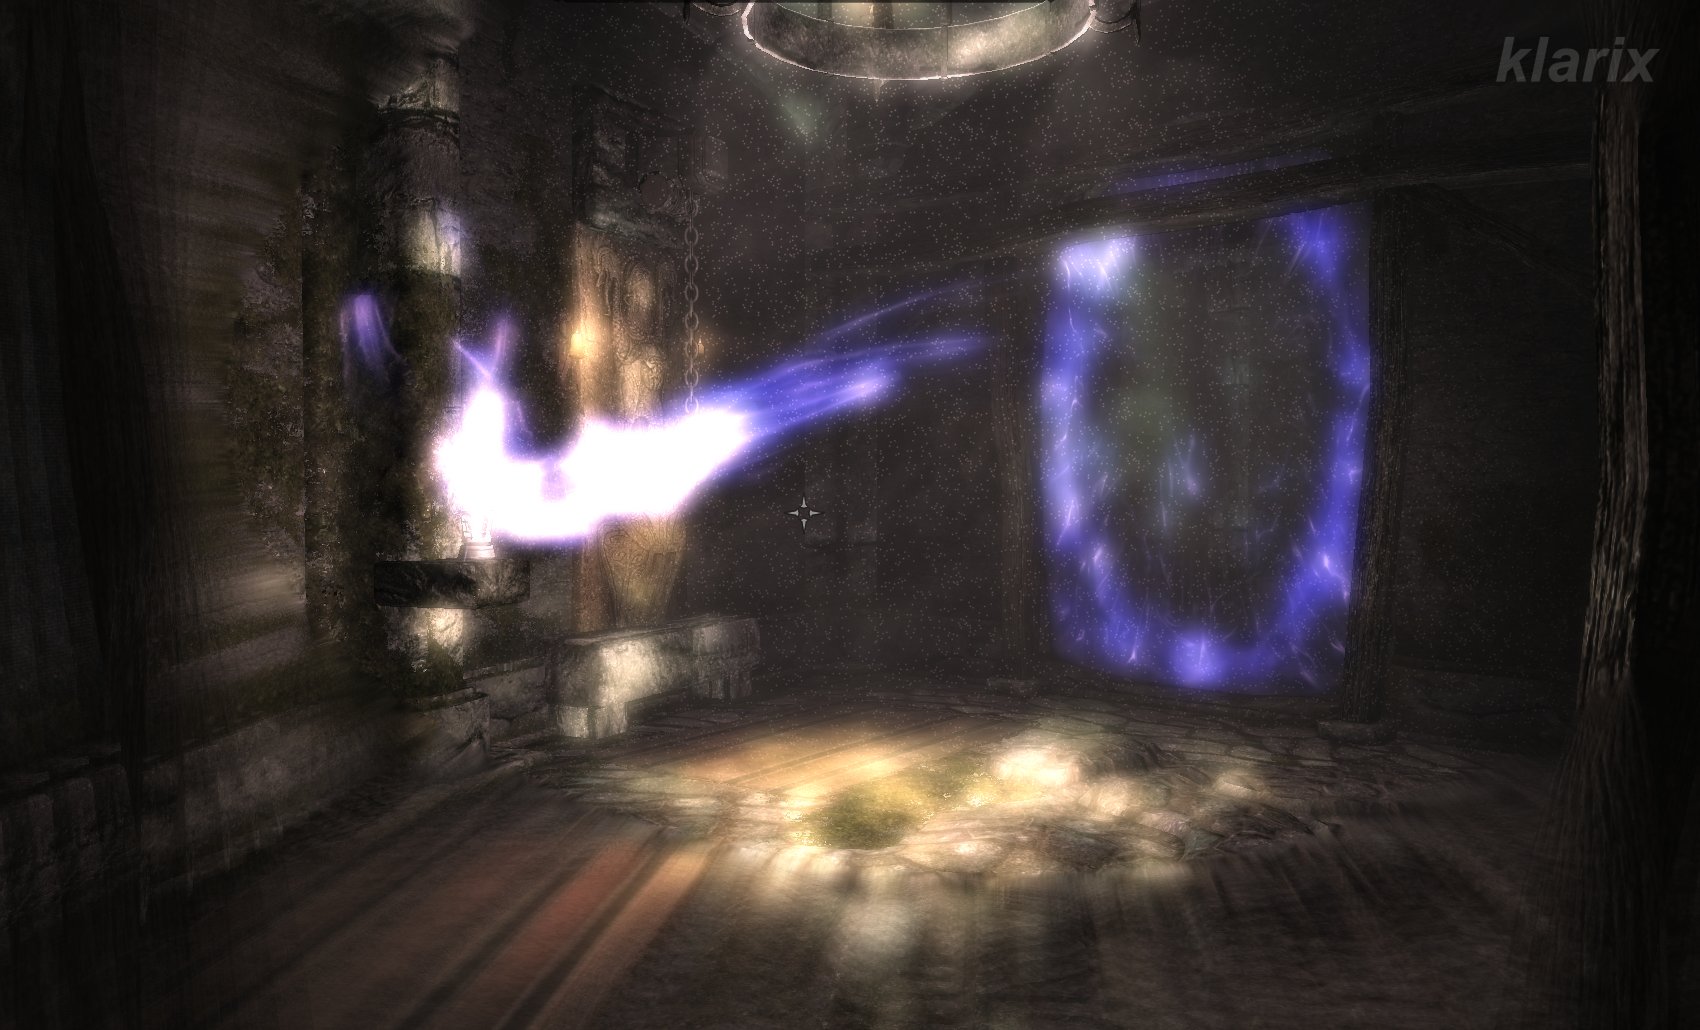 from the present. That was the primary objective - to reach the other side of the barrier in order to deactivate it.
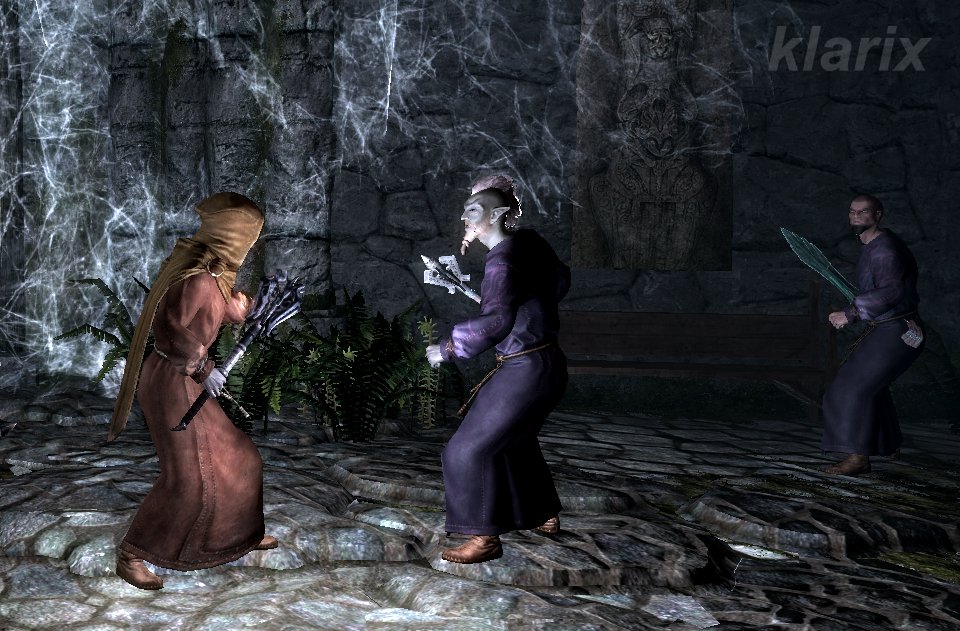 are met, who address Erandur as Casimir, accusing him of betrayal and fleeing. They prevent Erandur from advancing, making a confrontation inevitable.
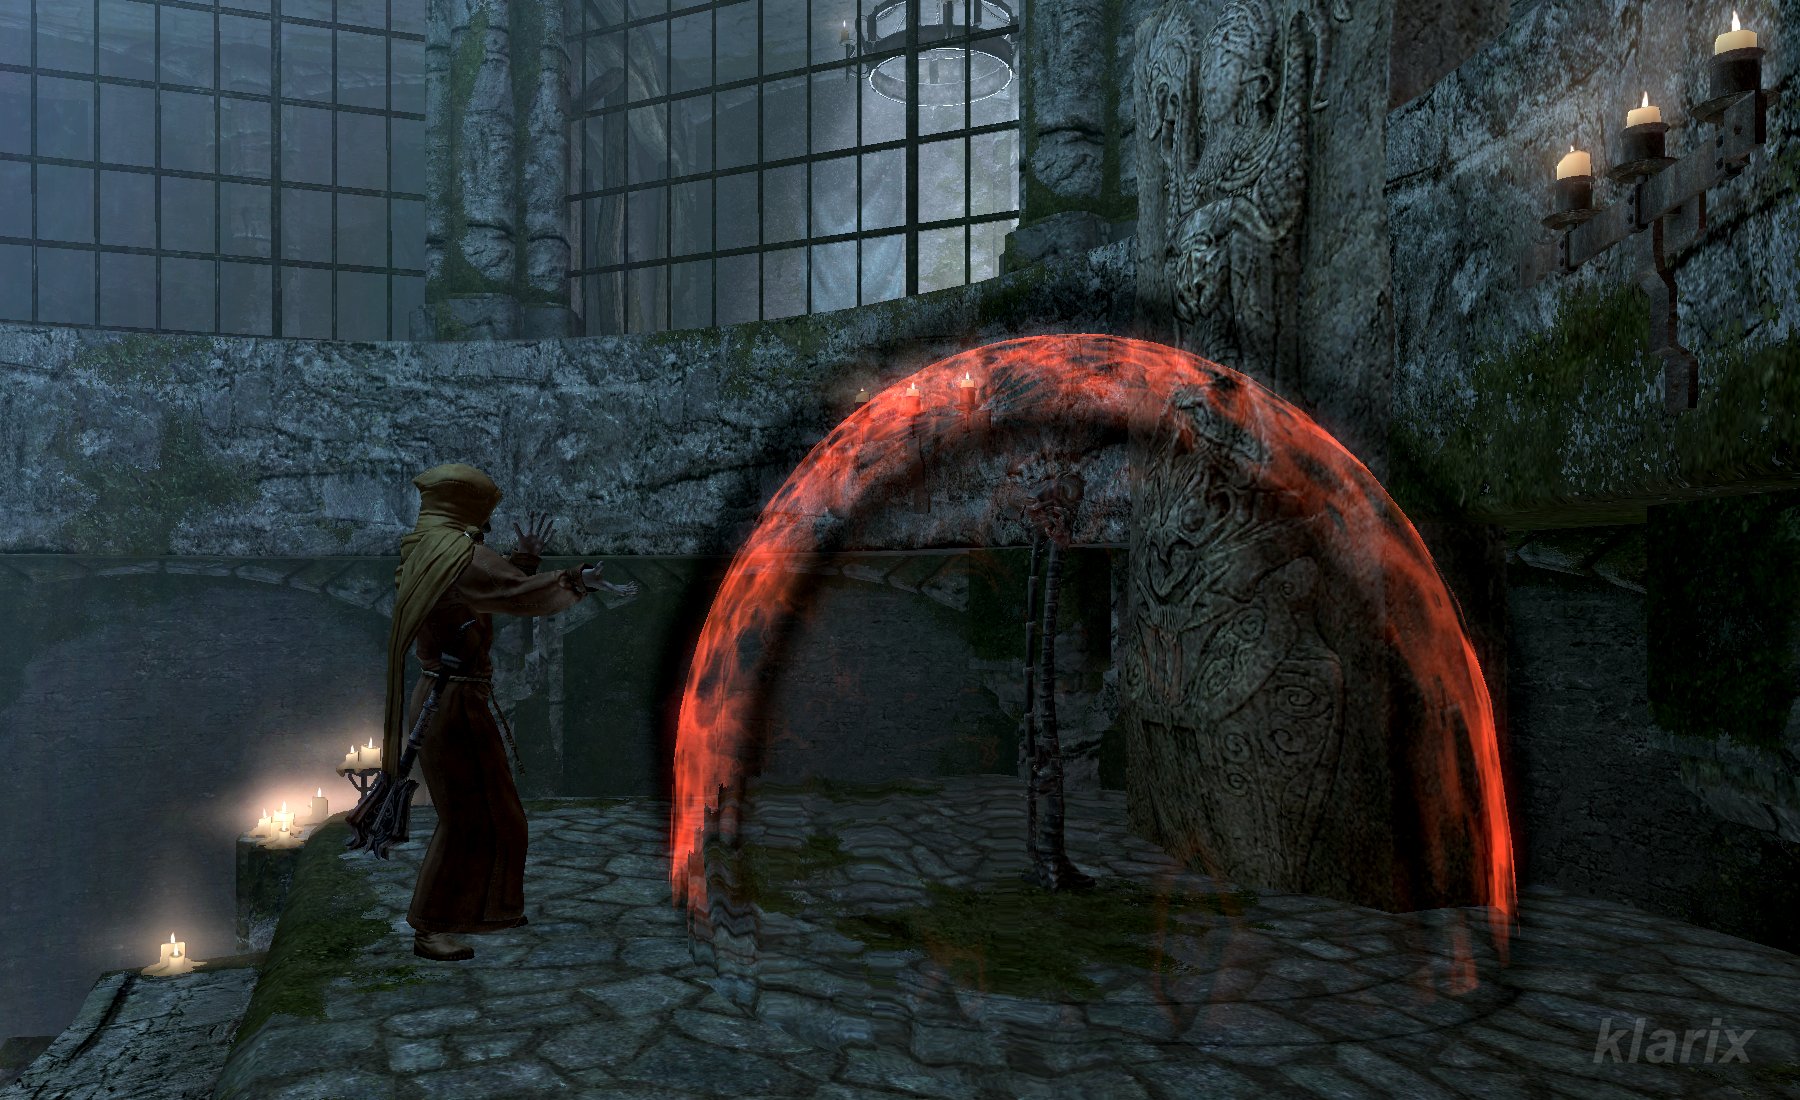 granted to him by Mara, so that the magical protection around the Skull of Corruption is eliminated. As soon as the protection is gone, a voice resonates within one's mind:
 the artifact to Oblivion.
 , and a chest is located one level higher to the north.