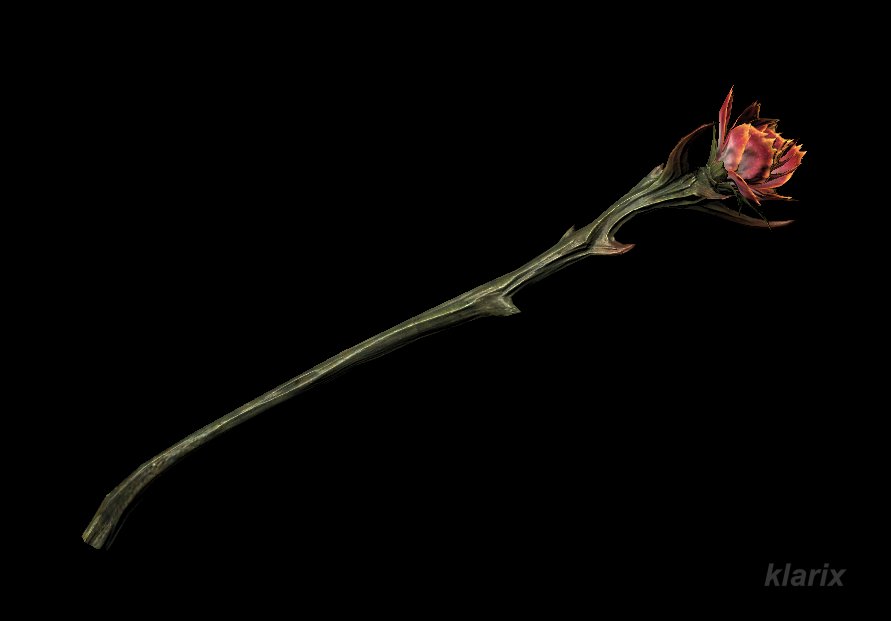
Prerequisites: Level 14 Quest Giver: Sam Guevenne Region: (Random tavern,) Markarth, Rorikstead, Whiterun, Witchmist Grove, Morvunskar, Misty Grove Reward:Sanguine Rose
Summary: One is challenged to a drinking contest by an individual named Sam Guevenne. Although the contest is won, one awakens inside the Temple of Dibella experiencing a memory lapse. In order to claim the contest winnings from Sam, it is necessary to question various citizens with whom interactions occurred during the preceding hours. Certain occurrences demand an apology, while others require restitution. Ultimately, Sam reveals himself to be the Daedric Prince Sanguine and, amused by the events, hands over the won staff.
Quest Description
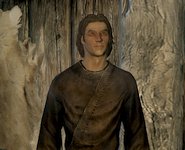
Upon reaching level 14, one is invited by an individual named Sam Guevenne in a random tavern to a friendly drinking contest, featuring a staff as the wager.
Participate in a drinking contest with Sam Guenvere [sic]
Sam encourages the acceptance of the challenge, noting that there would be drinks and laughter to enjoy. If one agrees, Sam pulls out a special, potent brew and drinks first. One follows his example, but after the second glass, Sam claims he has had enough - stating that if the third glass is finished, victory is achieved. This is accomplished with ease, and Sam congratulates the player on winning the staff. He then suggests continuing the celebration at another location, adding that the player does not look well... and everything turns black.
Find Sam Guevenne / Find the Staff★
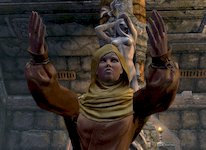
One awakens in Markarth inside the Temple of Dibella and is rebuked by the priestess Senna as a drunken blasphemer.
Public hall of the Temple of Dibella in Markarth.
Angered, Senna reports that one fondled the statue of the goddess, babbled about a marriage or a goat, and scattered trash everywhere across the temple in a rage. If questioned whether a man named Sam was also present, she points to the mess, which must be cleaned up first. If a sincere apology is offered afterward, she states she might reveal what she knows.
Help clean up the Temple of Dibella
While collecting the scattered items, one also finds a note containing a list of ingredients, which is signed by Sam. Evidently, one was in the process of procuring these items last night. Once the hall has been cleaned up, an apology must be offered to Senna.
Apologize to the priestesses of Dibella
Since Senna is the only priestess present, offering an apology to her suffices. If questioned regarding what was said upon arrival, she recalls that most of it consisted of shouting and babbling. However, she states she overheard something about Rorikstead. Investigating that location is suggested.
Ask about Sam and the staff in Rorikstead
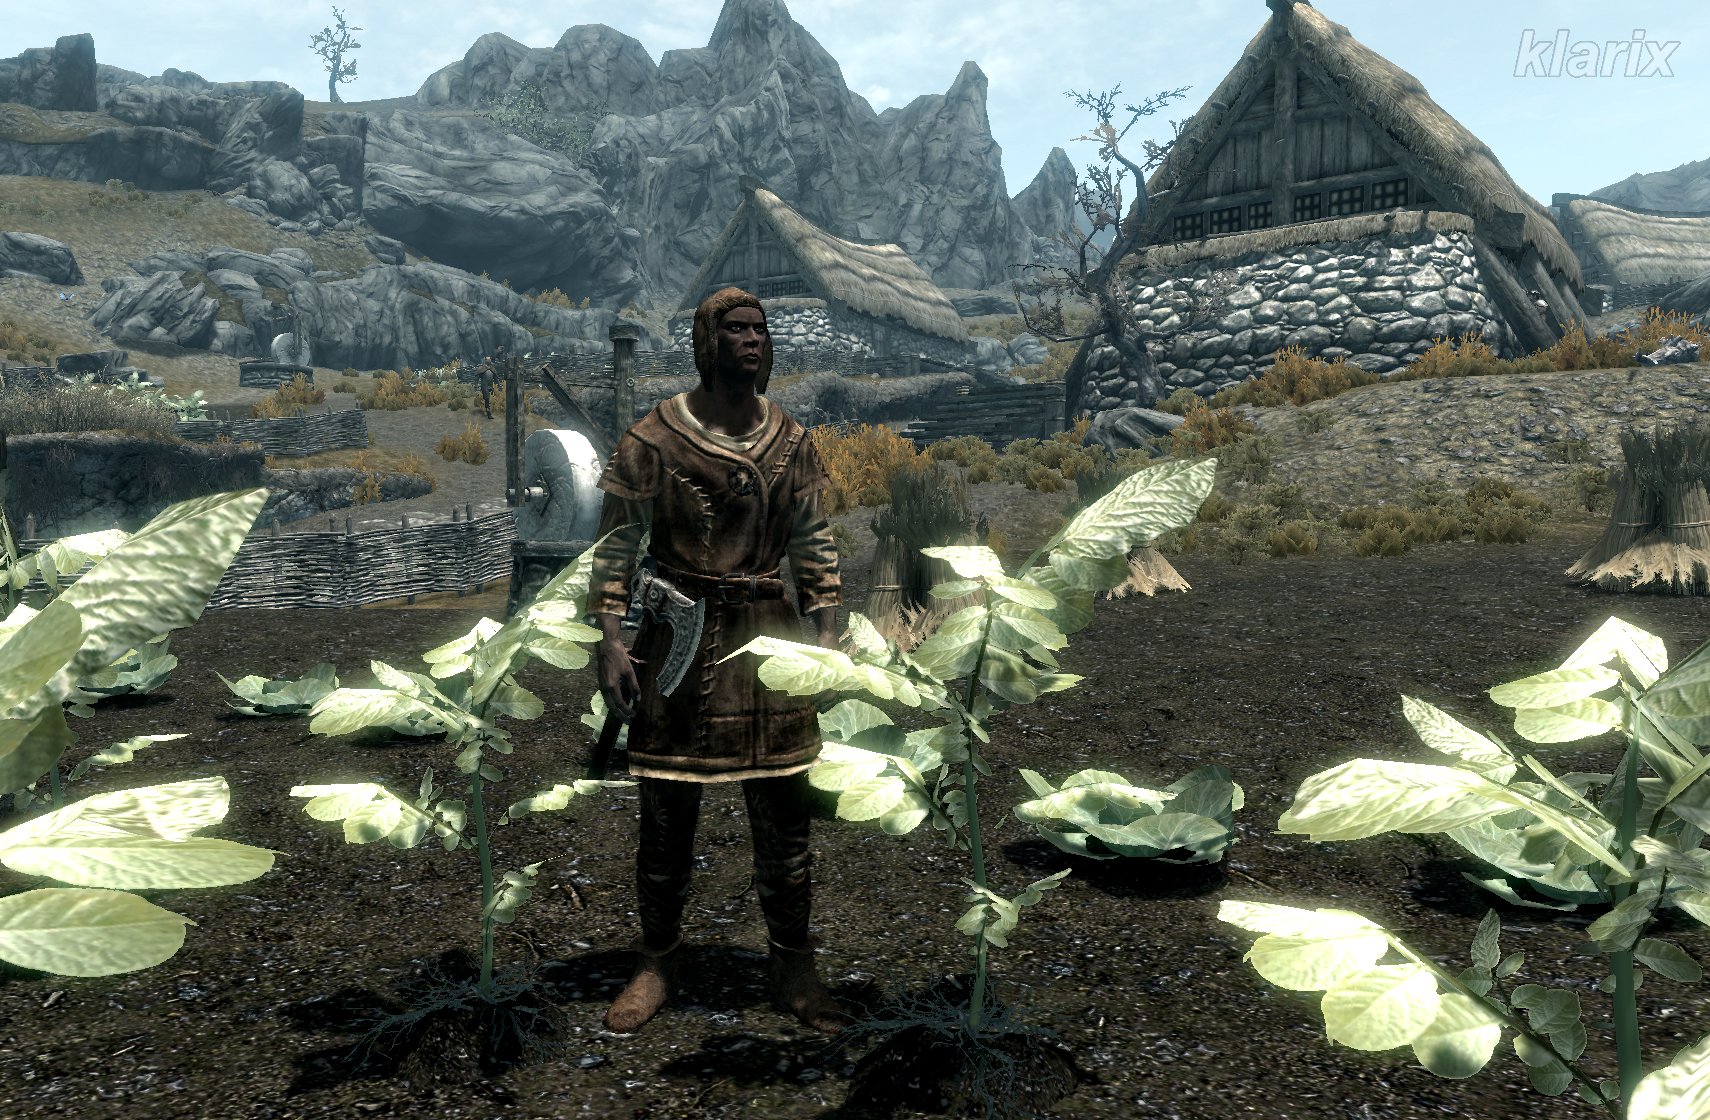
Conveniently, the quest marker even knows the specific individual who must be addressed within Rorikstead. Upon approaching Ennis, one is immediately confronted with accusations. One is reminded that, while intoxicated, one abducted the prize-winning goat Gleda and sold her to a giant. Any potential information regarding Sam or the staff will only be provided if Gleda is located and brought back.
Find Gleda the Goat
One simply follows the quest marker and soon catches up with the giant Grok and the goat Gleda. One must somehow manage to "speak to" Gleda without triggering an attack from Grok. If one feels powerful enough, fighting the giant before speaking to the goat is an option. She follows subsequently.
Bring Gleda the Goat back to Ennis in Rorikstead
Ennis is pleased that Gleda did not receive a single scratch and is now willing to assist further. He speaks of a note stained with mead, upon which he was able to decipher the words "Ysolda in Whiterun." Investigating that location is suggested.
Talk to Ysolda in Whiterun about the staff Ysolda is located at the market square as usual (unless she was previously married - see notes). She reports that a ring was obtained from her on credit. This was allegedly intended as a wedding ring for someone with whom one fell in love at Witchmist Grove. However, if one apparently cannot even remember the future spouse, the engagement has presumably been called off. She expresses deep regret, as she was looking forward to the wedding featuring numerous interesting guests. One is simply requested to return the ring to her.
Find the wedding ring in Witchmist Grove
With the new map marker and the hope that Ysolda possesses further information, one proceeds to the designated location.
The name Witchmist Grove describes exactly what is encountered there.
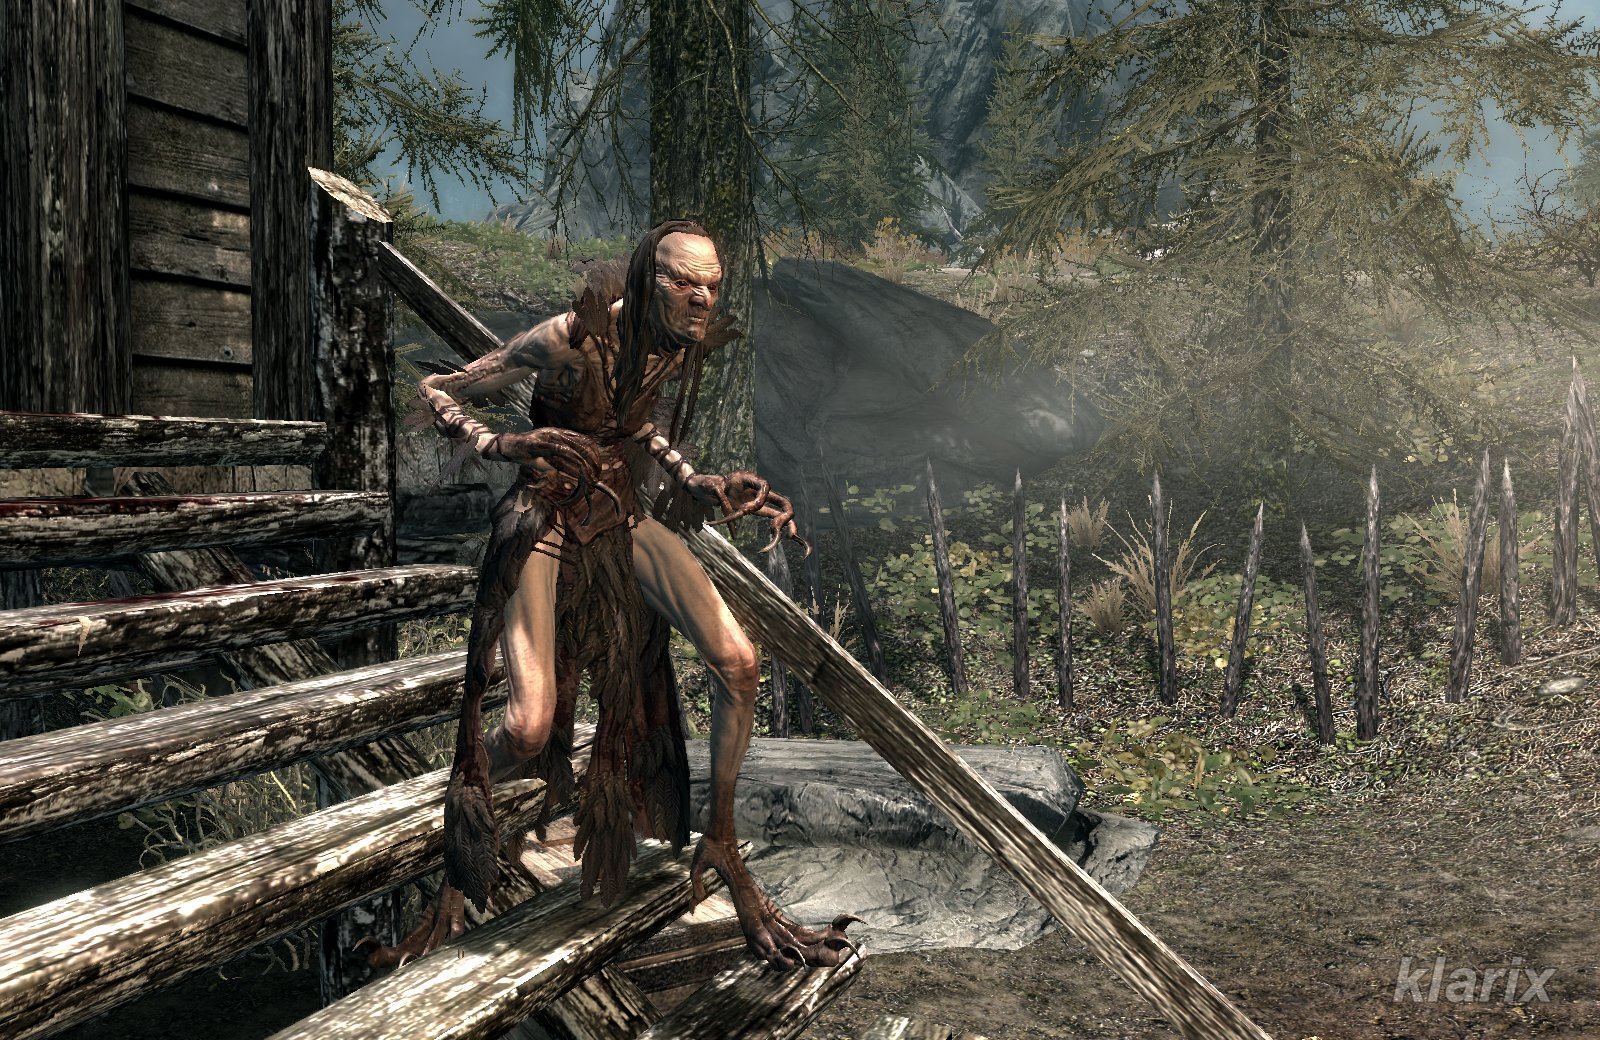
The presumed future spouse turns out to be the hagraven Moira. One is greeted as "darling" in anticipation of consummating their love. However, if it is made clear that the intention is simply to reclaim the ring, Moira assumes it is desired "for that hussy Esmerelda, with the dark feathers". Overcome with jealousy, Moira attacks, leaving no option but to fight in order to claim the ring.
Take the wedding ring / Return the wedding ring to Ysolda in Whiterun
Moved by sympathy and compassion, Ysolda expresses deep regret that the romance did not succeed. She mentions knowing how much anticipation there had been regarding the grand wedding celebration at Morvunskar. She adds that magical staff was even supposed to be provided for the entertainment of the guests.
Head to Morvunskar
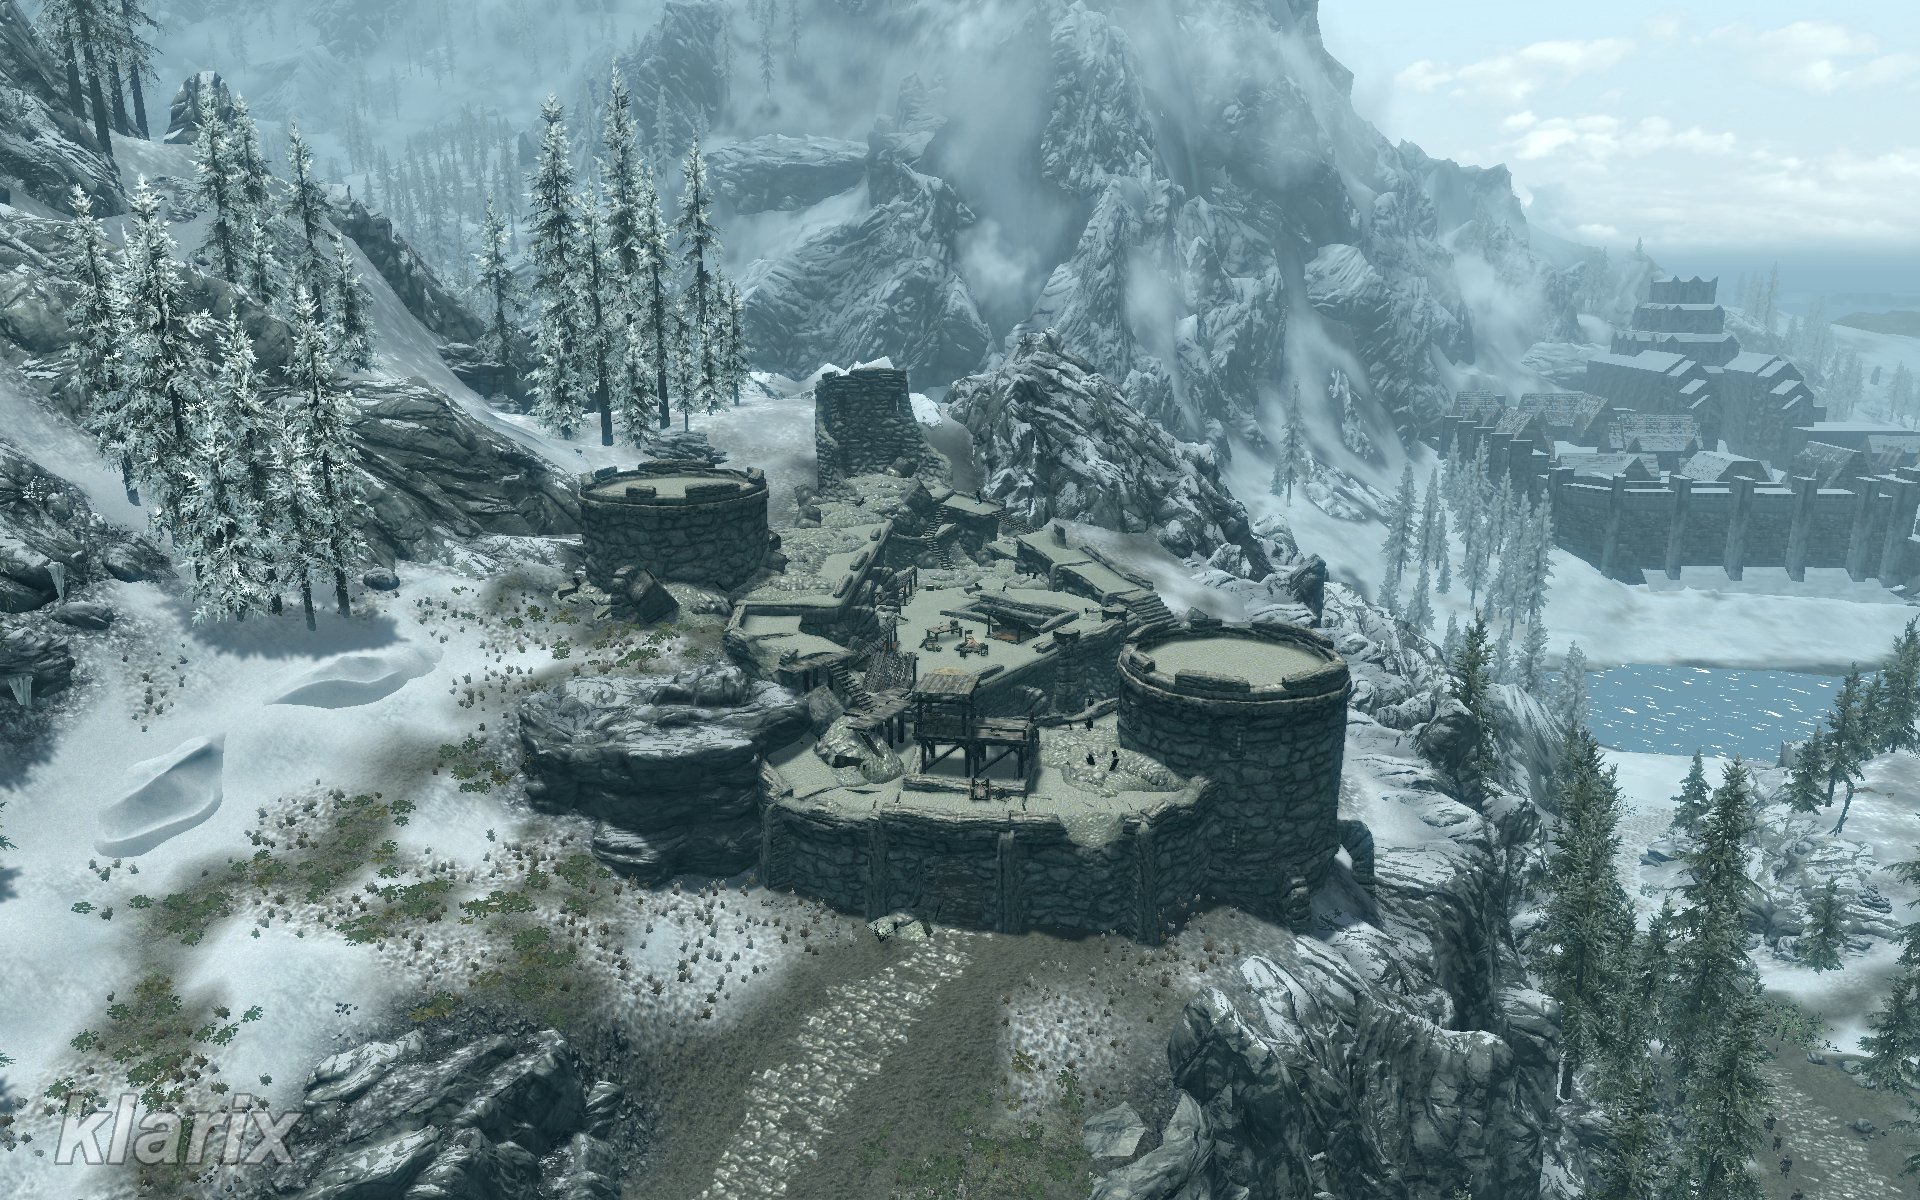
Due to the map marker, an old castle ruin populated by hostile mages both inside and outside is reached with precision. Sneaking past all of them will hardly be possible, perhaps only by using invisibility. Otherwise, confrontations with conjurers, necromancers, cryomancers, pyromancers, and electromancers must be anticipated.
Search Morvunskar for Sam and the Staff
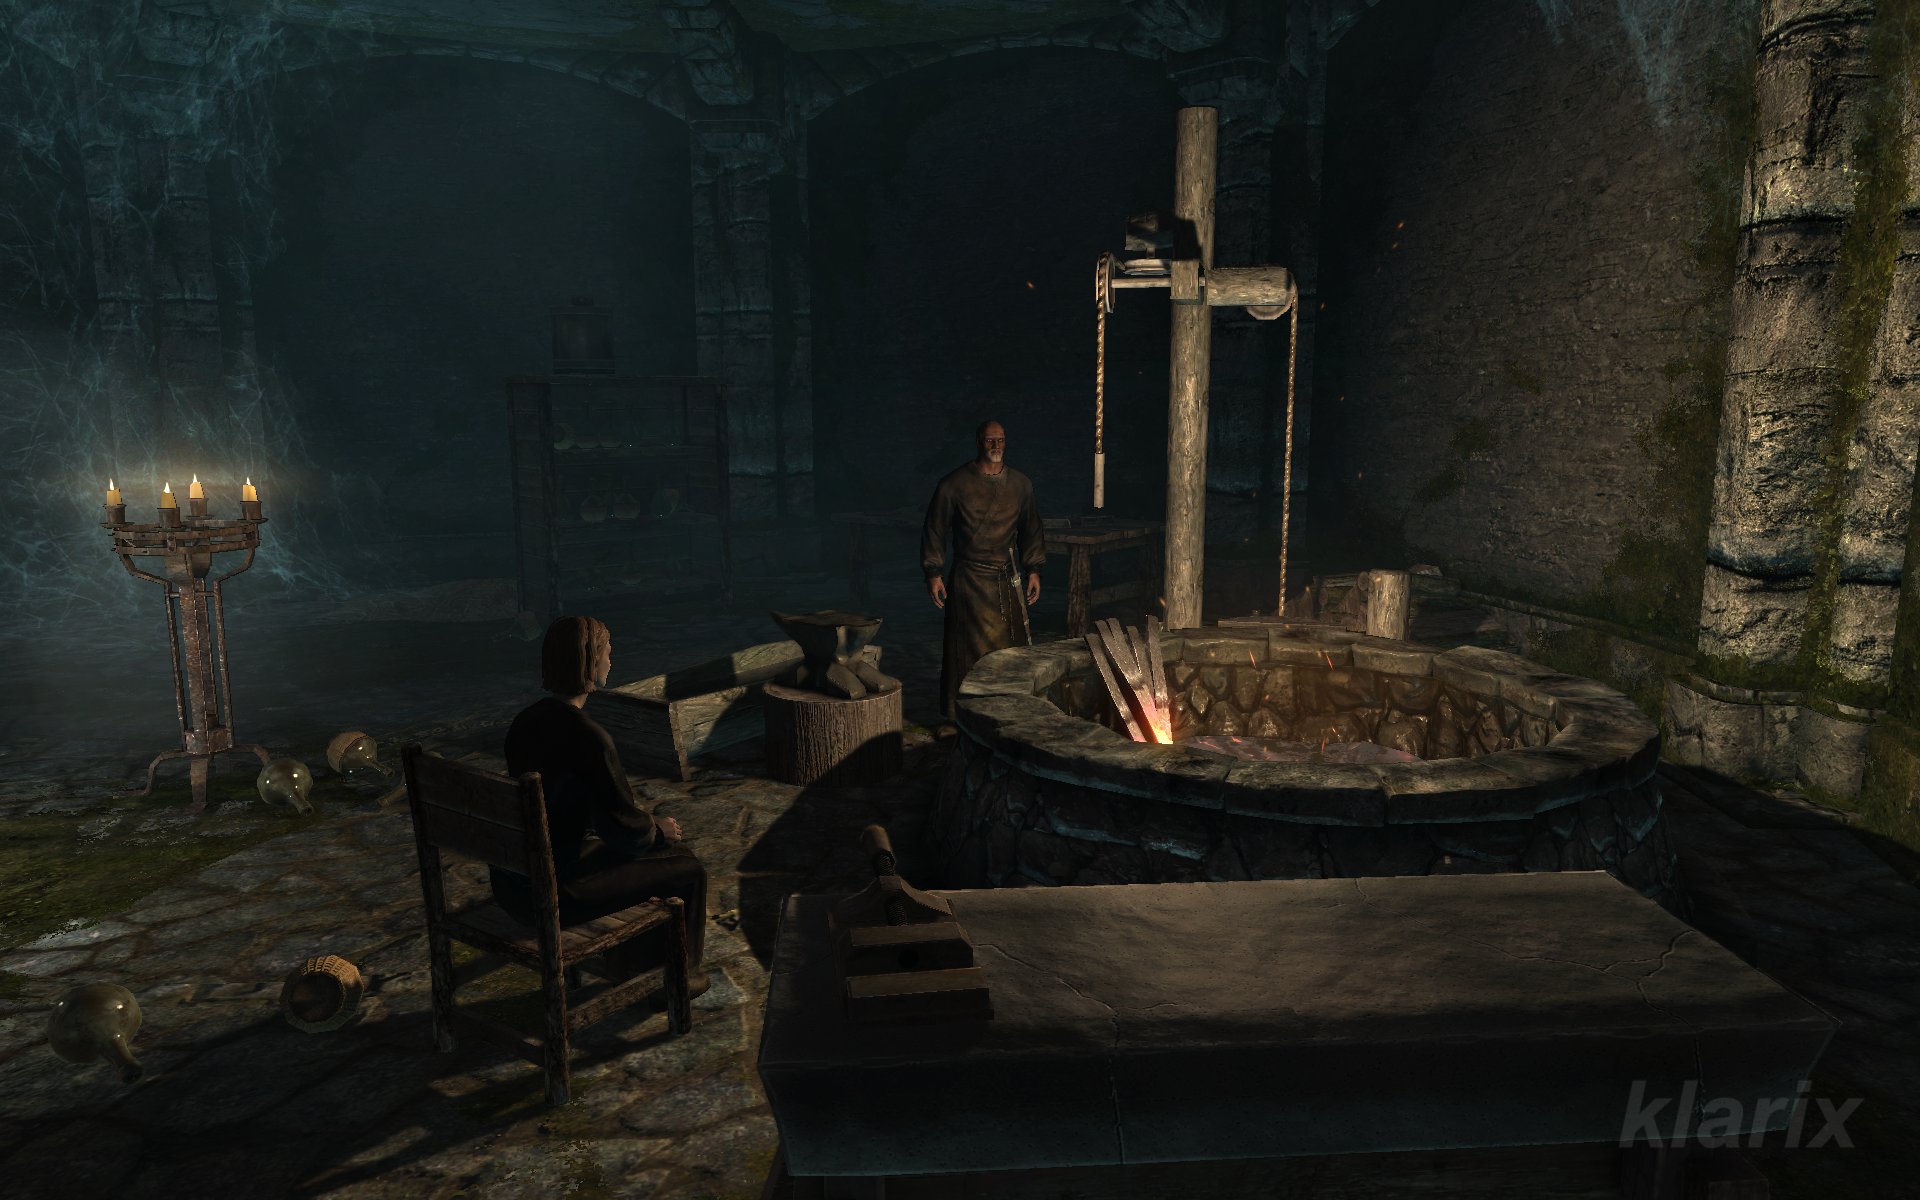
This objective is occasionally not activated - see notes. Multiple rooms and corridors are traversed until a large hall featuring a stairway is reached, where a glowing sphere forms upon approach.
This sphere must be entered to locate Sam.
However, attracting the attention of the mages enthroned upon the platform above to defeat them downstairs is recommended. In general, avoiding the stairs until all castle rooms have been explored and numerous items have been gathered is advantageous. This approach also allows for locating Naris the Wicked, who is experimenting with freshly roasted human flesh. Beneath the stairway, a chest and a strongbox are located, which become inaccessible once the sphere has formed.
One then enters the magical sphere, which turns out to be a portal to the Misty Grove. Upon arrival, the path is followed across two small bridges, leading to a jovial gathering.
One is already anticipated within the Misty Grove.
One is welcomed by Sam Guevenne. During the conversation, it is revealed that one had already visited this location last night, and that all the hard-earned materials can be discarded. The journey through the night served solely to spread good cheer. Sam transforms into Sanguine, the Daedric Prince of Debauchery, and contentedly admits that he has not been this well entertained in at least a hundred years. One is granted the 'Sanguine Rose', his not-quite-holy staff, and is teleported back to Skyrim with warm wishes.
With this, the quest concludes.
Known Bugs
If one possesses the Conjuration perk "Elemental Potency", the Sanguine Rose will fail to function. The staff depletes its charge upon usage, but a Dremora fails to manifest. This must be evaluated as a bug.
Tips & Notes
If one wishes to avoid searching for Sam within the taverns for an extended period, teleporting directly to him is possible utilizing the console command "player.moveto 000A96A0".
The quest will fail to initiate if Ysolda is deceased.
Sam is essential, which should be self-evident.
The quest description detailed above includes all potential steps comprised within the quest. However, several stages can be bypassed in various manners. Whether certain conversations can be omitted and whether specific dialogue options are available at all depends upon the Speech skill. For example:
If one succeeds in persuading Senna, the objective regarding cleaning up the trash is completed instantly. The objective to apologize becomes unexecutable and is closed automatically later.
If one succeeds in persuading Ennis in Rorikstead, the information regarding Ysolda is obtained without the necessity of attending to the goat.
If Ysolda is paid the gold for the ring or if her heart is softened, the entire matter within Witchmist Grove is omitted, allowing one to proceed directly to Morvunskar.
Dibella is the goddess of beauty, aesthetics, love, and erotic joys. She is the patron of artists and bards, representing life enjoyment and the arts of love.
Sanguine is the Daedric Prince of thoughtless festivities, debauchery, hedonistic revelry, and excess. He passionately practices indulgence toward darker natures. Since Daedra are not only genderless but also fundamentally formless, his appearance within the quest constitutes merely the manifestation of a potential mortal perception.
Reference is made to a "wild night." However, it is scarcely imaginable that all these activities were performed and, above all, these vast distances were traversed within that timeframe. At the very least, "Sam's Note" clarifies which objectives were pursued, and the selection of locations and individuals impressively demonstrates the intensity of the intoxication.
Allegedly, magically calming the giant Grok utilizing spells is reported to be possible, preventing him from becoming hostile upon approach. Attempting this could not be replicated during the compilation of this guide - Grok consistently remained "too powerful for Calm." Although sneaking up on Gleda is possible, the crouch mode must be exited briefly in order to "speak to" her. However, if one acts skillfully, ensures the distance to Grok is sufficient, and approaches while he is looking away, it is achievable.
If Ysolda was married prior to the quest and has potentially relocated elsewhere, meeting her at that new residence is necessary. It appears peculiar in that instance, as the quest dialogues remain unaltered in this scenario. The conversations consequently seem absurd, yet they continue the refreshing and entertaining quest regardless.
The activation of the objective "Search Morvunskar for Sam and the Staff" can fail after reaching the ruin until the interior rooms are entered and a return to the exterior is made. At the latest, once Sam has been located, it is finally activated - though logically only for a very brief duration.
Following the completion of the quest, a random encounter with an Argonian named Deep-In-His-Cups may occur. Apparently, one was carousing merrily with him and Sam during the night, and together the party broke into the Temple of Dibella. Fittingly for his name, he presumably reached his drinking threshold first. However, he claims to have passed a dare presented to him by sneaking into a bandit camp and stealing the leader's hat as proof. He now demands the agreed-upon 10,000 gold pieces for this foolish hat. One can barter him down to 750 gold, whereupon he departs satisfied for Black Marsh. At least he states this intention, as he will soon have forgotten the transaction and randomly reappears with identical demands. This constitutes a bug, as he manifests even if he was previously executed.
 in a random tavern to a friendly drinking contest, featuring a staff as the wager.
 as a drunken blasphemer.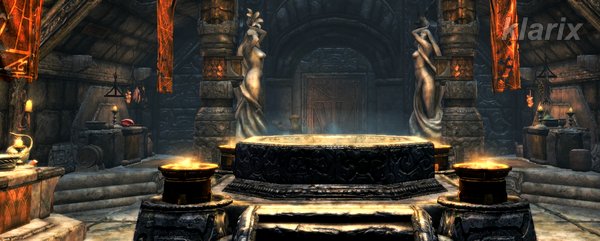
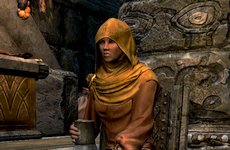 reports that one fondled the statue of the goddess, babbled about a marriage or a goat, and scattered trash everywhere across the temple in a rage. If questioned whether a man named Sam was also present, she points to the mess, which must be cleaned up first. If a sincere apology is offered afterward, she states she might reveal what she knows.
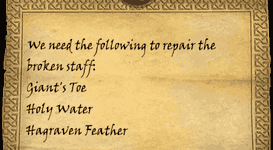 containing a list of ingredients, which is signed by Sam. Evidently, one was in the process of procuring these items last night. Once the hall has been cleaned up, an apology must be offered to Senna.
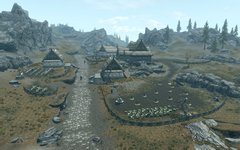 . Upon approaching Ennis
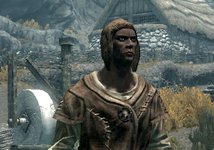 , one is immediately confronted with accusations. One is reminded that, while intoxicated, one abducted the prize-winning goat Gleda and sold her to a giant. Any potential information regarding Sam or the staff will only be provided if Gleda is located and brought back.
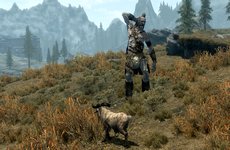 . One must somehow manage to "speak to" Gleda without triggering an attack from Grok. If one feels powerful enough, fighting the giant before speaking to the goat is an option. She follows subsequently.
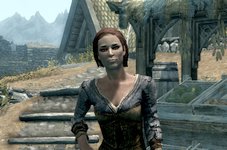 is located at the market square as usual (unless she was previously married - see notes). She reports that a ring was obtained from her on credit. This was allegedly intended as a wedding ring for someone with whom one fell in love at Witchmist Grove. However, if one apparently cannot even remember the future spouse, the engagement has presumably been called off. She expresses deep regret, as she was looking forward to the wedding featuring numerous interesting guests. One is simply requested to return the ring to her.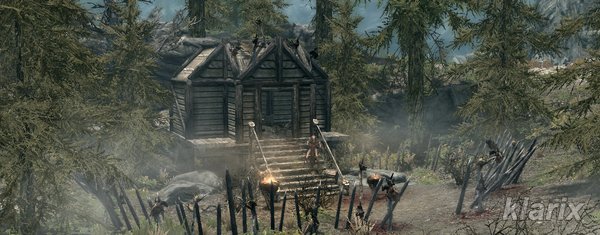
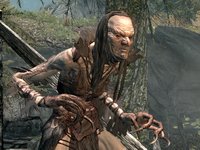 . One is greeted as "darling" in anticipation of consummating their love. However, if it is made clear that the intention is simply to reclaim the ring, Moira assumes it is desired "for that hussy Esmerelda, with the dark feathers". Overcome with jealousy, Moira attacks, leaving no option but to fight in order to claim the ring.
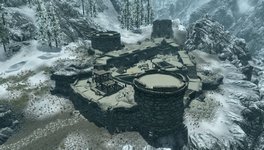 populated by hostile mages both inside and outside is reached with precision. Sneaking past all of them will hardly be possible, perhaps only by using invisibility. Otherwise, confrontations with conjurers, necromancers, cryomancers, pyromancers, and electromancers must be anticipated.
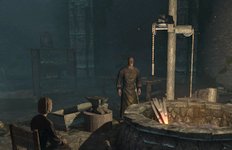 and corridors
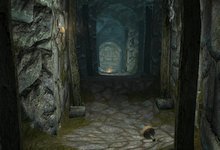 are traversed until a large hall featuring a stairway
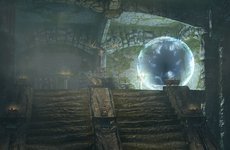 is reached, where a glowing sphere forms upon approach.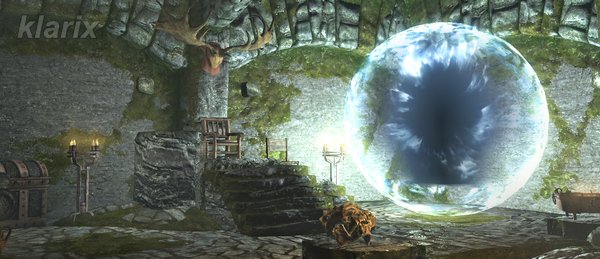
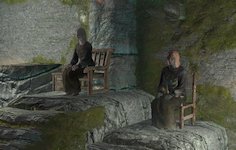 enthroned upon the platform above to defeat them downstairs is recommended. In general, avoiding the stairs until all castle rooms have been explored and numerous items have been gathered is advantageous. This approach also allows for locating Naris the Wicked, who is experimenting with freshly roasted human flesh
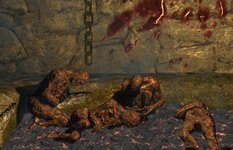 . Beneath the stairway, a chest and a strongbox
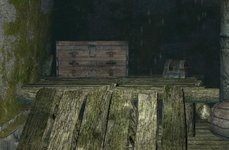 are located, which become inaccessible once the sphere has formed.
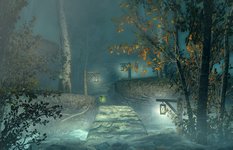 . Upon arrival, the path is followed across two small bridges, leading to a jovial gathering.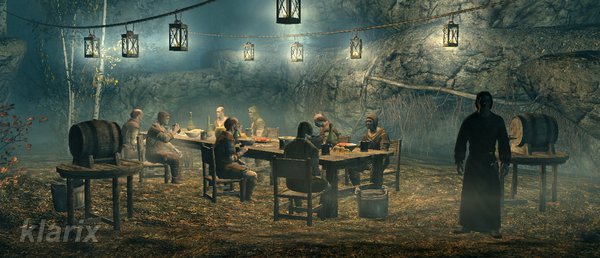
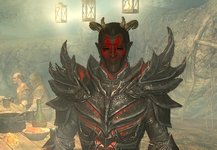 , the Daedric Prince of Debauchery, and contentedly admits that he has not been this well entertained in at least a hundred years. One is granted the 'Sanguine Rose'
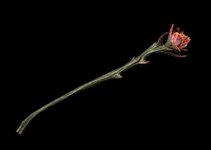 , his not-quite-holy staff, and is teleported back to Skyrim with warm wishes.
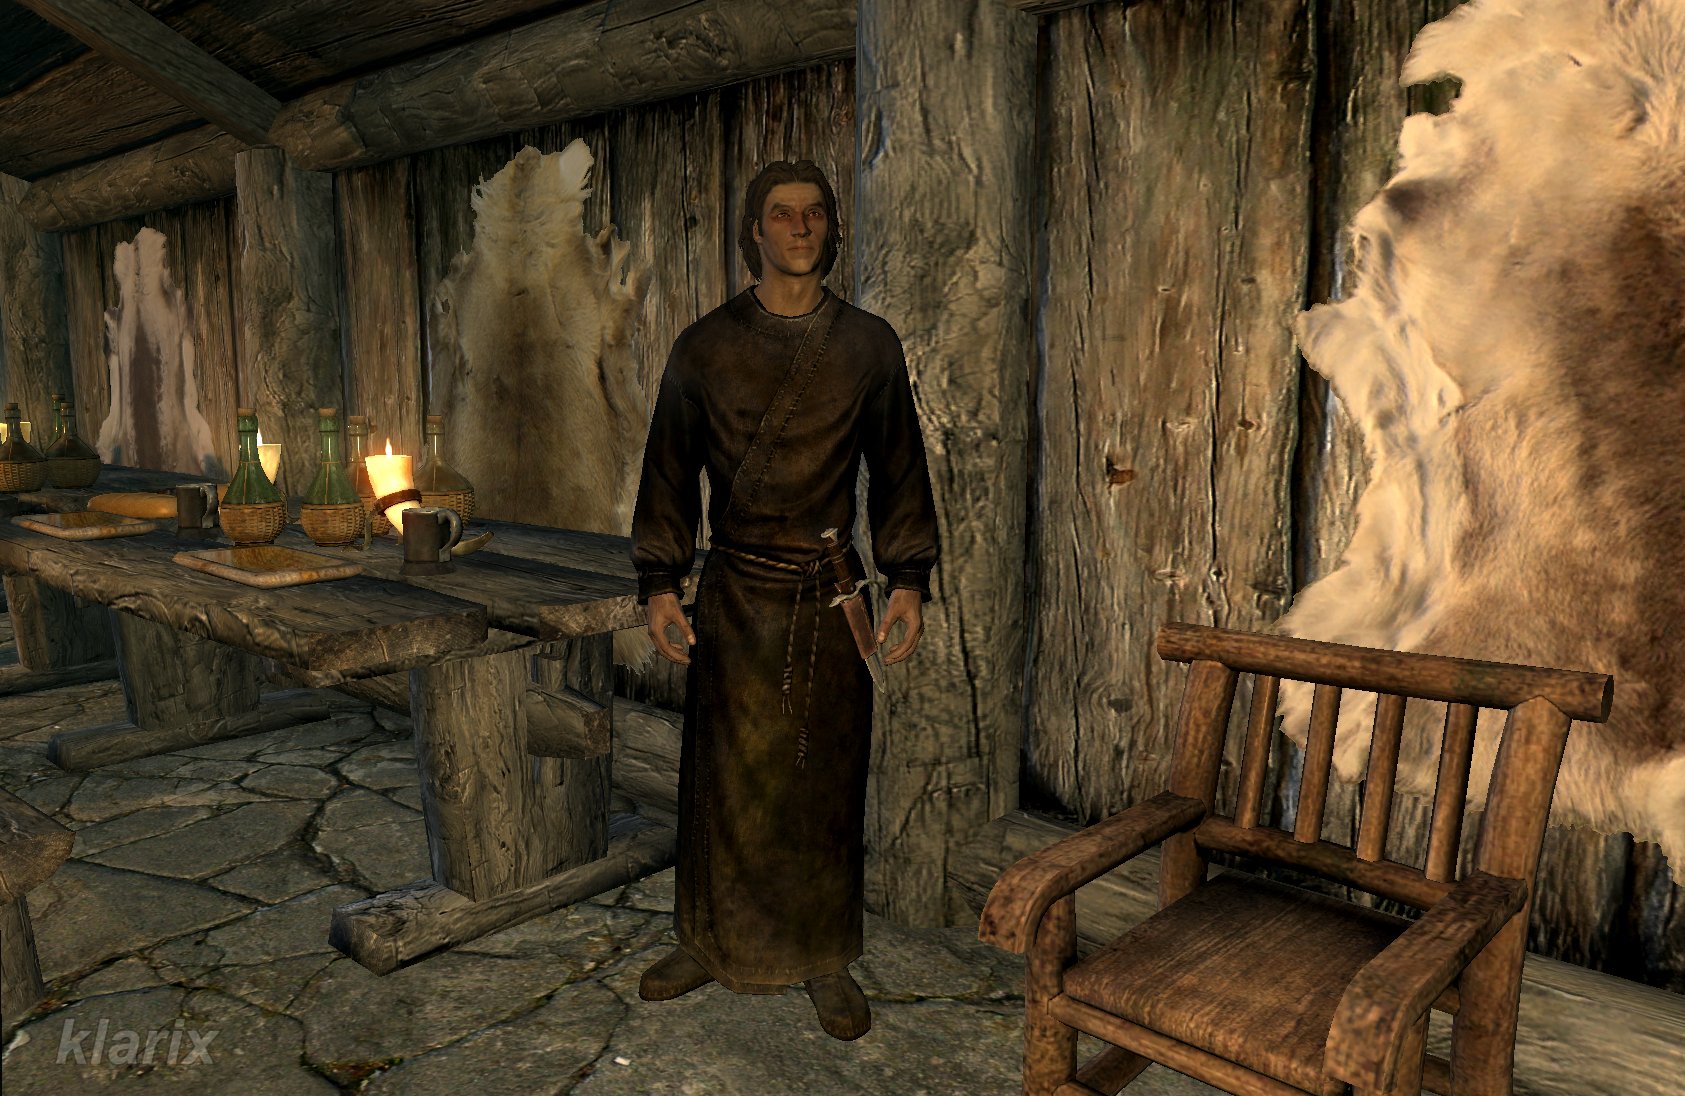 in a random tavern to a friendly drinking contest, featuring a staff as the wager.
 as a drunken blasphemer.
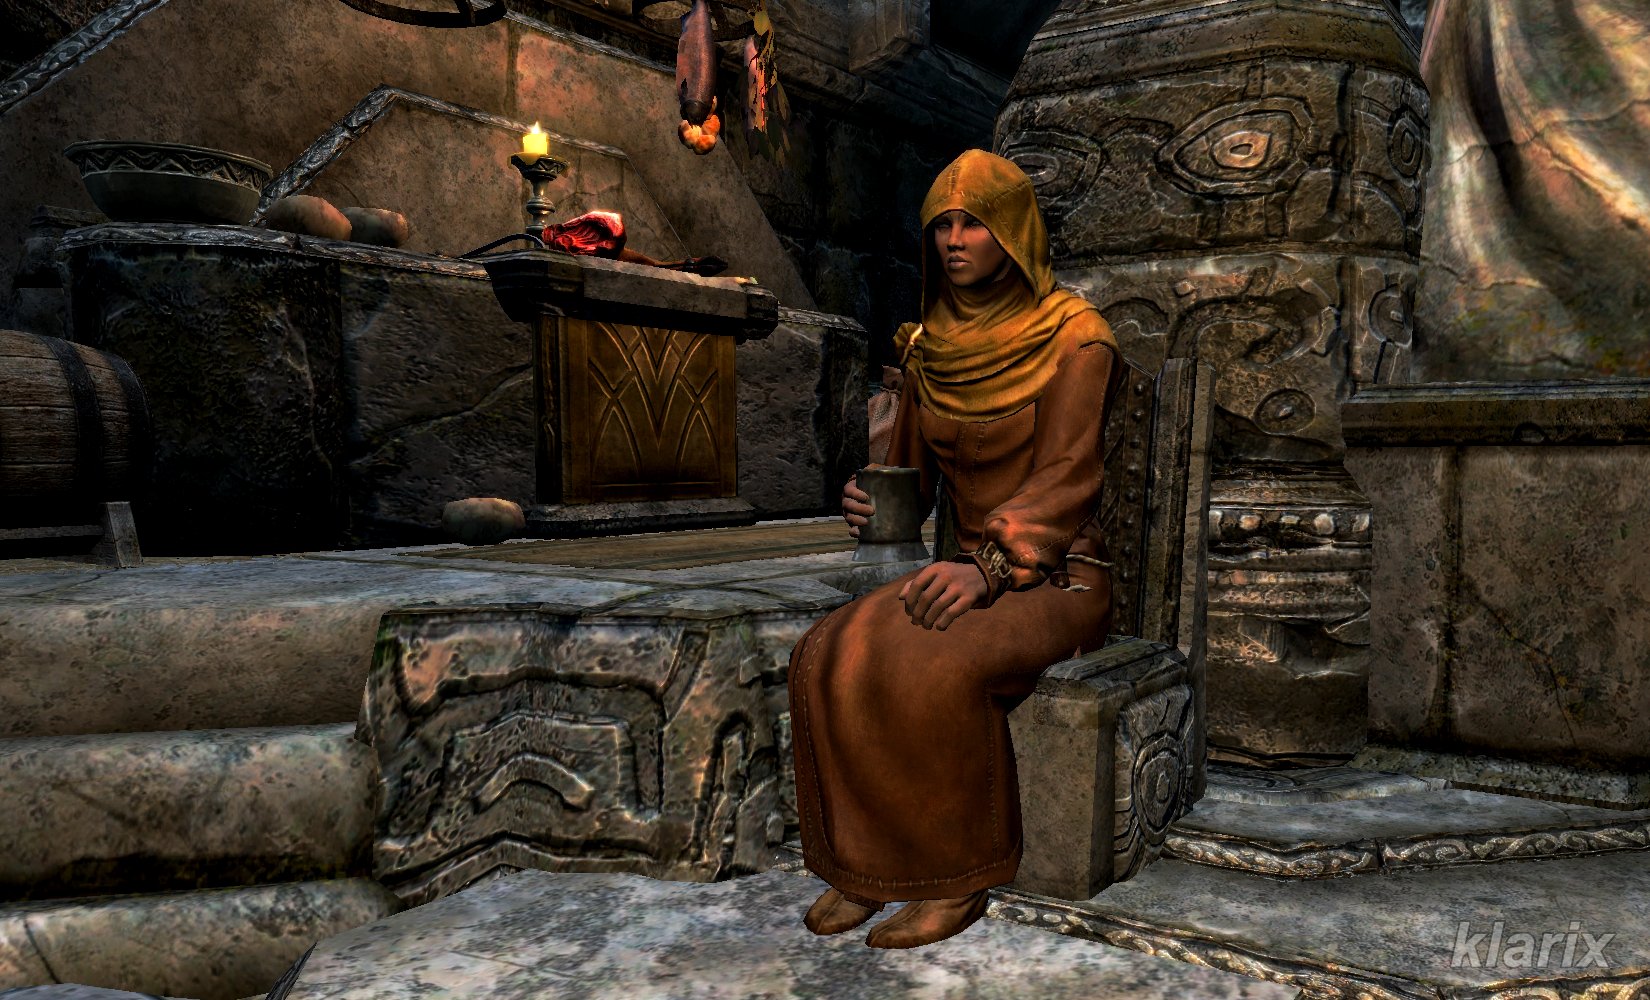 reports that one fondled the statue of the goddess, babbled about a marriage or a goat, and scattered trash everywhere across the temple in a rage. If questioned whether a man named Sam was also present, she points to the mess, which must be cleaned up first. If a sincere apology is offered afterward, she states she might reveal what she knows.
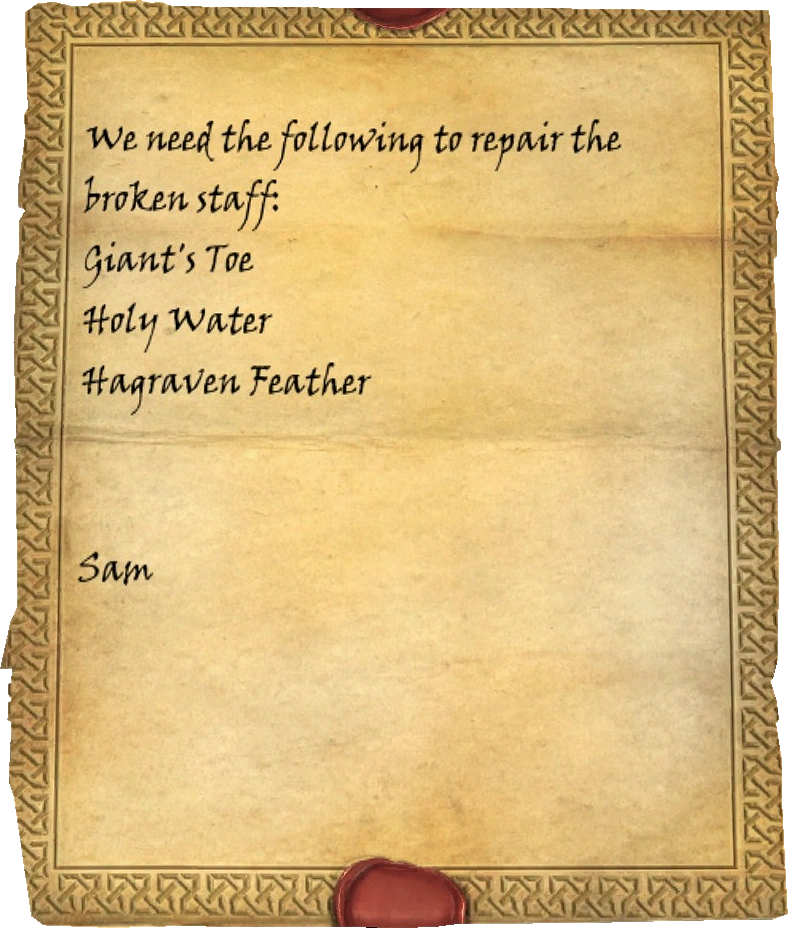 containing a list of ingredients, which is signed by Sam. Evidently, one was in the process of procuring these items last night. Once the hall has been cleaned up, an apology must be offered to Senna.
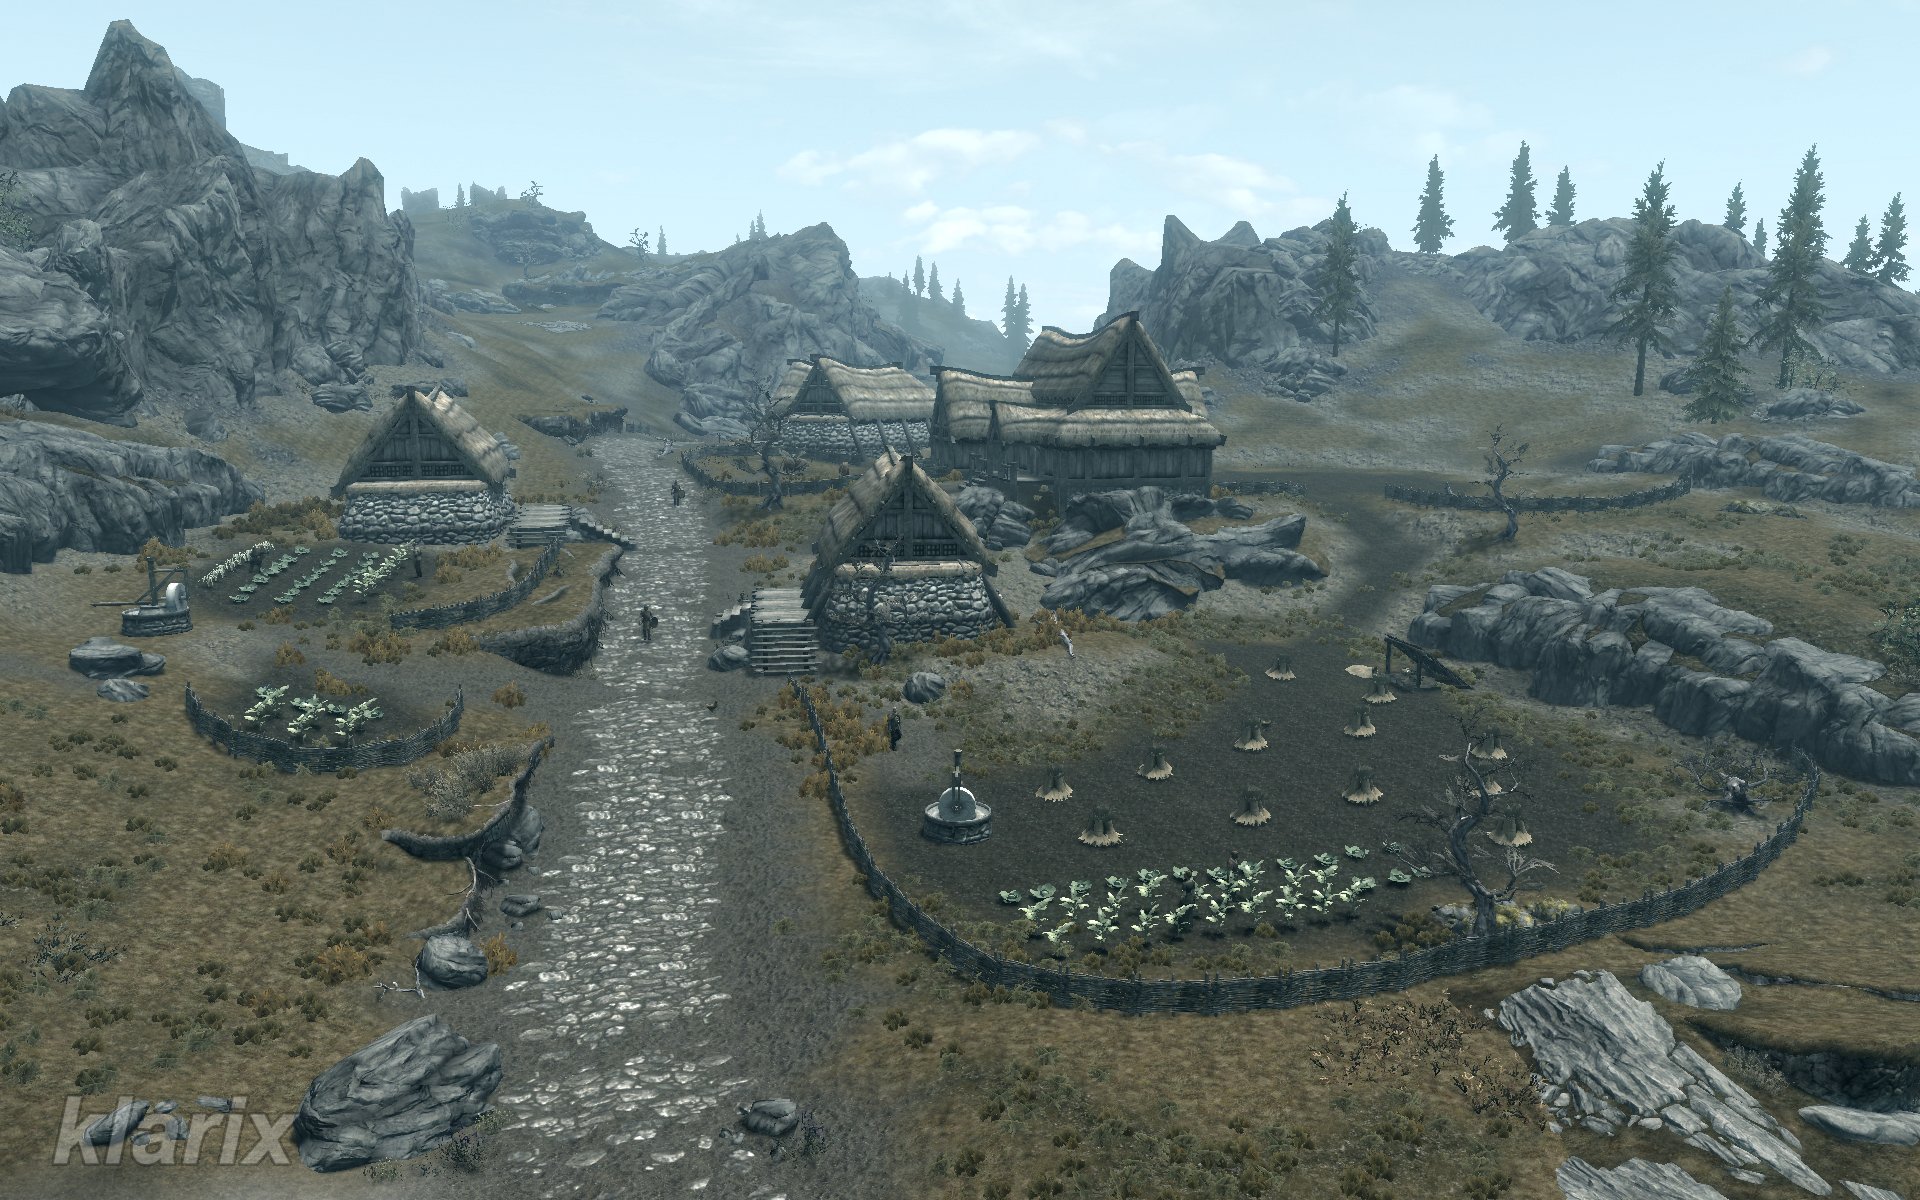 . Upon approaching Ennis
 , one is immediately confronted with accusations. One is reminded that, while intoxicated, one abducted the prize-winning goat Gleda and sold her to a giant. Any potential information regarding Sam or the staff will only be provided if Gleda is located and brought back.
 . One must somehow manage to "speak to" Gleda without triggering an attack from Grok. If one feels powerful enough, fighting the giant before speaking to the goat is an option. She follows subsequently.
 is located at the market square as usual (unless she was previously married - see notes). She reports that a ring was obtained from her on credit. This was allegedly intended as a wedding ring for someone with whom one fell in love at Witchmist Grove. However, if one apparently cannot even remember the future spouse, the engagement has presumably been called off. She expresses deep regret, as she was looking forward to the wedding featuring numerous interesting guests. One is simply requested to return the ring to her.
 . One is greeted as "darling" in anticipation of consummating their love. However, if it is made clear that the intention is simply to reclaim the ring, Moira assumes it is desired "for that hussy Esmerelda, with the dark feathers". Overcome with jealousy, Moira attacks, leaving no option but to fight in order to claim the ring.
 populated by hostile mages both inside and outside is reached with precision. Sneaking past all of them will hardly be possible, perhaps only by using invisibility. Otherwise, confrontations with conjurers, necromancers, cryomancers, pyromancers, and electromancers must be anticipated.
 and corridors
 are traversed until a large hall featuring a stairway
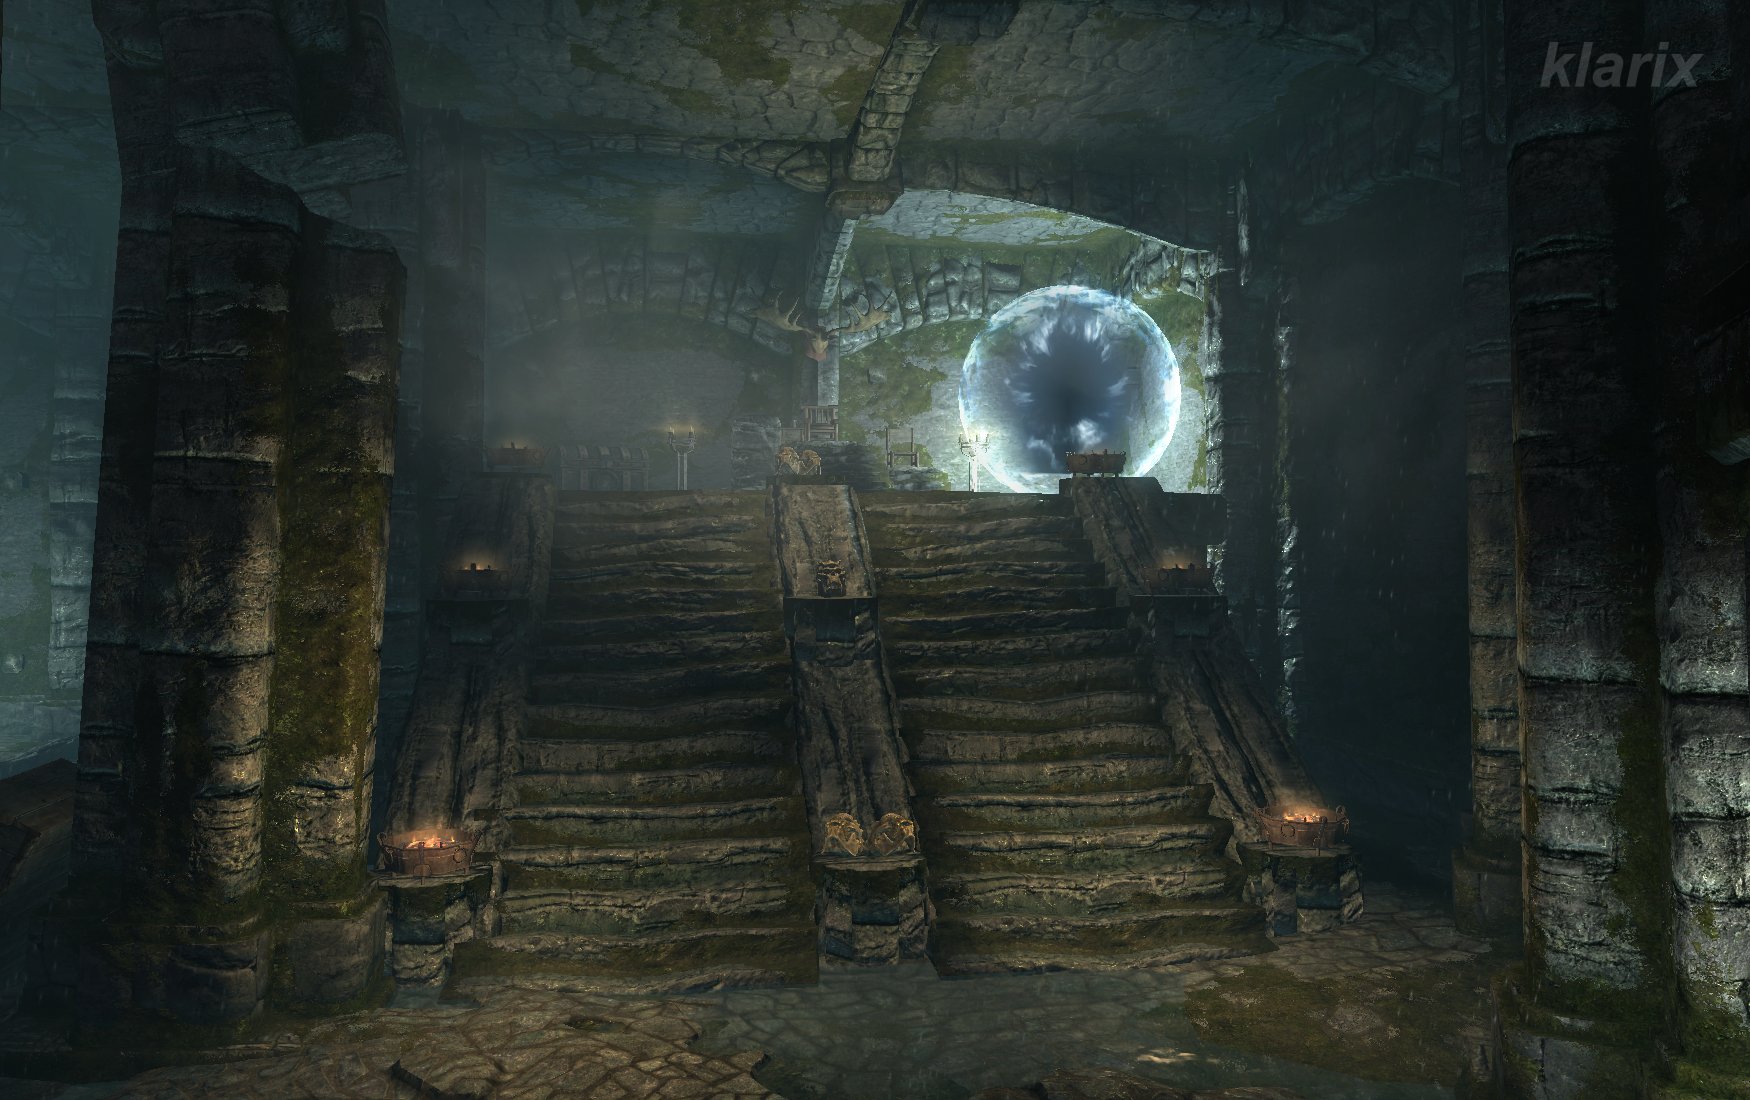 is reached, where a glowing sphere forms upon approach.
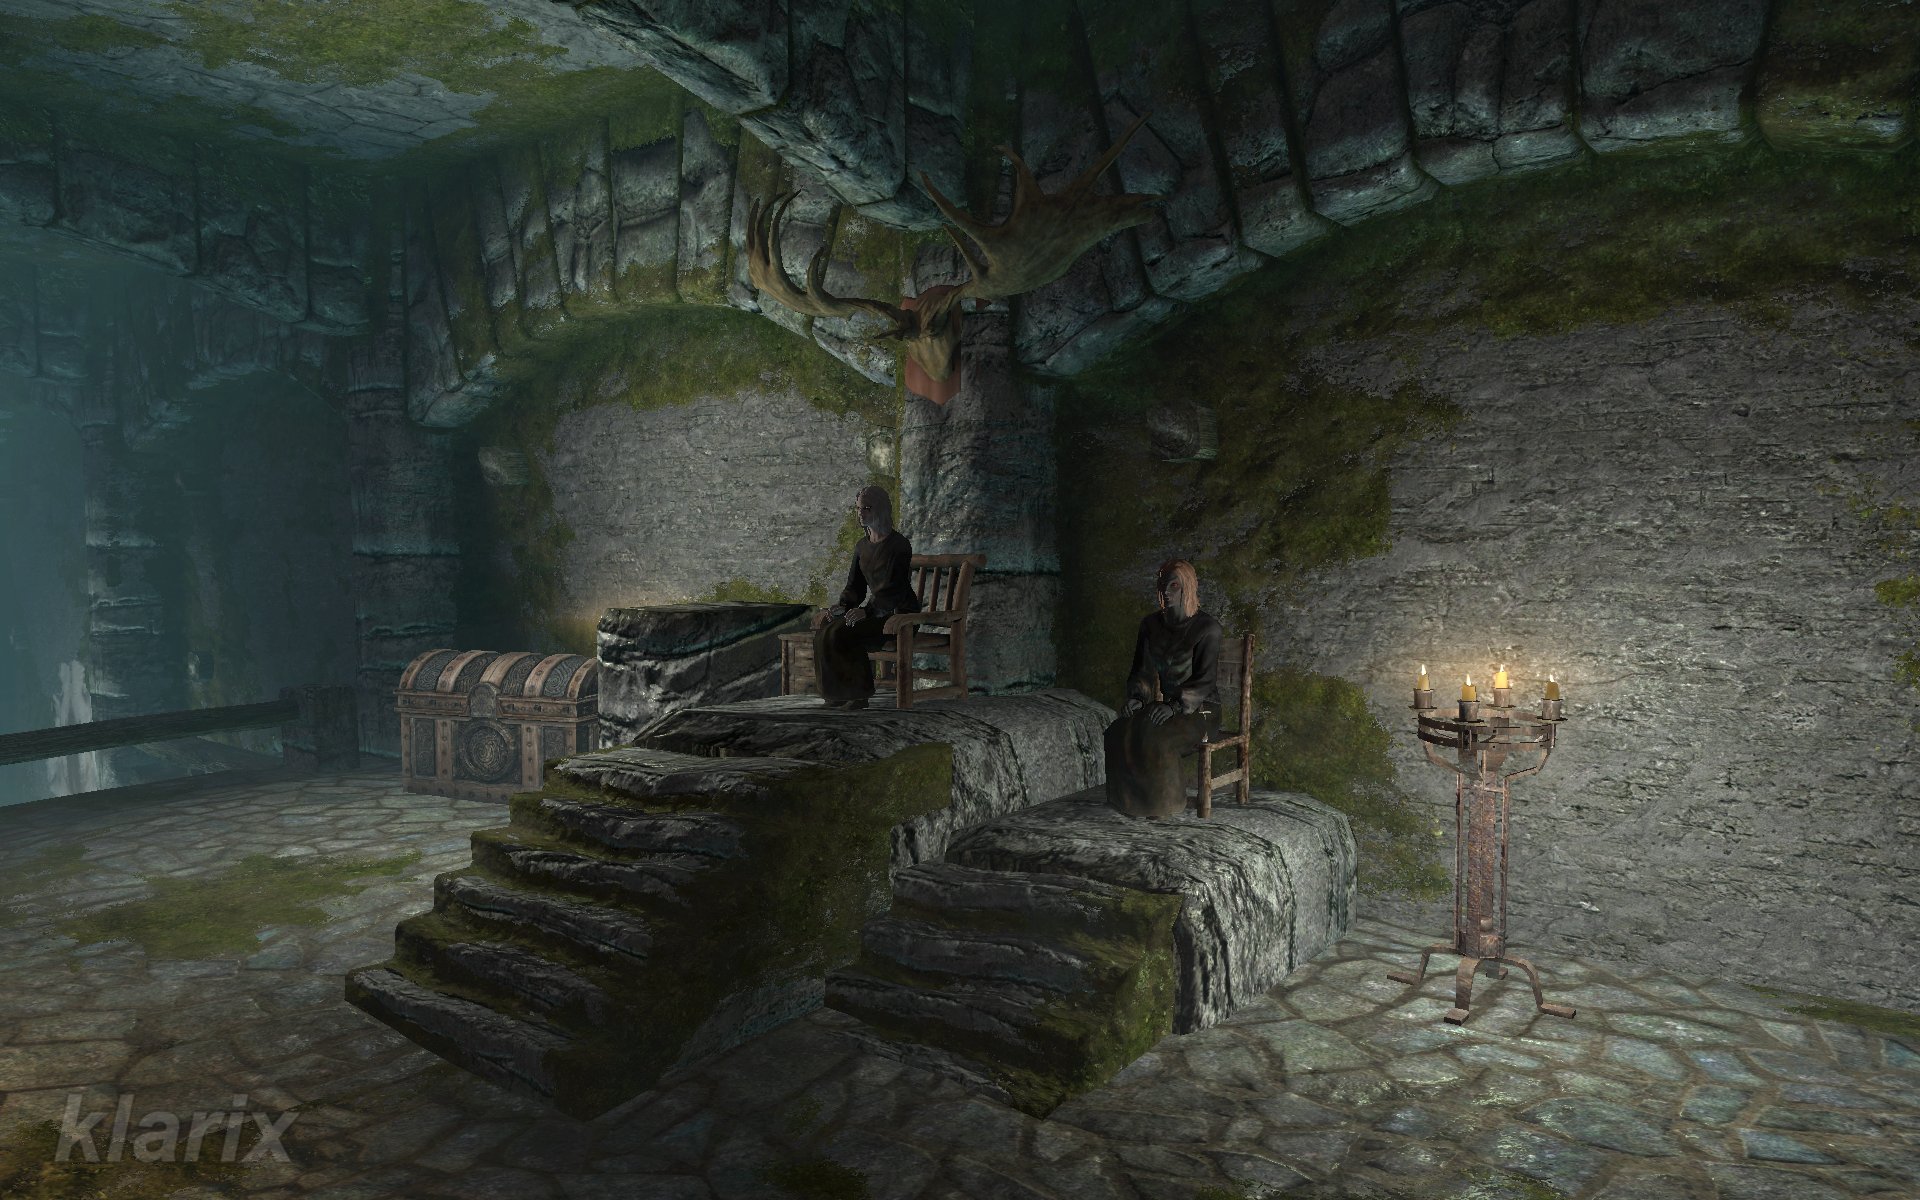 enthroned upon the platform above to defeat them downstairs is recommended. In general, avoiding the stairs until all castle rooms have been explored and numerous items have been gathered is advantageous. This approach also allows for locating Naris the Wicked, who is experimenting with freshly roasted human flesh
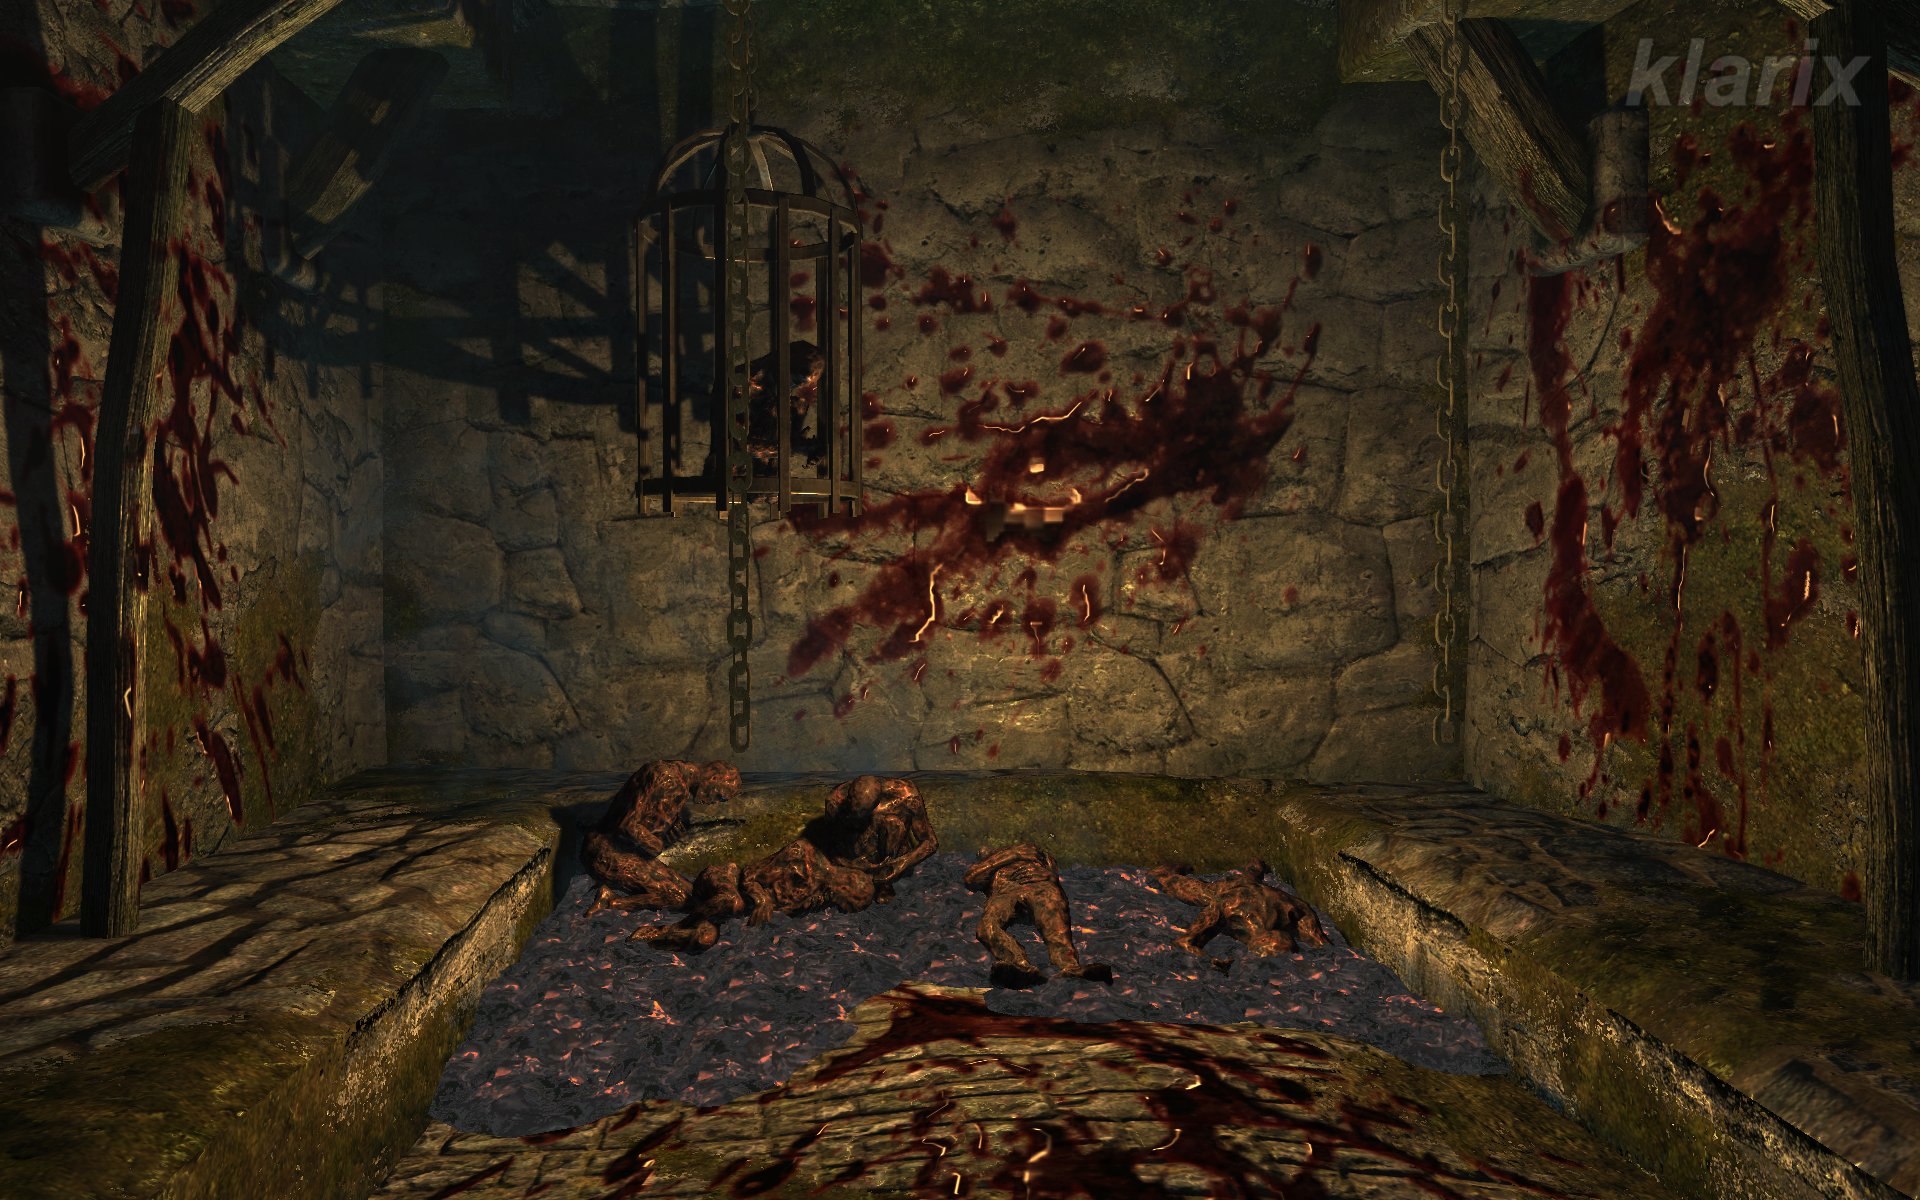 . Beneath the stairway, a chest and a strongbox
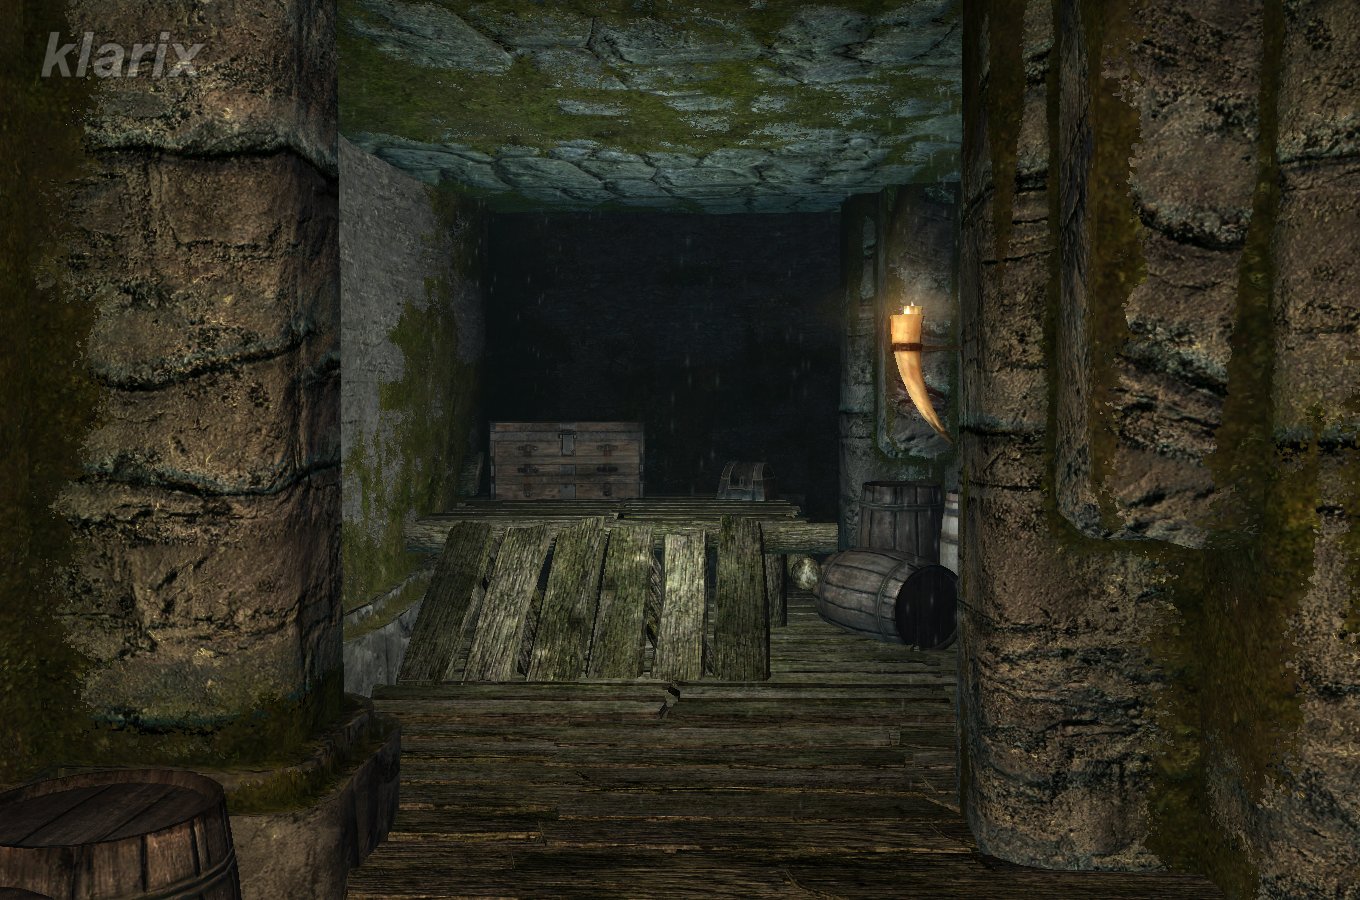 are located, which become inaccessible once the sphere has formed.
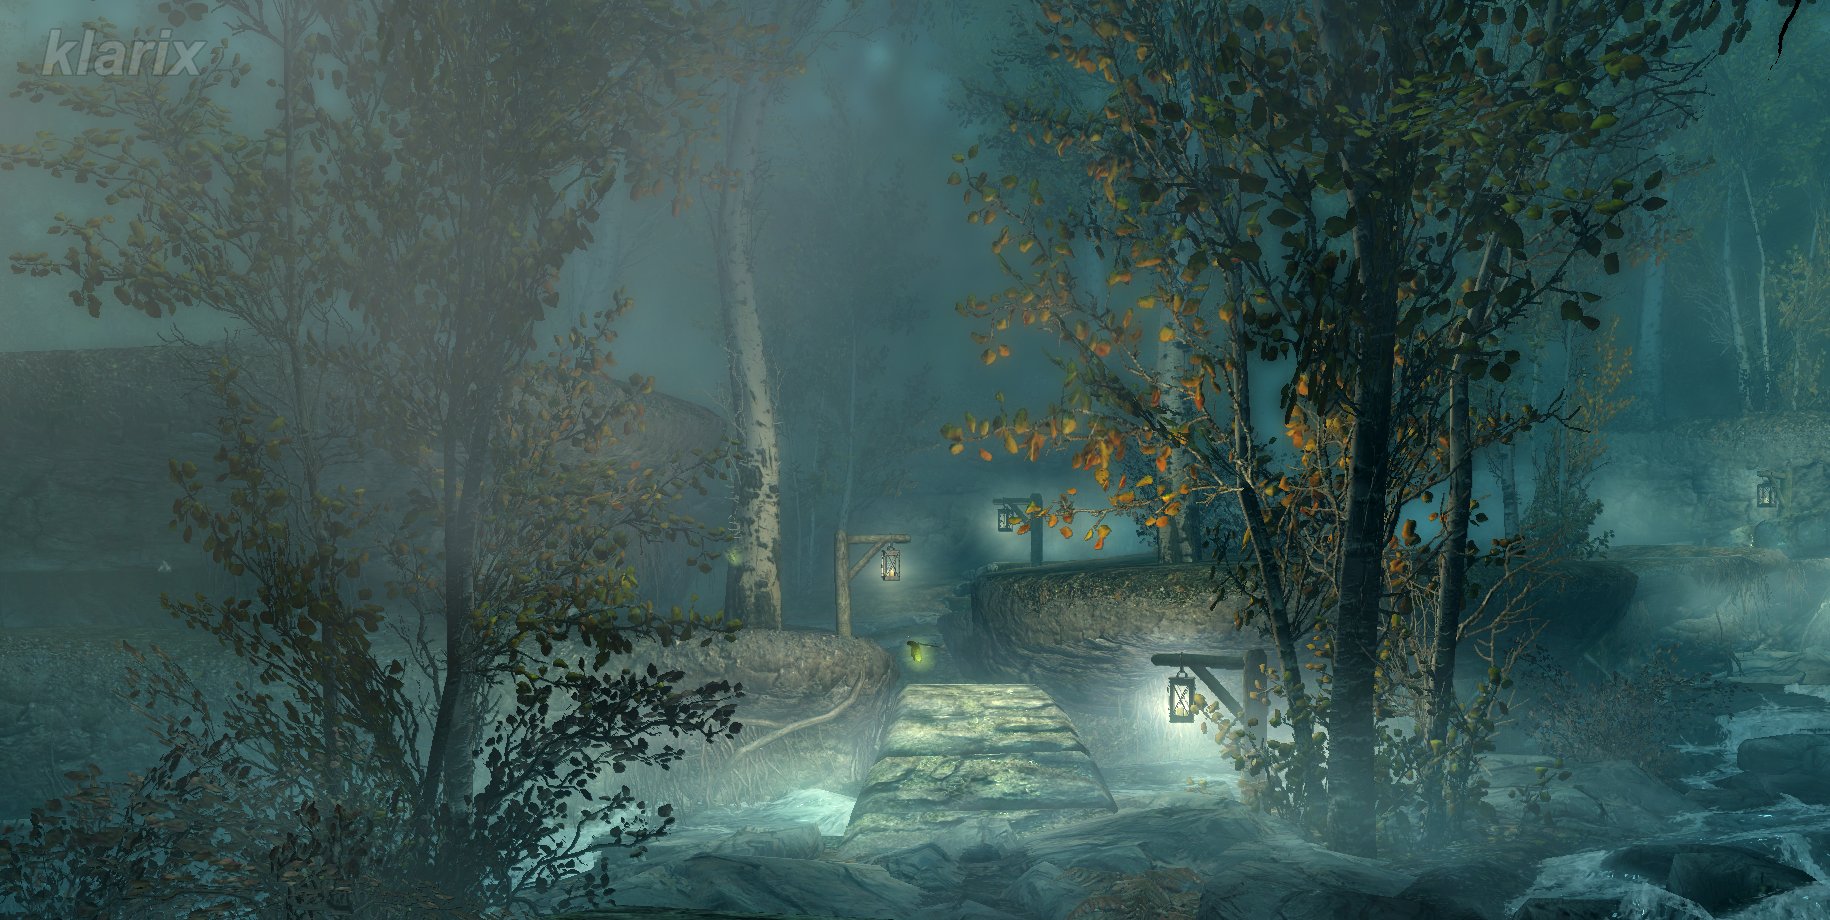 . Upon arrival, the path is followed across two small bridges, leading to a jovial gathering.
 , the Daedric Prince of Debauchery, and contentedly admits that he has not been this well entertained in at least a hundred years. One is granted the 'Sanguine Rose'