Prerequisites: Level 10 or 12 Quest Giver: Kesh the Clean Region: Shrine of Peryite, Bthardamz Reward:Spellbreaker
Summary: Following the delivery of the necessary ingredients to the Shrine of Peryite, communication with the Daedric deity can be established. Orchendor was intended to gather and lead the afflicted followers, but he turned against Peryite and remains hidden within Bthardamz. One is commanded to put an end to his life.
Quest Description
After reaching level 10, diseased Peryite afflicted pilgrims can occasionally be encountered. They report that their shepherd has strayed from the path and that Peryite's wrath will consume all who remain with him. For this reason, they state that they have left the others and are on their way back to High Rock. If one desires to learn more, speaking with Kesh is suggested.
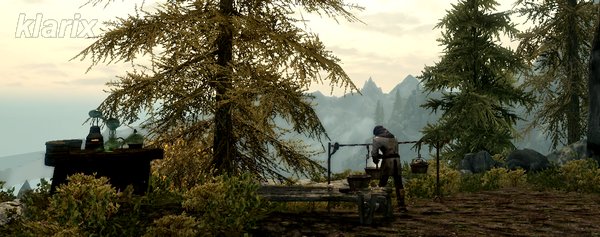
Kesh the Clean at the Shrine of Peryite.
Find Kesh at the Peryite Shrine
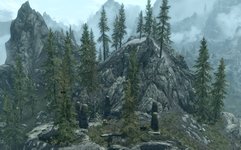
The shrine is located upon a mountain within the Druadach Mountains west of Karthwasten and is accessible solely from the west. There, the Khajiit Kesh the Clean is found, who is typically engaged in cooking. One is greeted warmly, and Kesh speaks regarding the foul Daedric Prince, the Taskmaster and Bringer of Pestilence. If one wishes to establish contact with Peryite, ingredients for an incense must be procured. ★
Obtain some Vampire Dust Obtain a Deathbell Flower Obtain a Silver Ingot Obtain a Flawless Ruby
Vampire dust is most easily purchased from alchemy merchants or court wizards. Deathbells grow in large quantities within the swamps of Hjaalmarch. The silver ingot can be smelted from mined silver ore or purchased from blacksmiths. Moth gro-Bagol inside Understone Keep in Markarth consistently has several in stock. Flawless rubies are occasionally discovered during mining. However, they can also be purchased from merchants in cities or from Khajiit caravans.
Deliver the Ingredients / Inhale the fumes
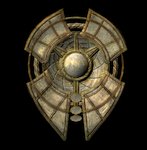
Once all components have been gathered, one returns to Kesh, who brews them into a concoction whose fumes must be inhaled. For a brief moment, the world appears overexposed, and a vision overlays reality. While ghostly skeevers are observed scurrying past, the voice of Peryite is perceived. The Daedric deity explains that a blessing in the form of a devastating plague has been sent to Mundus, affecting several villages in High Rock. The elven monk Orchendor was intended to gather the afflicted and lead them to Bthardamz, but he has strayed from the path. Since treason is not tolerated, one is dispatched to Bthardamz to eliminate Orchendor in Peryite's name. If successful, a reward will be granted in the form of a Dwemer shield that protects against both sword and spell.
Kill Orchendor
If Bthardamz has not yet been discovered, Kesh can be questioned regarding the directions. The vast Dwemer city is located west of the shrine and is even visible from there on clear days.
Orchendor remains hidden within the Dwemer city of Bthardamz.
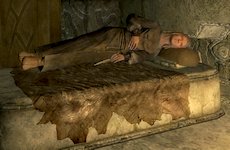
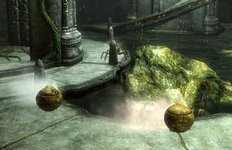
Upon approaching the entrance area, attacks from the first guarding afflicted are encountered. Due to their sickness, they are not difficult to defeat individually, but they possess the ability to vomit toxic fluid, making them dangerous in groups. Two Dwemer chests are located behind an exterior tower. Rotating blades can be activated and utilized against potential pursuers. In the very first room, two additional chests are found, and entry is gained into the Upper District of the subterranean city. Following several sleeping quarters, a temporary shrine is reached, where the deceived and ignorant afflicted pray to Peryite for revelation and guidance. In another large room, a gold ore vein and a chest are located. An additional chest hangs on the wall in the room beyond. A corridor containing rotating blades is reached, which can be deployed to avoid direct combat. In the room behind it, a chest hangs on the wall, but two Dwemer Spheres will also deploy upon approach. Sudden attacks of this nature must be anticipated throughout the entire complex.
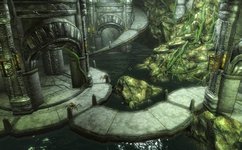
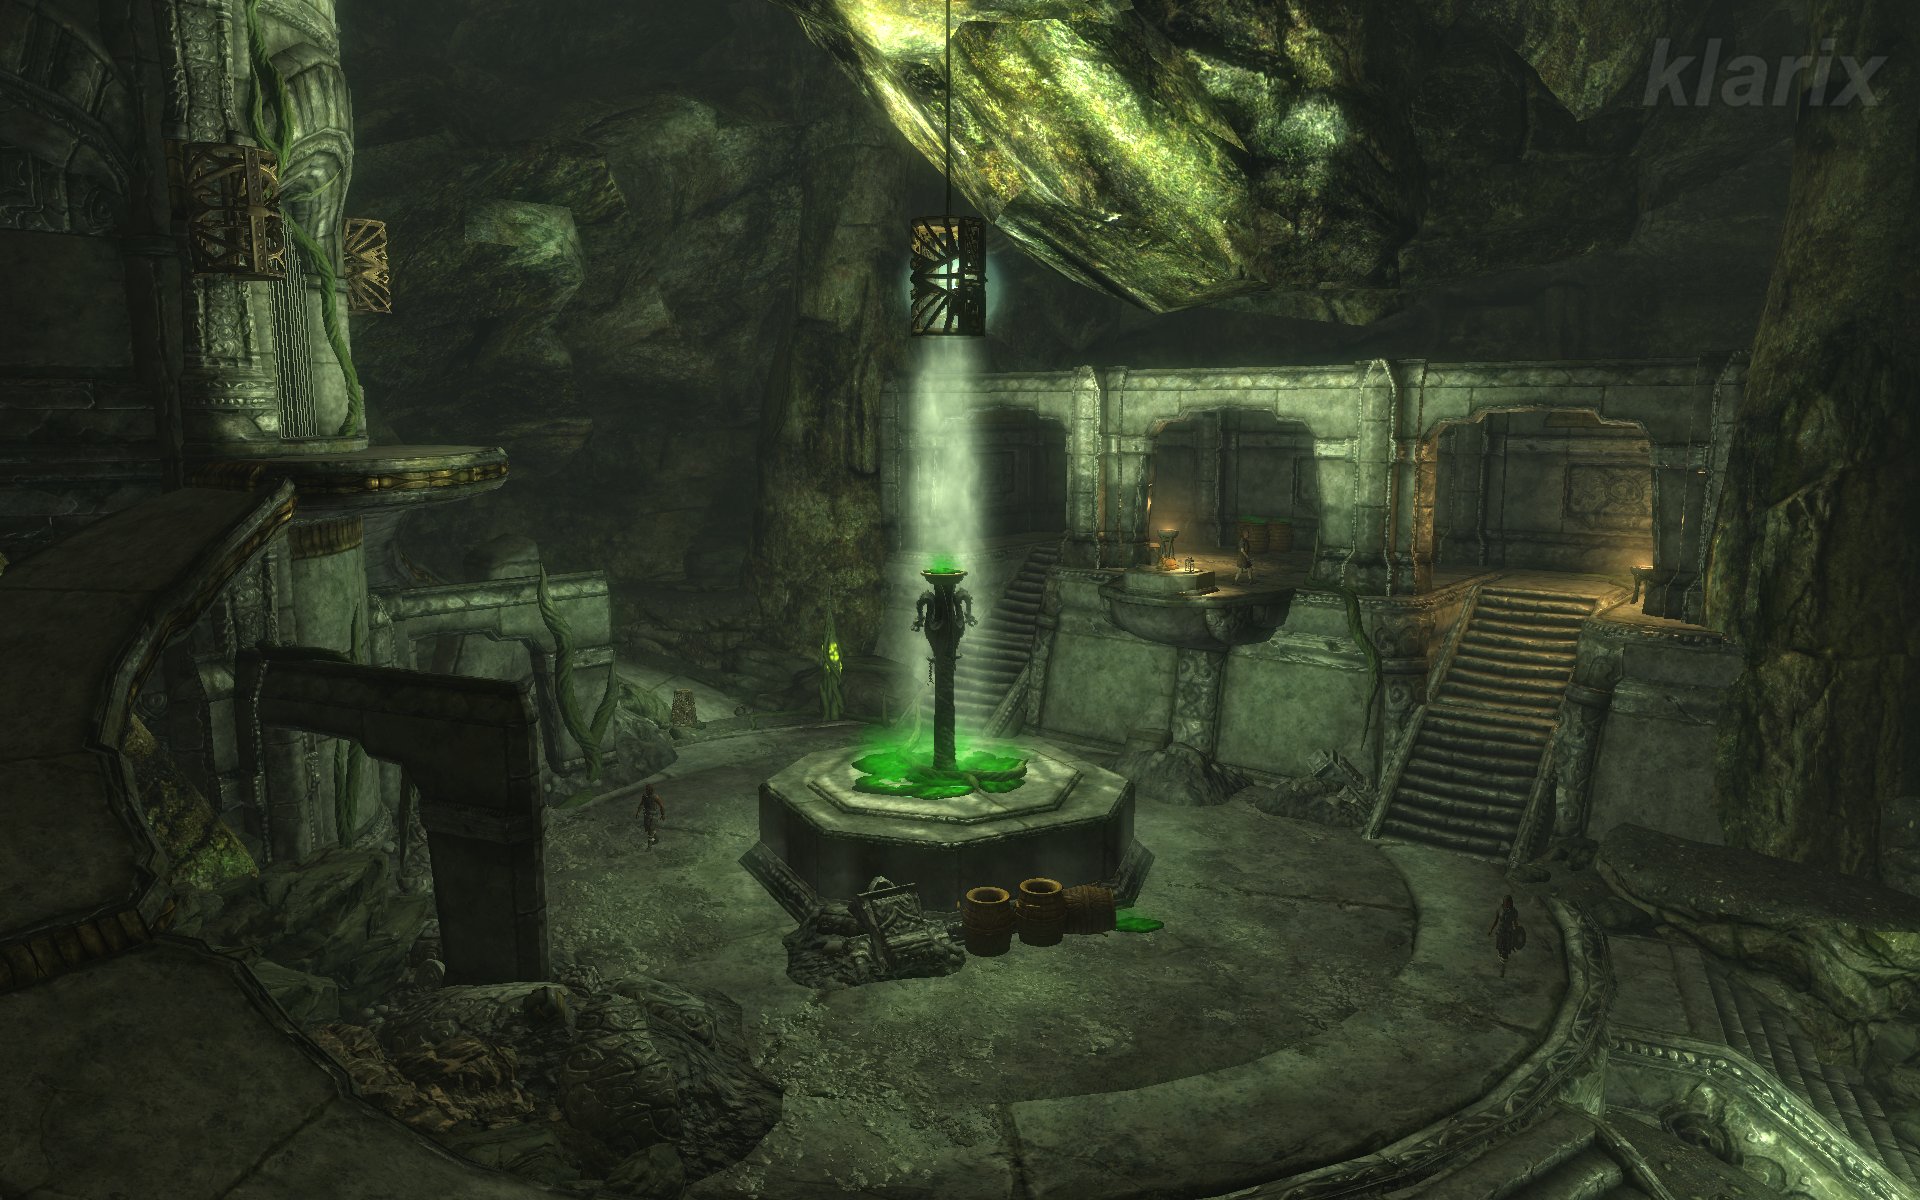
One must navigate through multiple districts across various levels. In the Workshop, a directive note can be found, though it is not strictly required. Passing through a town center area containing several chests and another gold ore vein, entry is gained into the Lower District, followed by the Dwelling. Proceeding through an amphitheater, where another trap can be activated, leads into a complex central district surrounding a spectacular waterfall. From here, one must advance upward via a detour through the Study.
Vast central district featuring the waterfall.
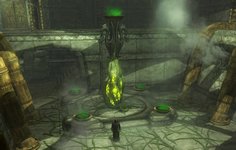
Finally, the intricate area of the Arcanex is reached. In addition to mechanical spiders, this zone is guarded by spheres and a centurion. In the final room, Orchendor is encountered at last. He proves to be a formidable and difficult opponent. Alongside powerful Destruction spells, he utilizes a highly effective magical ward, rendering one's own spells largely ineffective. Furthermore, he commands invisibility and teleportation, which can make the confrontation frustrating.
Report Orchendor's death to Peryite
Once Orchendor has been defeated, he must be searched. Aside from the elevator key, he carries numerous valuable items. Using the elevator, the surface area of the city is reached, allowing one to depart for the shrine. At the location, the green fumes must be inhaled once more, whereupon praise from Peryite is received. All is declared to be in proper order again; Orchendor's treason is punished, and the player's obedience will be rewarded. The legendary Dwemer shield, Spellbreaker, is granted, and the quest concludes.
Known Bugs
One should avoid speaking to Kesh while he is preparing the incense. Interrupted dialogue at this stage can prevent the subsequent quest stage from activating.
Tips & Notes
The Shrine of Peryite can be discovered by chance without receiving tips from afflicted pilgrims. In this case, the miscellaneous objective "Find Kesh at the Peryite Shrine" is bypassed. However, Kesh will only discuss establishing contact with Peryite once level 12 is achieved.
A skill book (Speech) is located upon a wooden table at the shrine.
If several of the required ingredients are already present within the inventory before Kesh requests them, they must subsequently be dropped and picked up again for the partial objectives to be recognized as completed.
If one is skilled at sneaking, all of the afflicted within Bthardamz can be spared. Most Dwemer automatons can also be bypassed while crouching. Orchendor constitutes the sole required target.
Curiously, the afflicted Bretons possess red skin similar to Redguards. This represents either a consequence of the plague or a design error.
The area designated as 'Aerdrome' (or 'Aerodrome') within the note does not exist throughout the entire game - at least not under that specific designation.
Following the completion of the quest, random attacks by surviving worshippers may occur throughout Skyrim. They bear the designation "Afflicted Remnants" and possess the capability to vomit the familiar green toxic fluid.
 is located upon a mountain within the Druadach Mountains west of Karthwasten and is accessible solely from the west. There, the Khajiit Kesh the Clean
 is found, who is typically engaged in cooking
 . One is greeted warmly, and Kesh speaks regarding the foul Daedric Prince, the Taskmaster and Bringer of Pestilence. If one wishes to establish contact with Peryite, ingredients for an incense must be procured. ★
 whose fumes must be inhaled. For a brief moment, the world appears overexposed, and a vision overlays reality. While ghostly skeevers are observed scurrying past, the voice of Peryite is perceived. The Daedric deity explains that a blessing in the form of a devastating plague has been sent to Mundus, affecting several villages in High Rock. The elven monk Orchendor was intended to gather the afflicted and lead them to Bthardamz, but he has strayed from the path. Since treason is not tolerated, one is dispatched to Bthardamz to eliminate Orchendor in Peryite's name. If successful, a reward will be granted in the form of a Dwemer shield that protects against both sword and spell.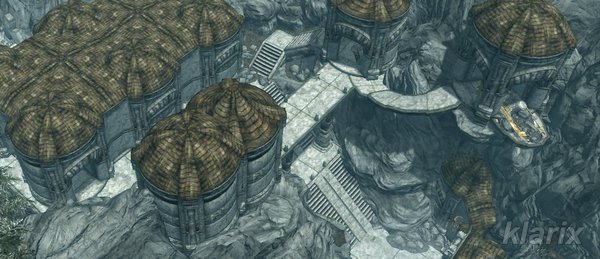
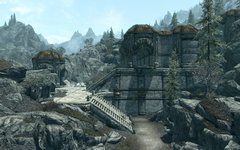 , attacks from the first guarding afflicted are encountered. Due to their sickness, they are not difficult to defeat individually, but they possess the ability to vomit toxic fluid, making them dangerous in groups. Two Dwemer chests
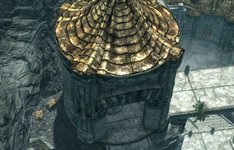 are located behind an exterior tower. Rotating blades
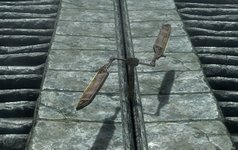 can be activated and utilized against potential pursuers. In the very first room
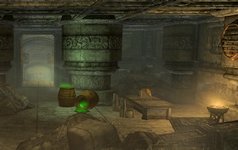 , two additional chests are found, and entry is gained into the Upper District of the subterranean city. Following several sleeping quarters
 , a temporary shrine
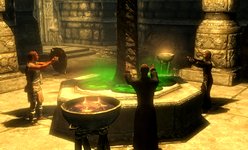 is reached, where the deceived and ignorant afflicted pray to Peryite for revelation and guidance. In another large room
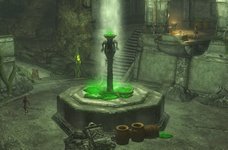 , a gold ore vein and a chest are located. An additional chest hangs on the wall in the room beyond. A corridor containing rotating blades
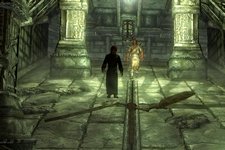 is reached, which can be deployed to avoid direct combat. In the room behind it, a chest hangs on the wall, but two Dwemer Spheres will also deploy upon approach. Sudden attacks of this nature must be anticipated throughout the entire complex.
 can be found, though it is not strictly required. Passing through a town center area containing several chests and another gold ore vein, entry is gained into the Lower District, followed by the Dwelling. Proceeding through an amphitheater
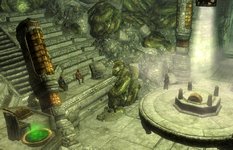 , where another trap
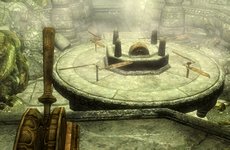 can be activated, leads into a complex central district
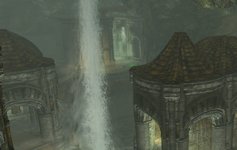 surrounding a spectacular waterfall
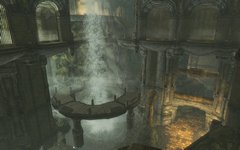 . From here, one must advance upward via a detour through the Study.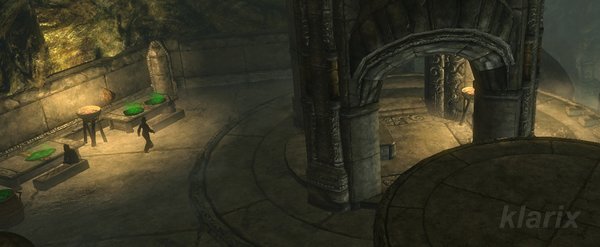
 is reached. In addition to mechanical spiders, this zone is guarded by spheres
 and a centurion. In the final room
 , Orchendor
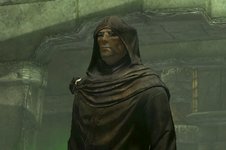 is encountered at last. He proves to be a formidable and difficult opponent. Alongside powerful Destruction spells, he utilizes a highly effective magical ward, rendering one's own spells largely ineffective. Furthermore, he commands invisibility and teleportation, which can make the confrontation frustrating.
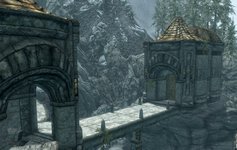 of the city is reached, allowing one to depart for the shrine. At the location, the green fumes must be inhaled once more, whereupon praise from Peryite is received. All is declared to be in proper order again; Orchendor's treason is punished, and the player's obedience will be rewarded. The legendary Dwemer shield, Spellbreaker
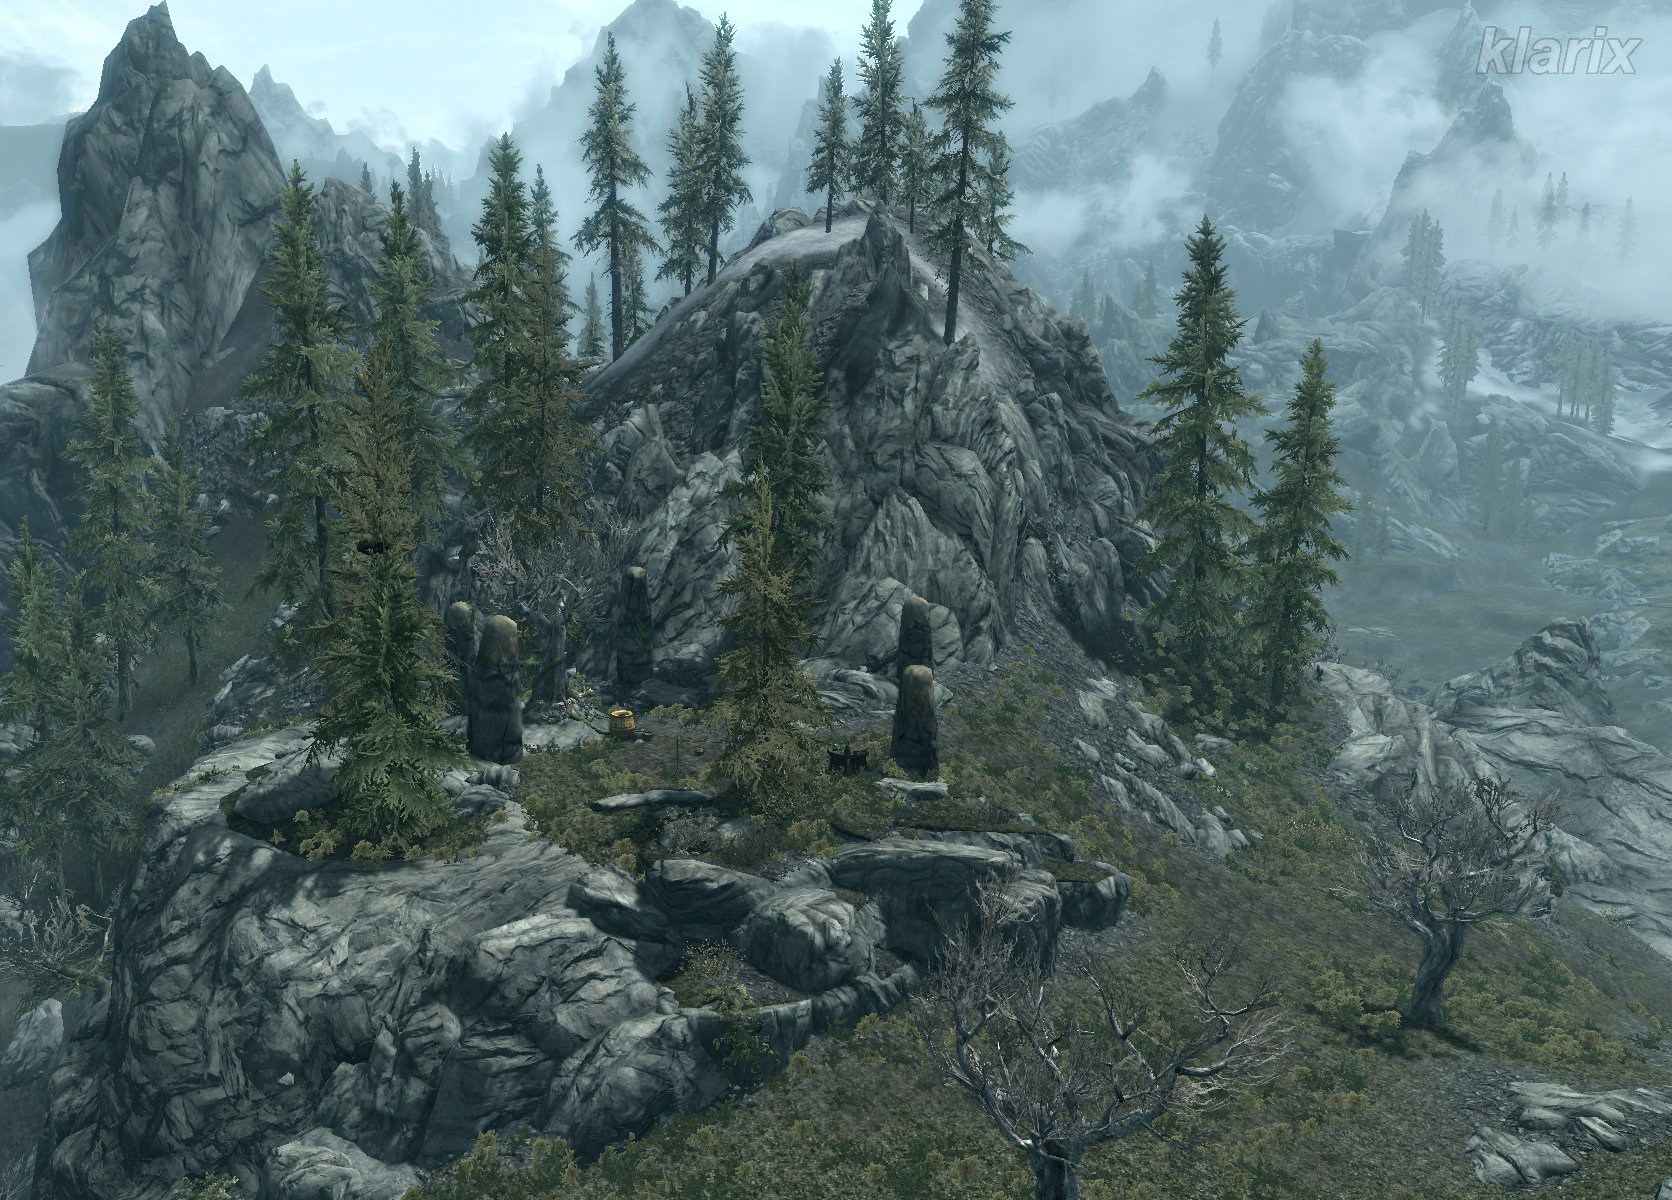 is located upon a mountain within the Druadach Mountains west of Karthwasten and is accessible solely from the west. There, the Khajiit Kesh the Clean
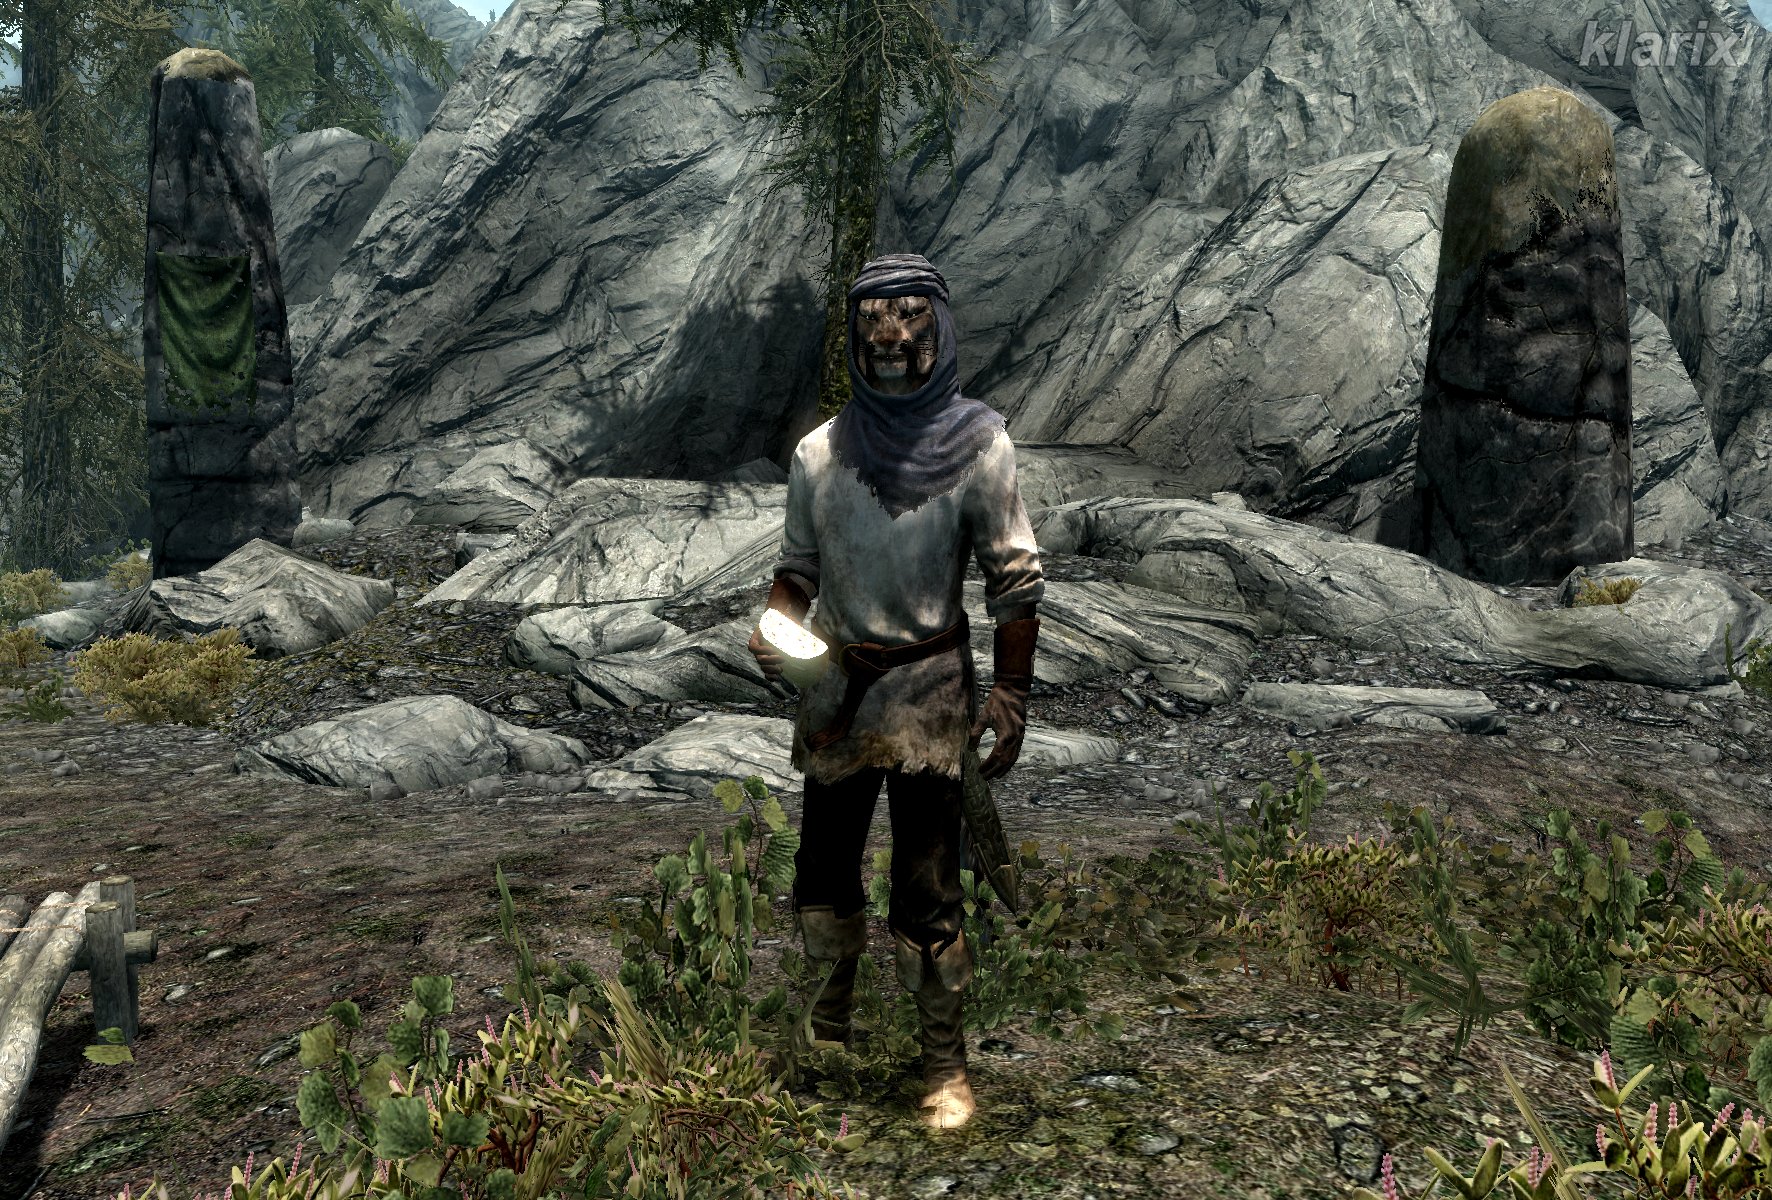 is found, who is typically engaged in cooking
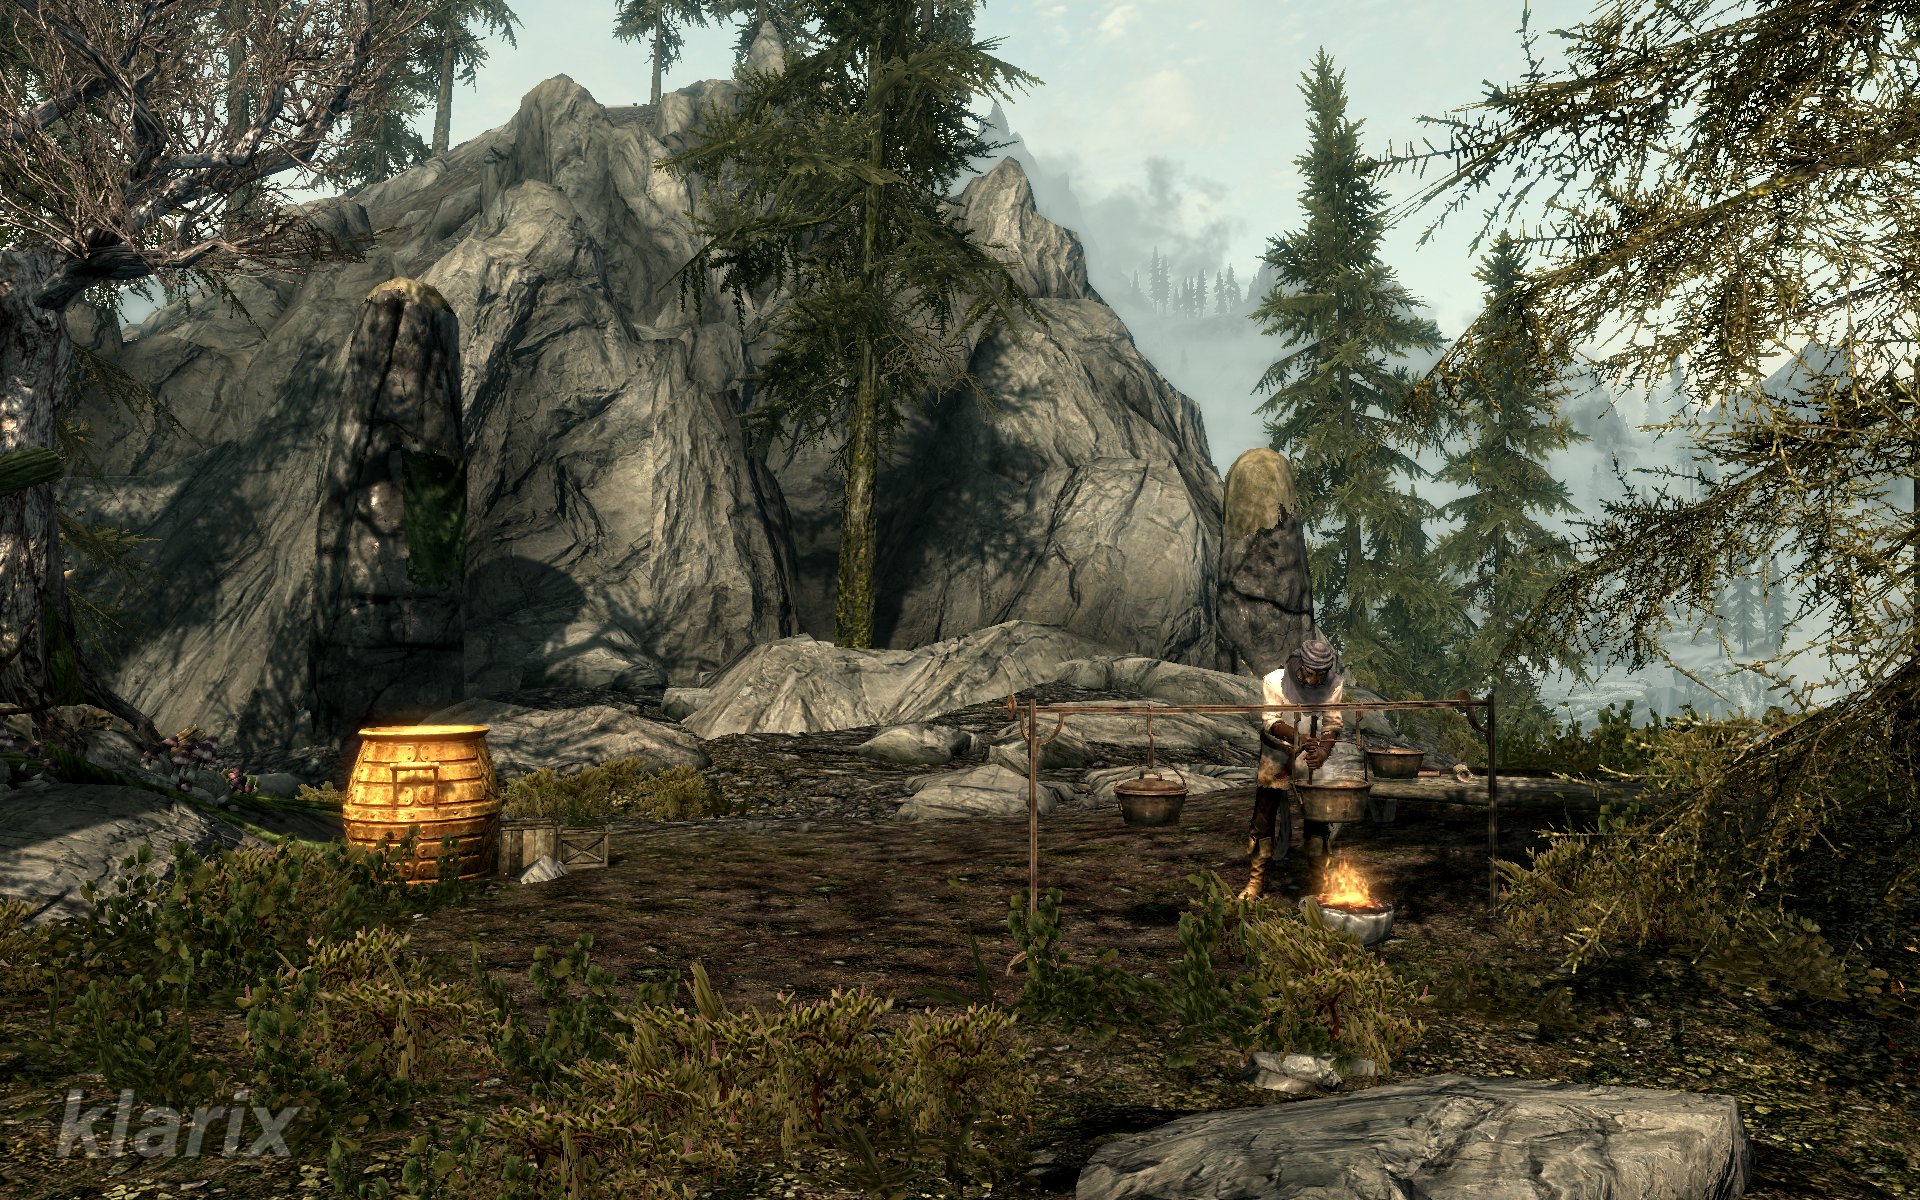 . One is greeted warmly, and Kesh speaks regarding the foul Daedric Prince, the Taskmaster and Bringer of Pestilence. If one wishes to establish contact with Peryite, ingredients for an incense must be procured. ★
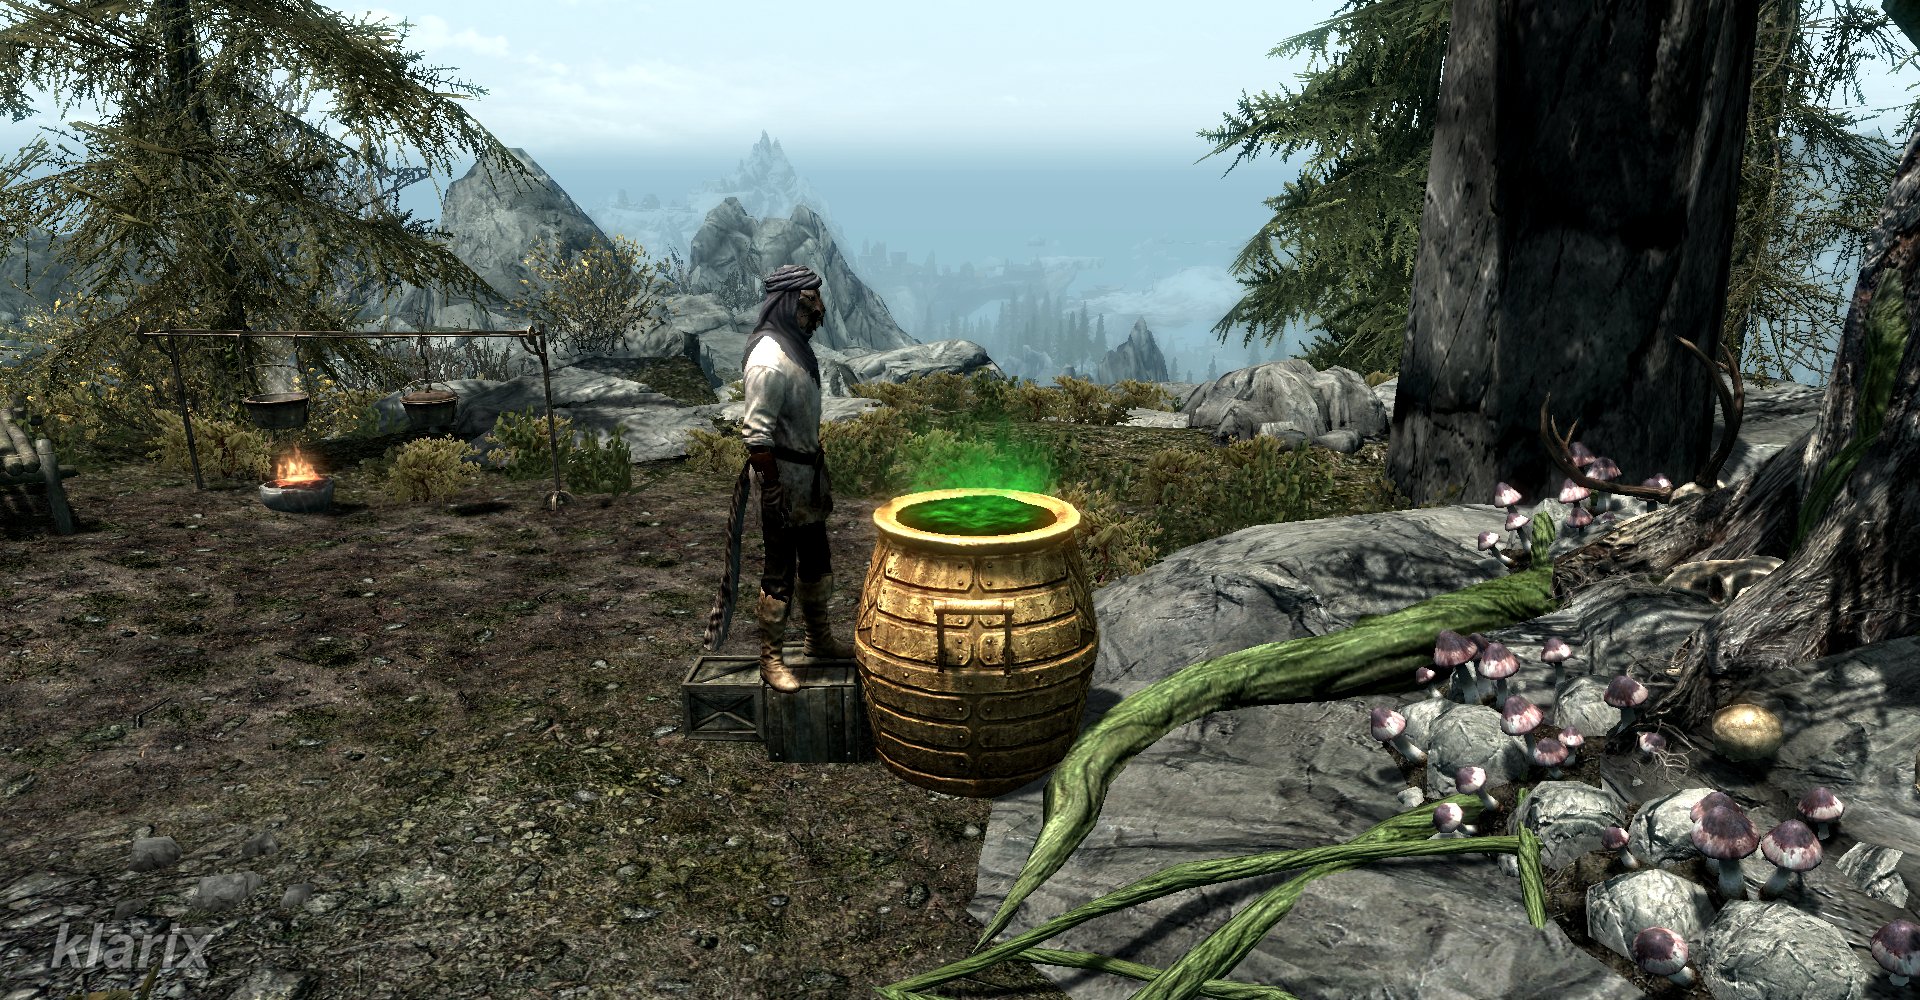 whose fumes must be inhaled. For a brief moment, the world appears overexposed, and a vision overlays reality. While ghostly skeevers are observed scurrying past, the voice of Peryite is perceived. The Daedric deity explains that a blessing in the form of a devastating plague has been sent to Mundus, affecting several villages in High Rock. The elven monk Orchendor was intended to gather the afflicted and lead them to Bthardamz, but he has strayed from the path. Since treason is not tolerated, one is dispatched to Bthardamz to eliminate Orchendor in Peryite's name. If successful, a reward will be granted in the form of a Dwemer shield that protects against both sword and spell.
 , attacks from the first guarding afflicted are encountered. Due to their sickness, they are not difficult to defeat individually, but they possess the ability to vomit toxic fluid, making them dangerous in groups. Two Dwemer chests
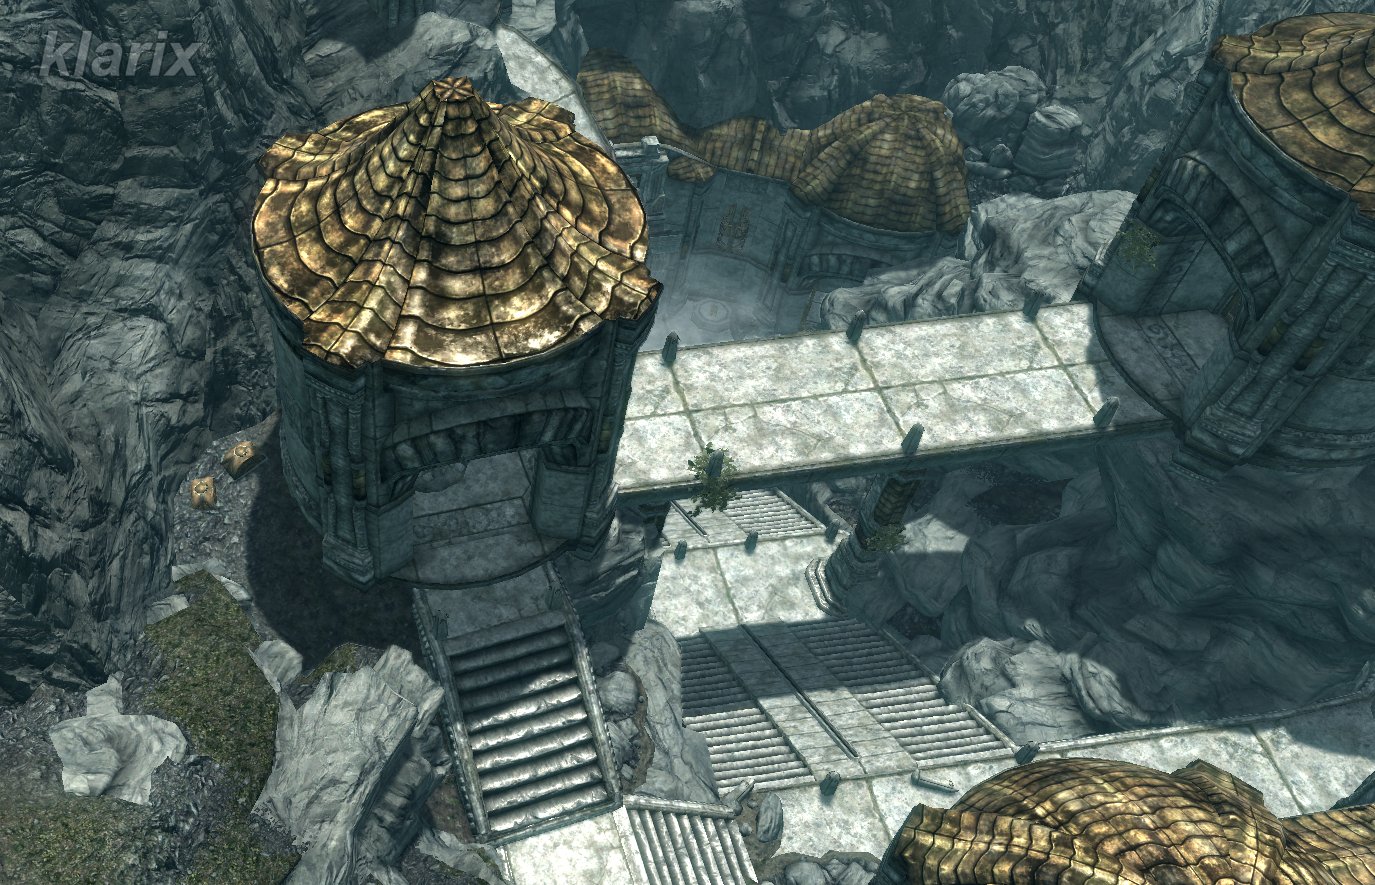 are located behind an exterior tower. Rotating blades
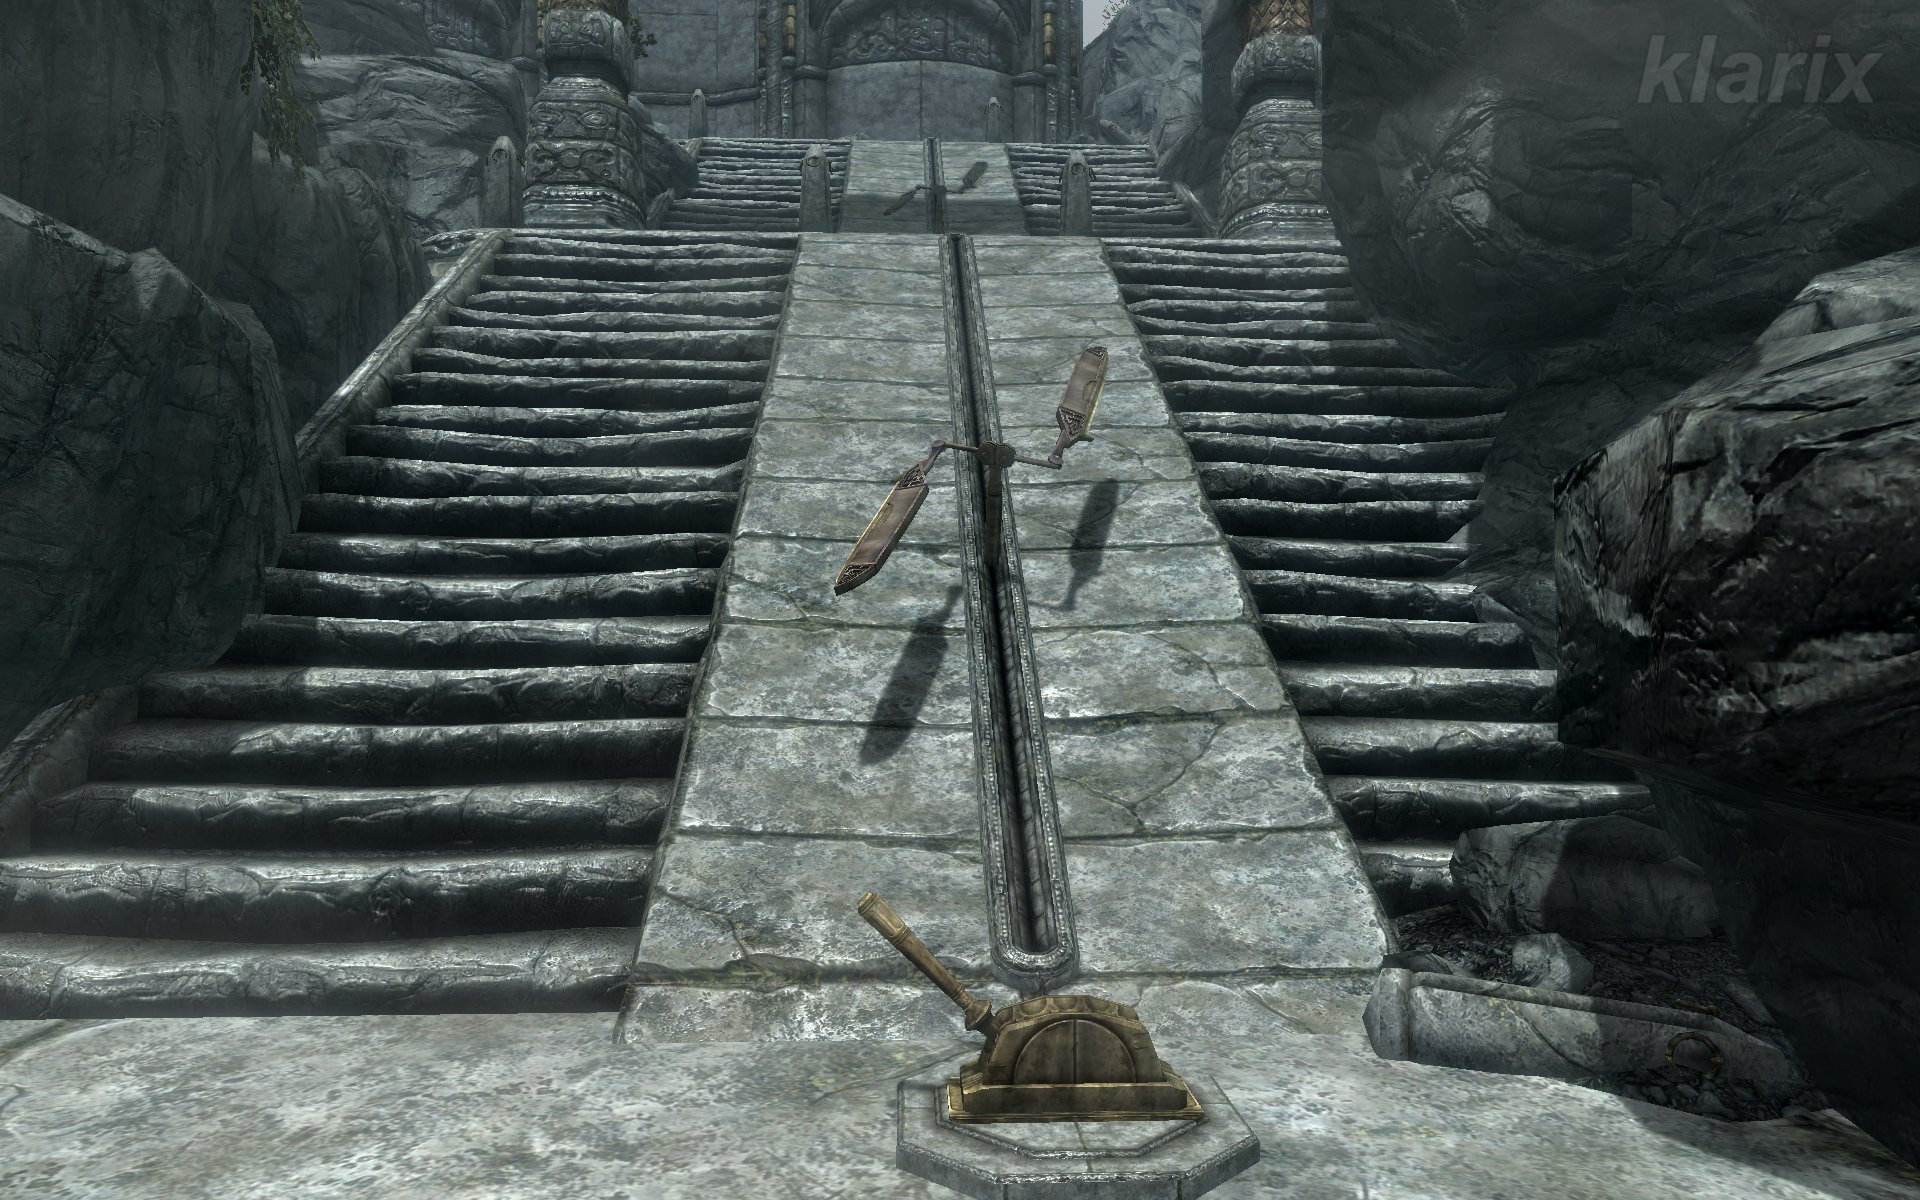 can be activated and utilized against potential pursuers. In the very first room
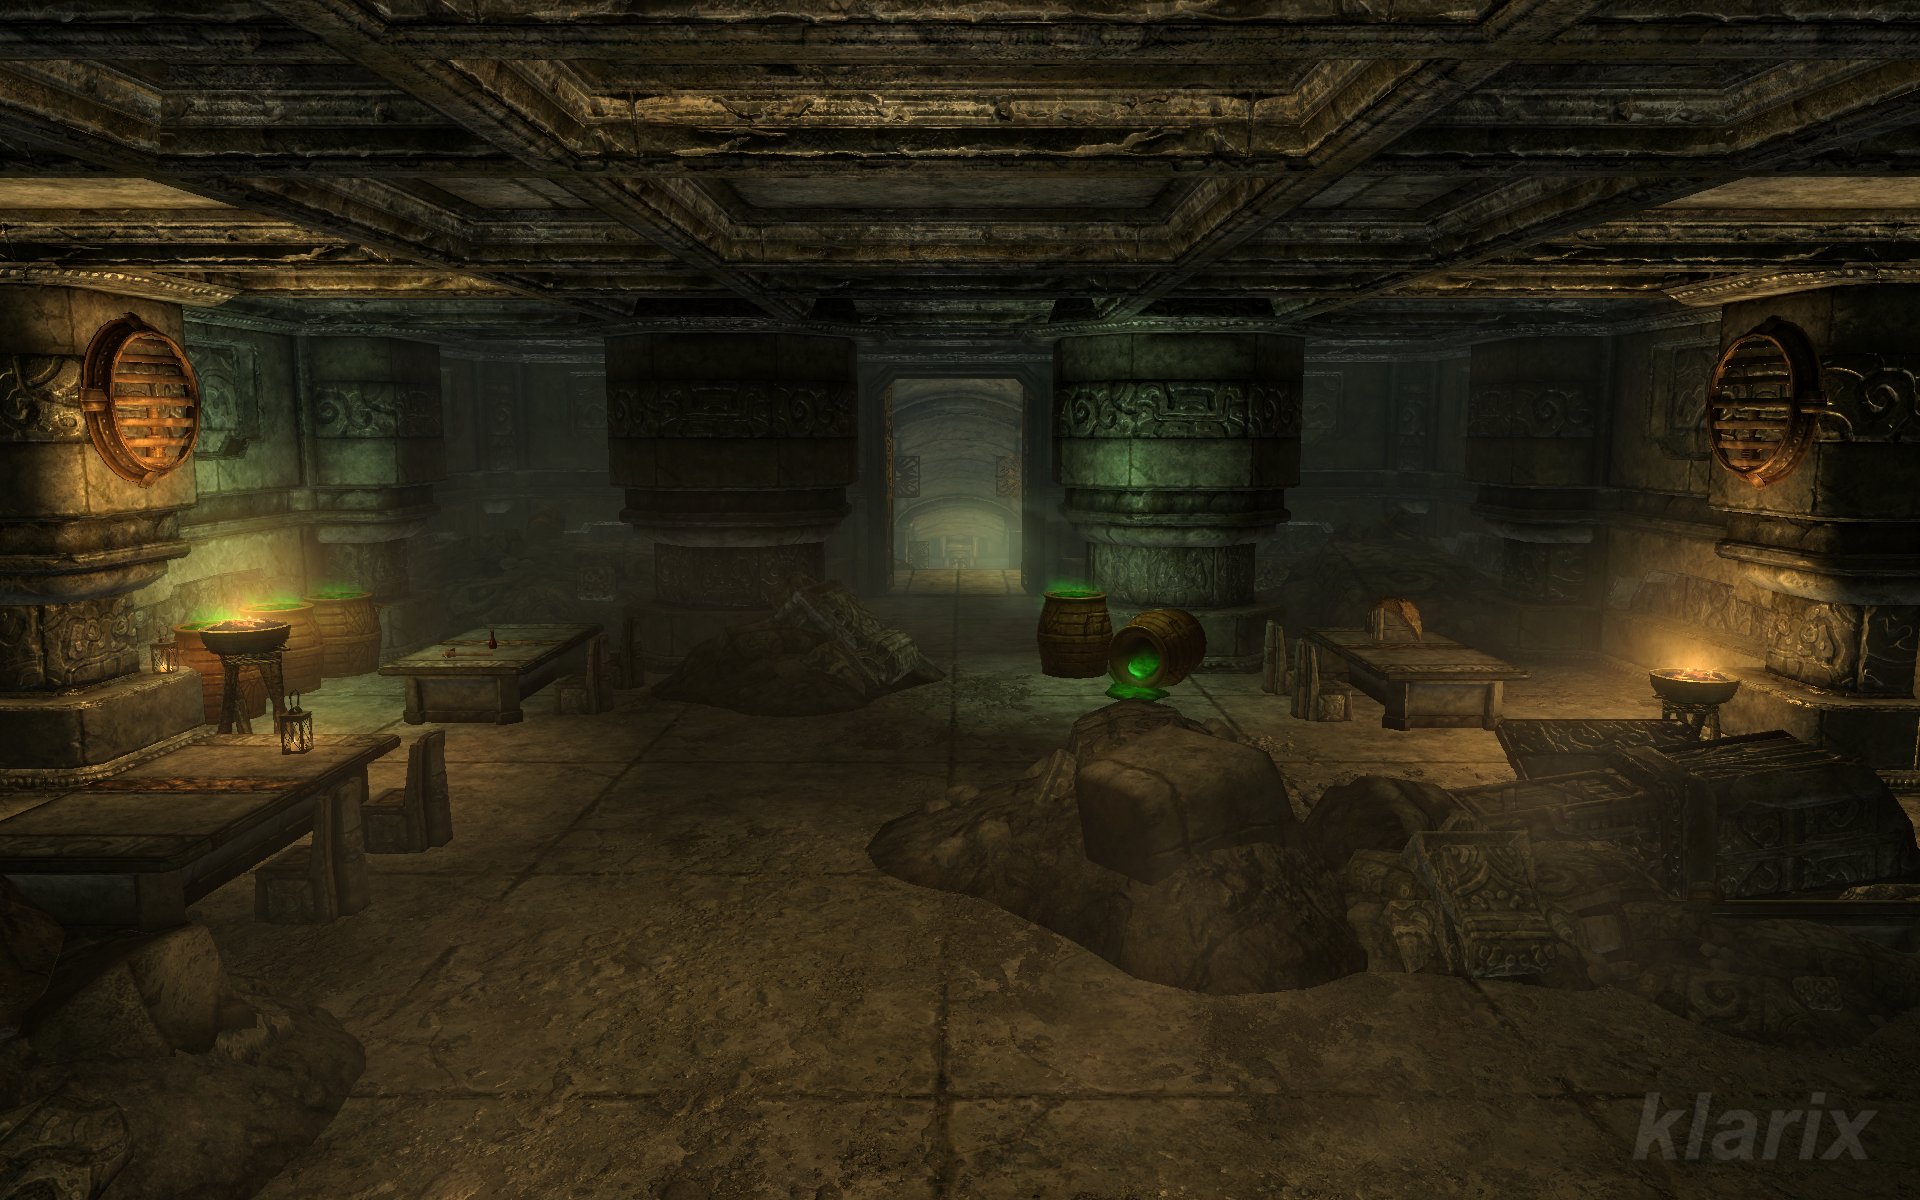 , two additional chests are found, and entry is gained into the Upper District of the subterranean city. Following several sleeping quarters
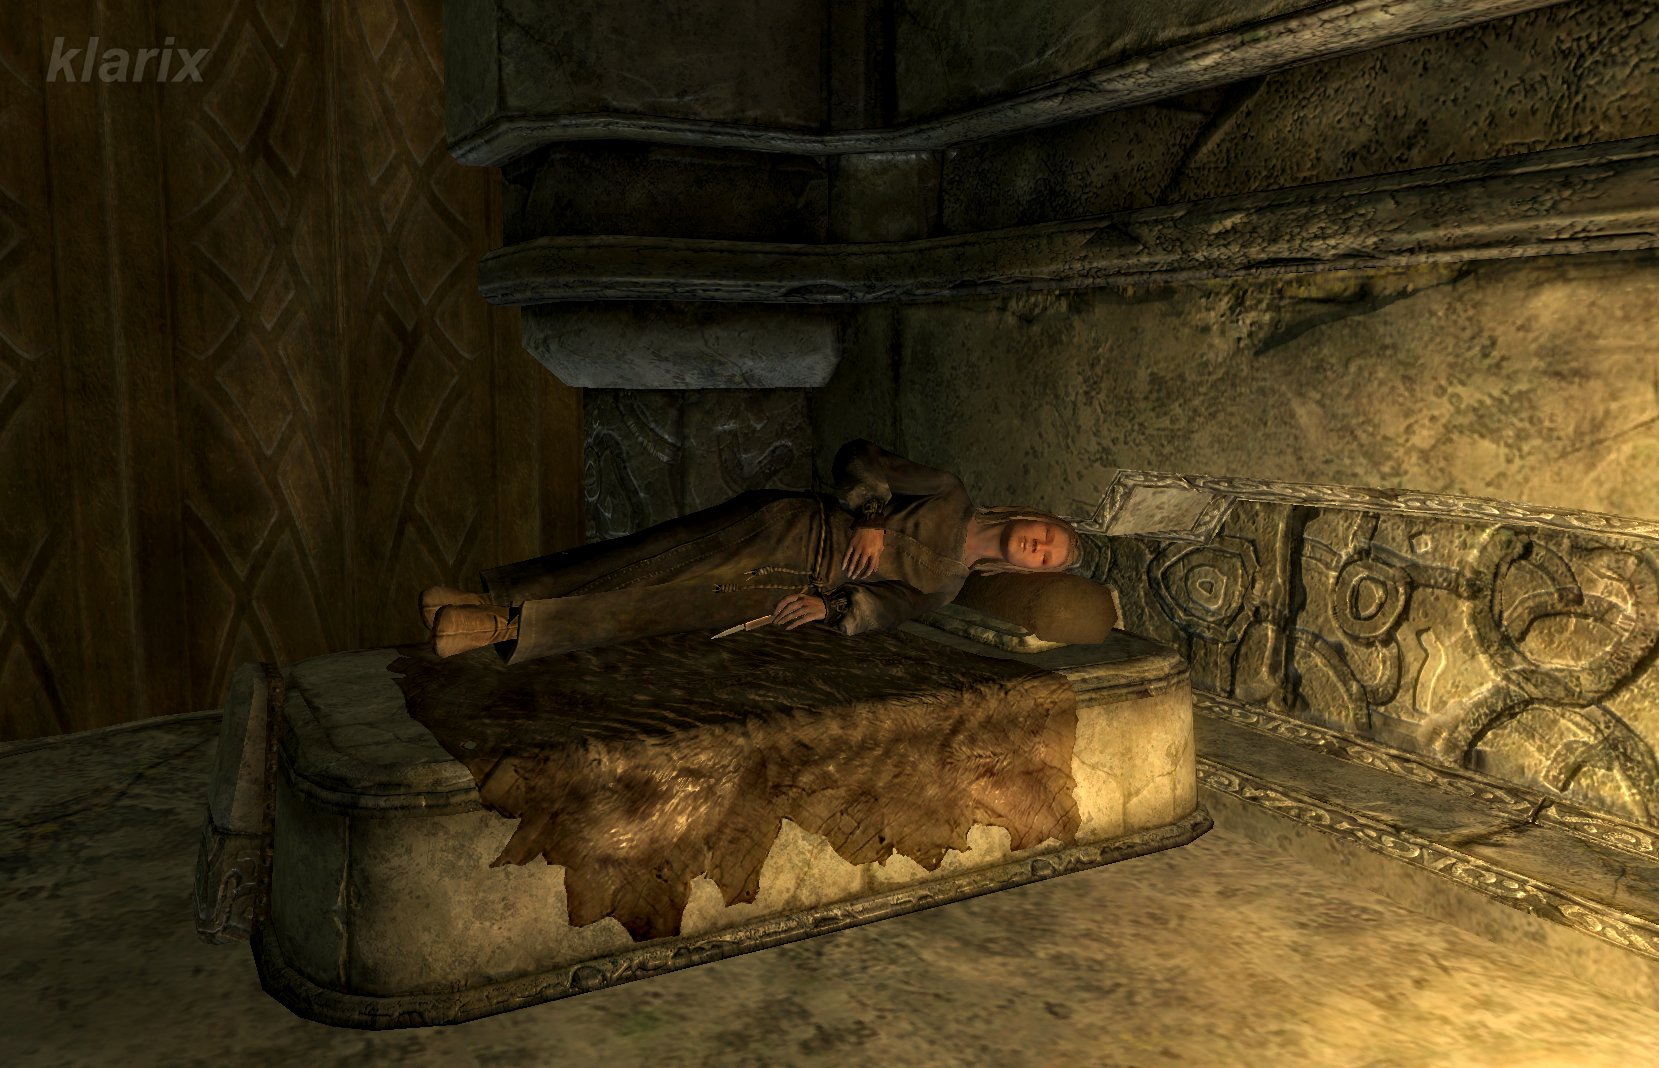 , a temporary shrine
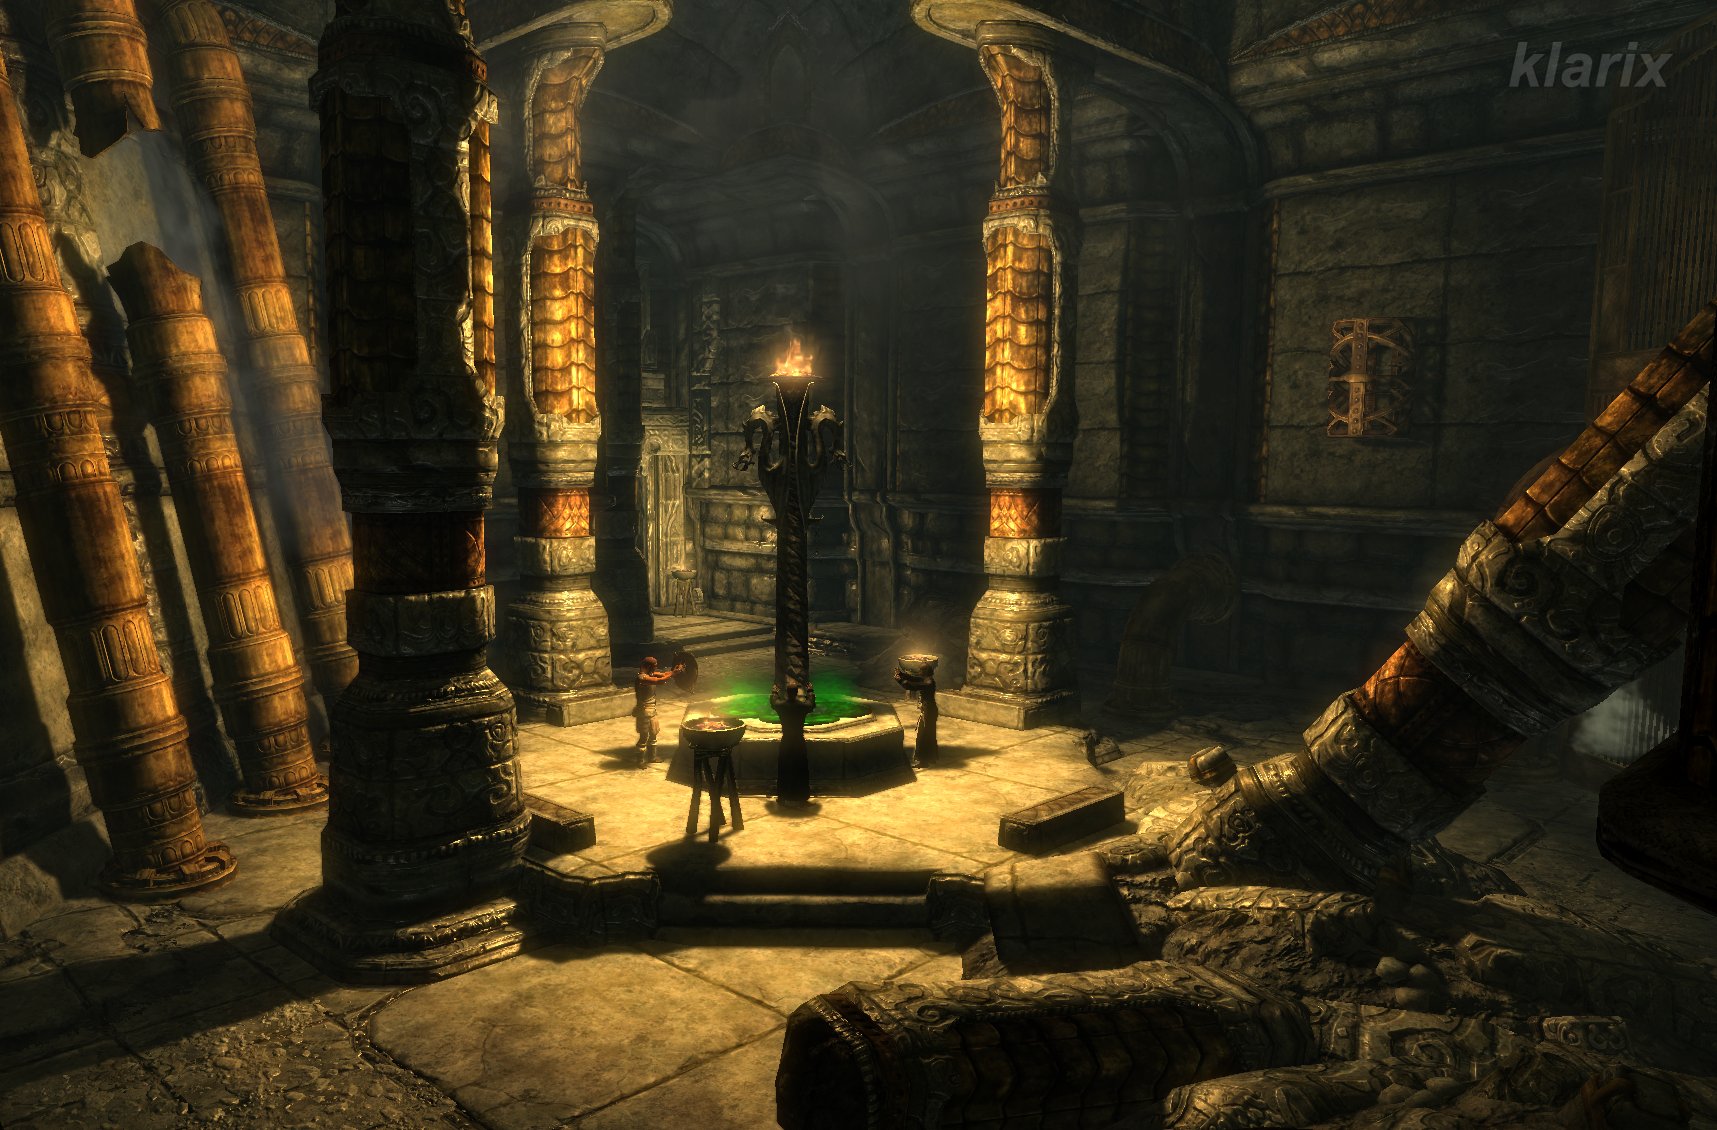 is reached, where the deceived and ignorant afflicted pray to Peryite for revelation and guidance. In another large room
 , a gold ore vein and a chest are located. An additional chest hangs on the wall in the room beyond. A corridor containing rotating blades
 is reached, which can be deployed to avoid direct combat. In the room behind it, a chest hangs on the wall, but two Dwemer Spheres will also deploy upon approach. Sudden attacks of this nature must be anticipated throughout the entire complex.
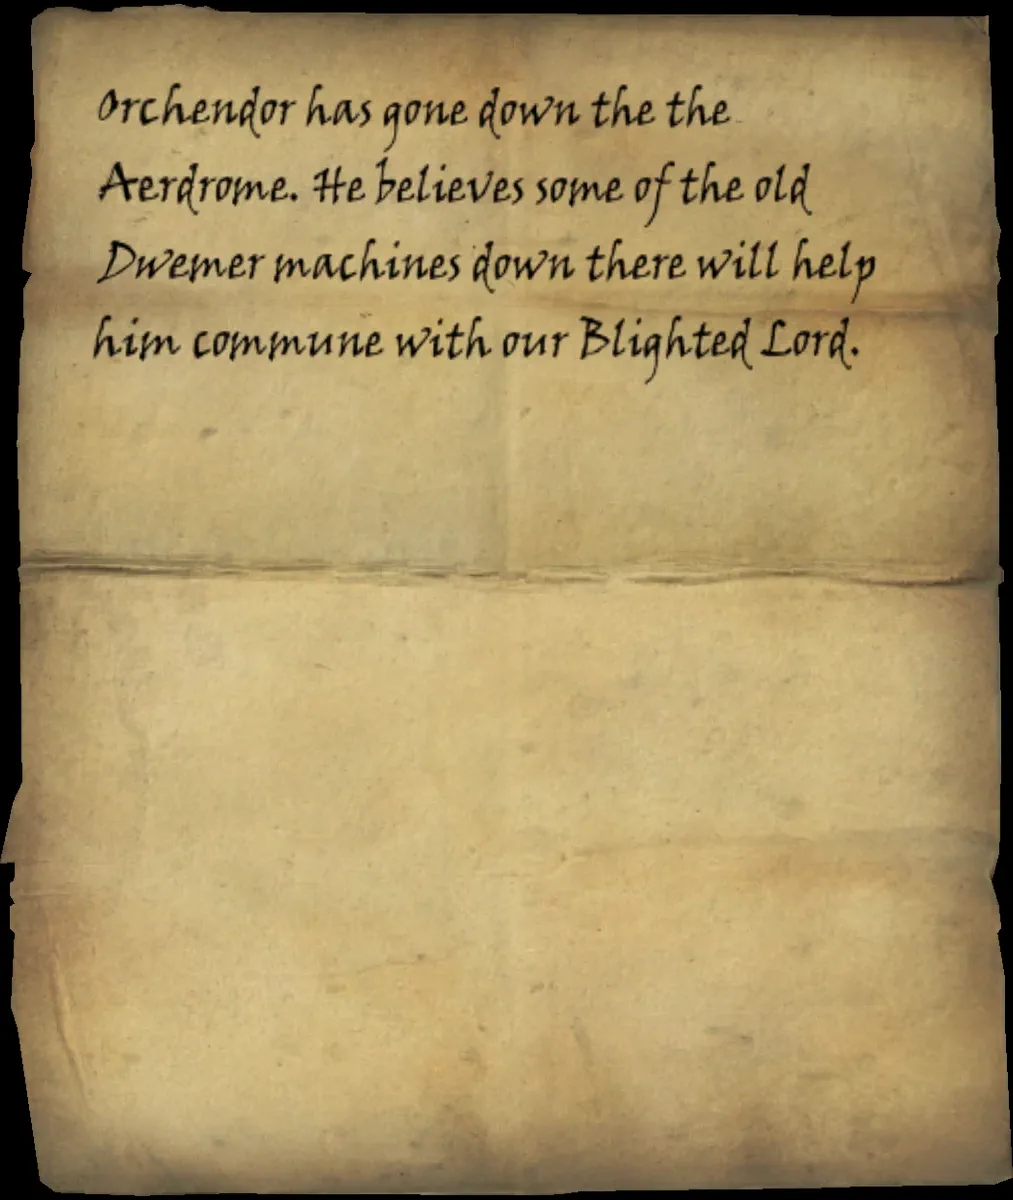 can be found, though it is not strictly required. Passing through a town center area containing several chests and another gold ore vein, entry is gained into the Lower District, followed by the Dwelling. Proceeding through an amphitheater
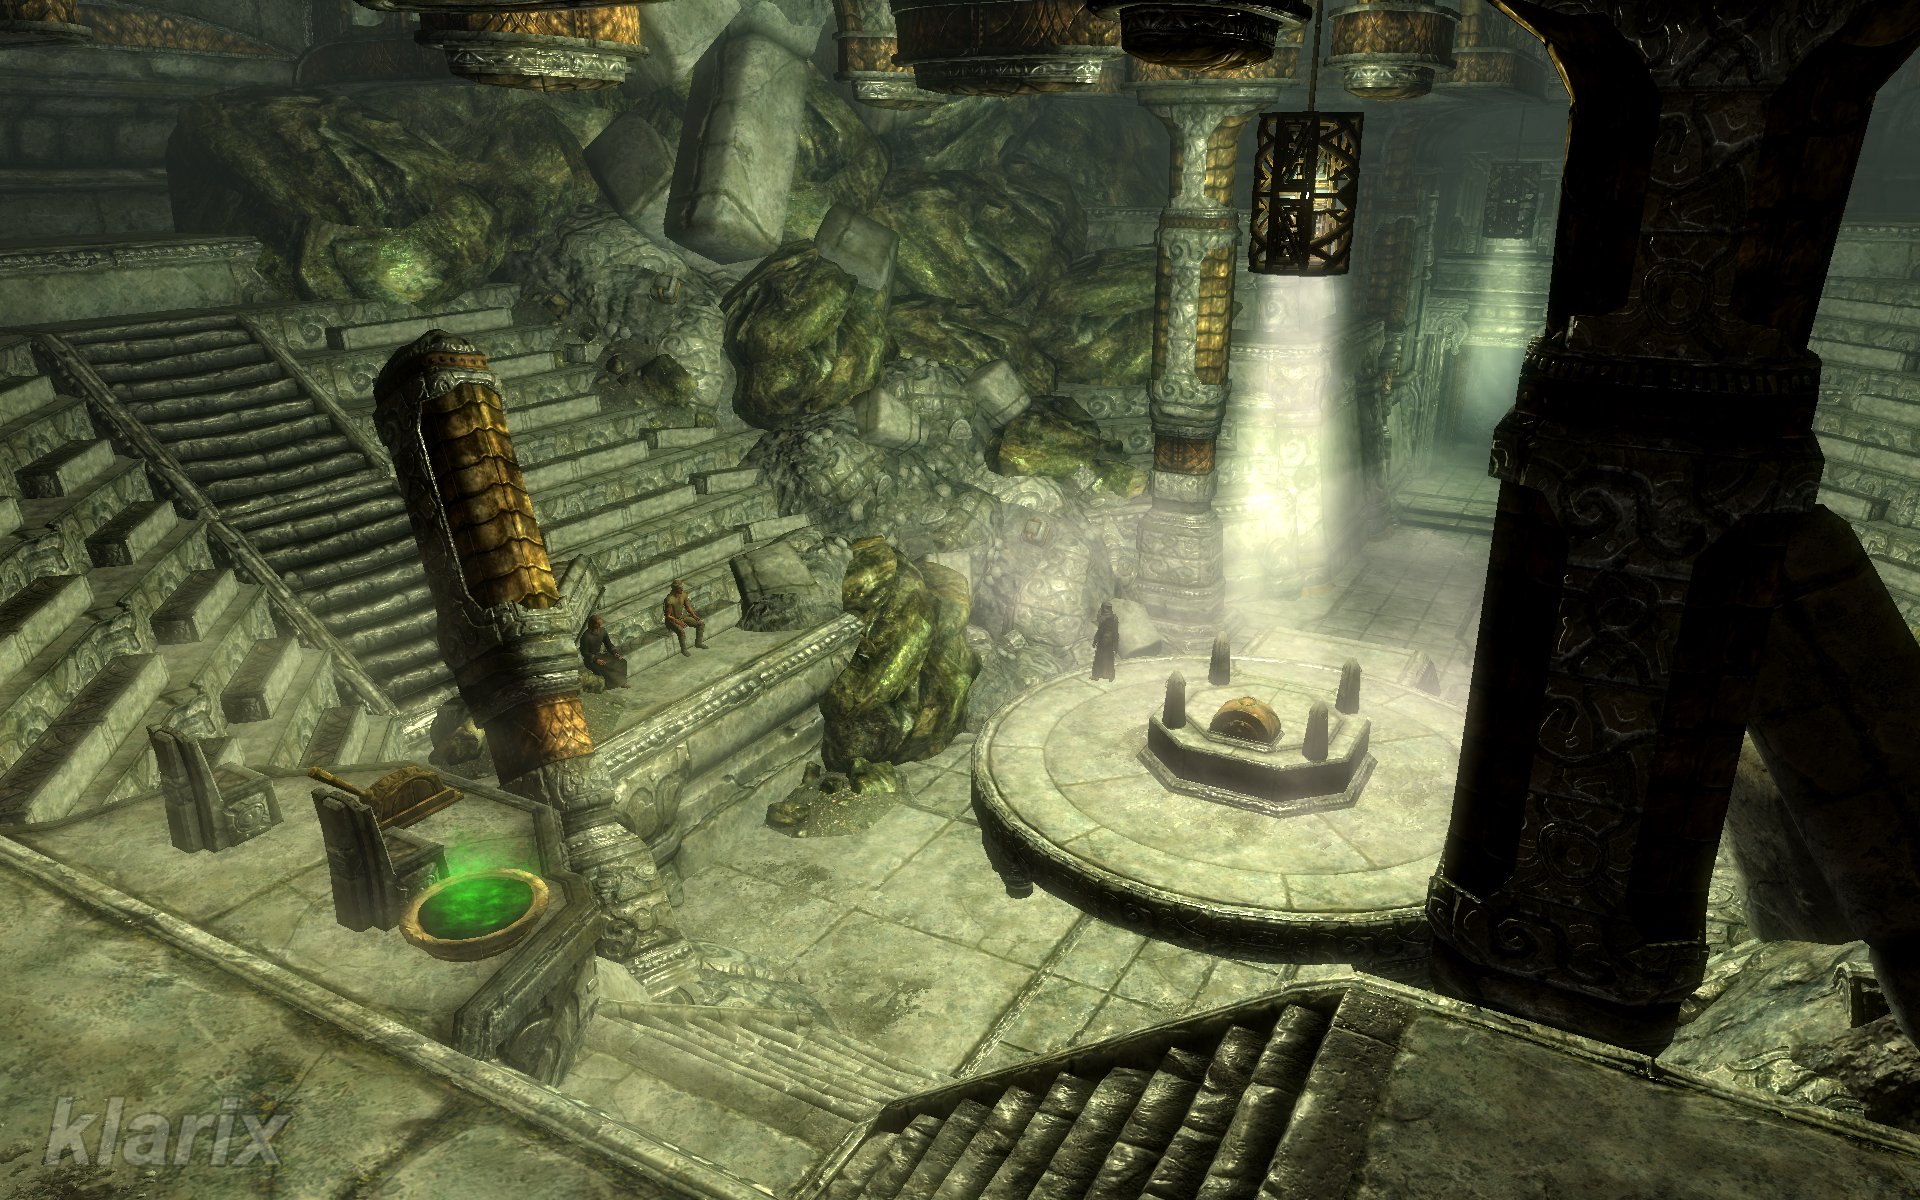 , where another trap
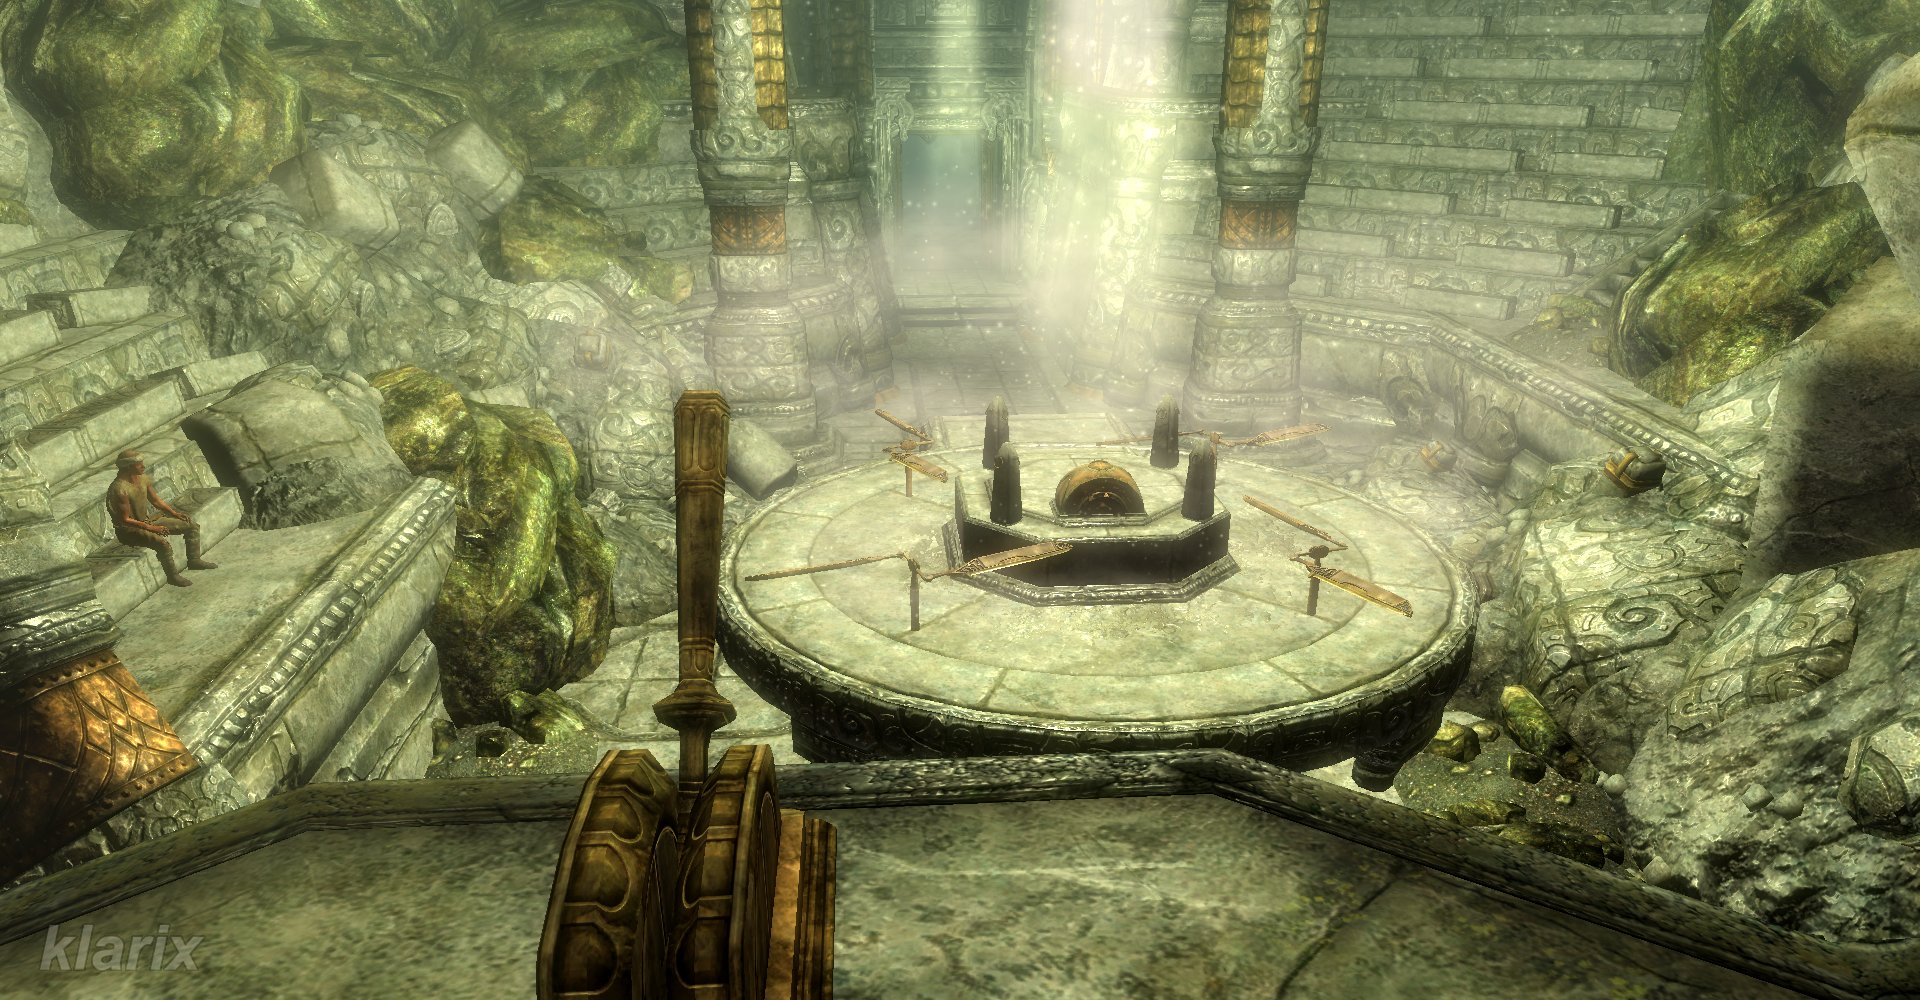 can be activated, leads into a complex central district
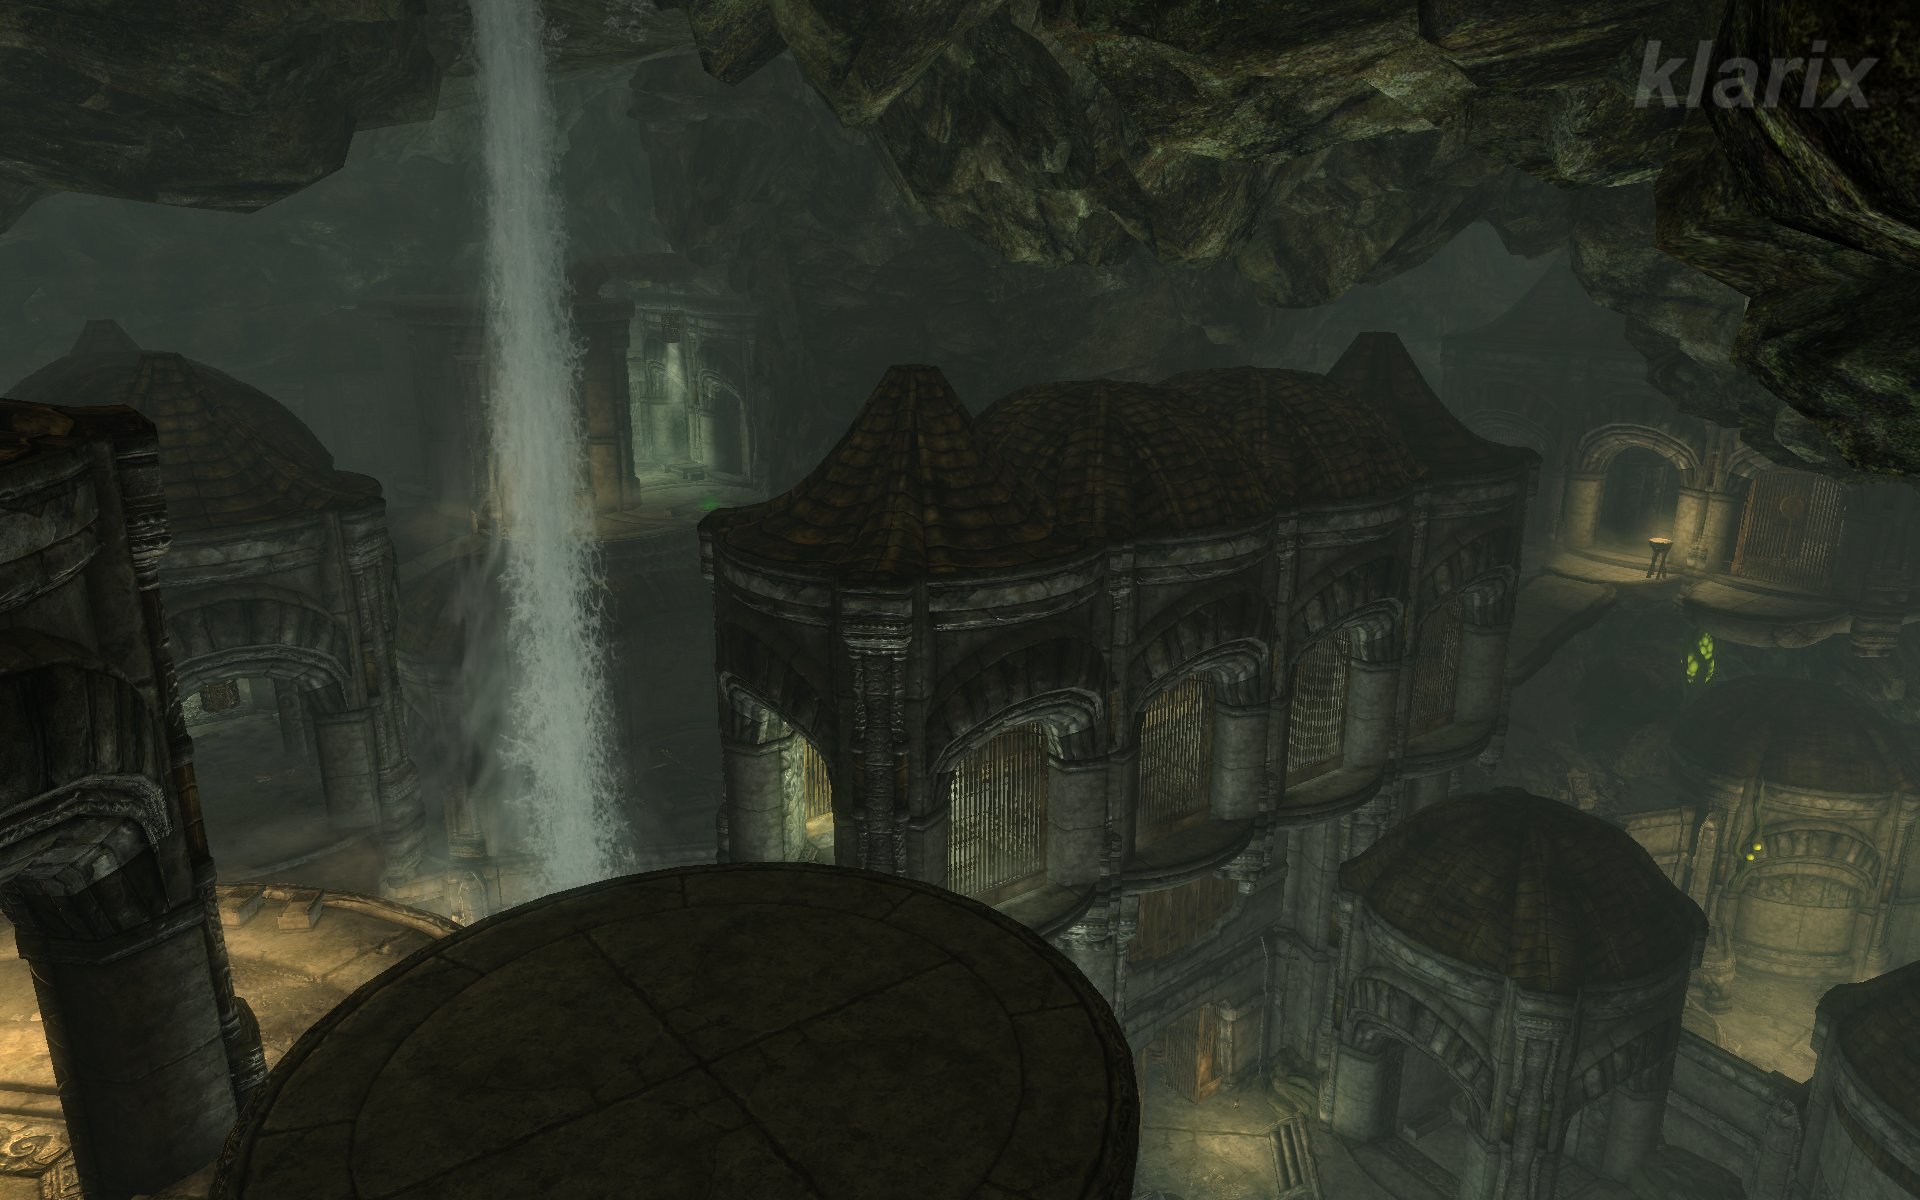 surrounding a spectacular waterfall
 . From here, one must advance upward via a detour through the Study.
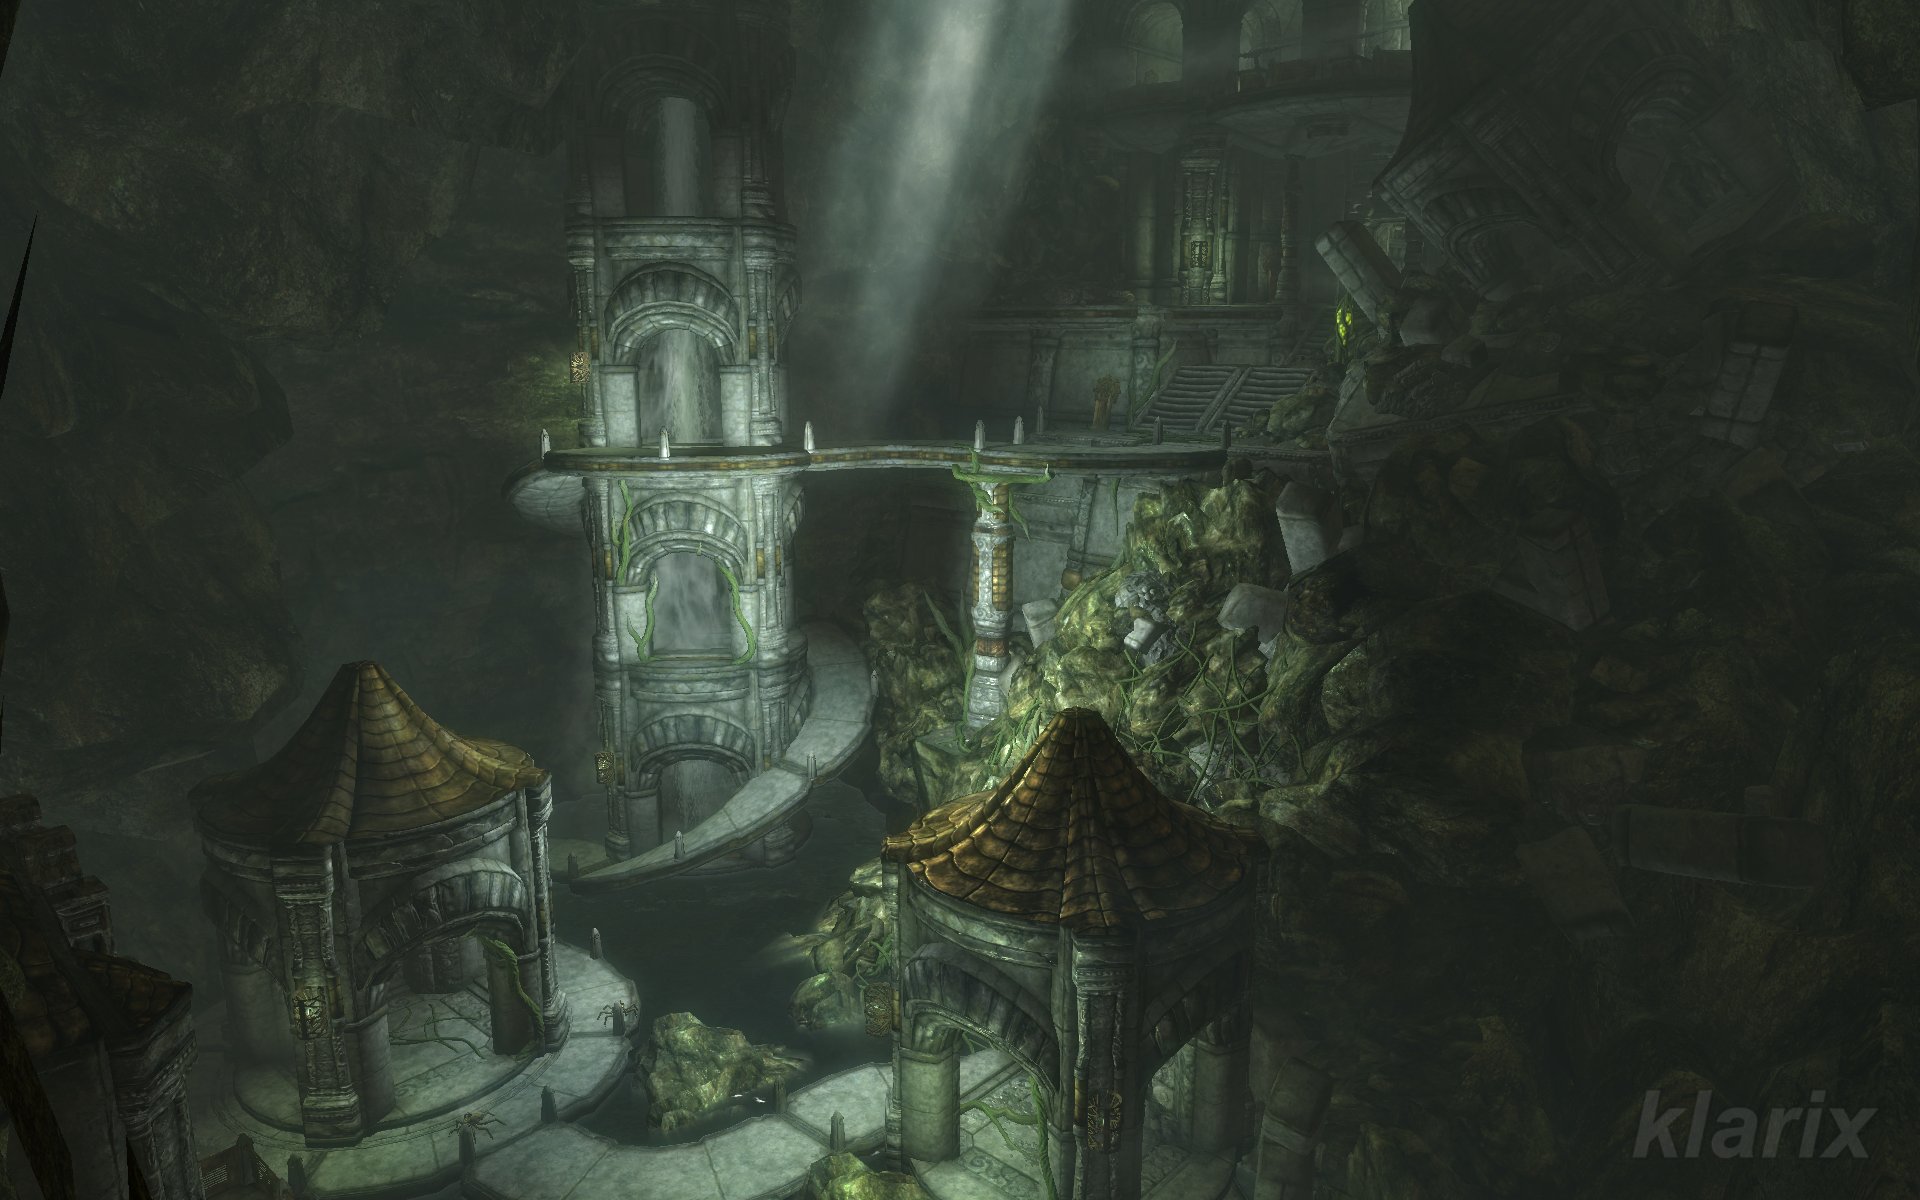 is reached. In addition to mechanical spiders, this zone is guarded by spheres
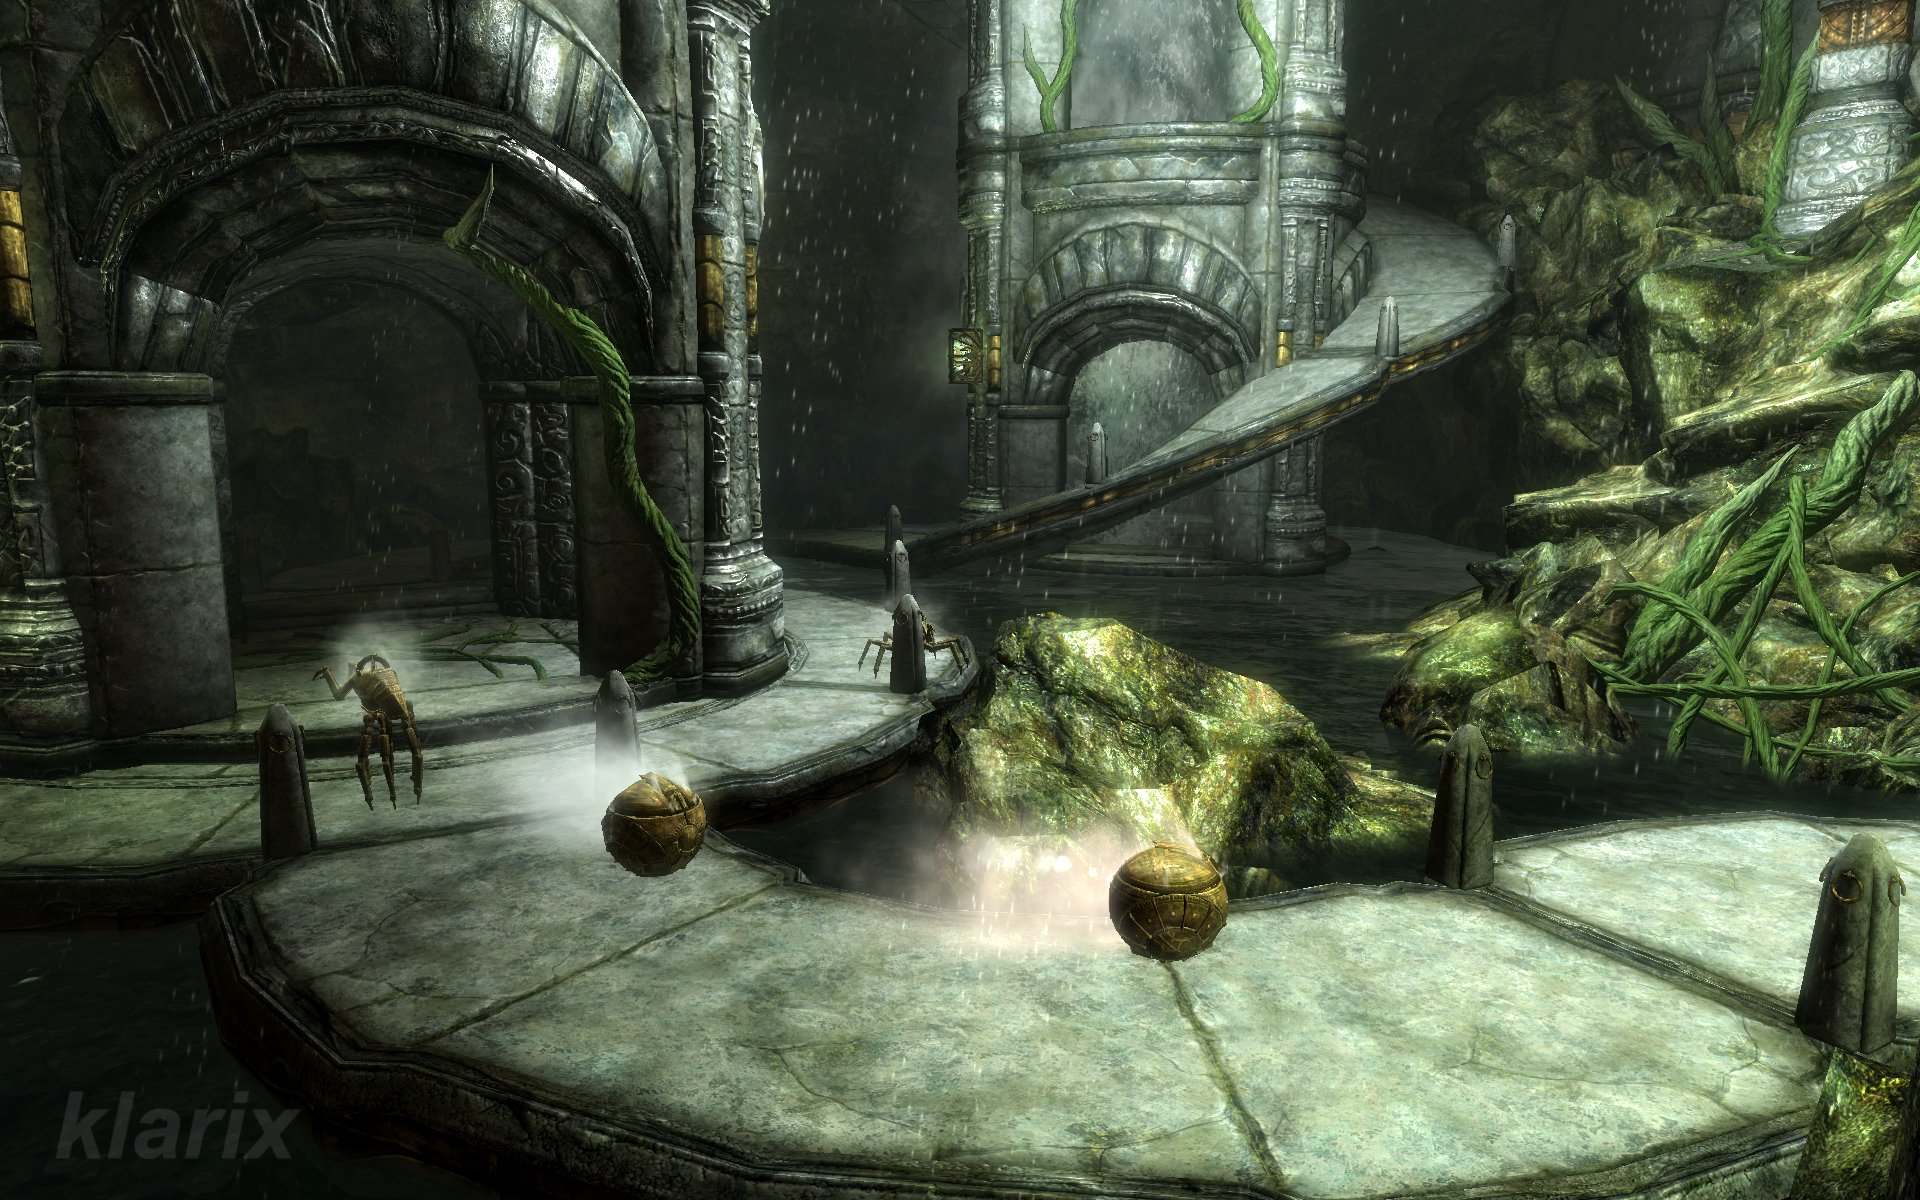 and a centurion. In the final room
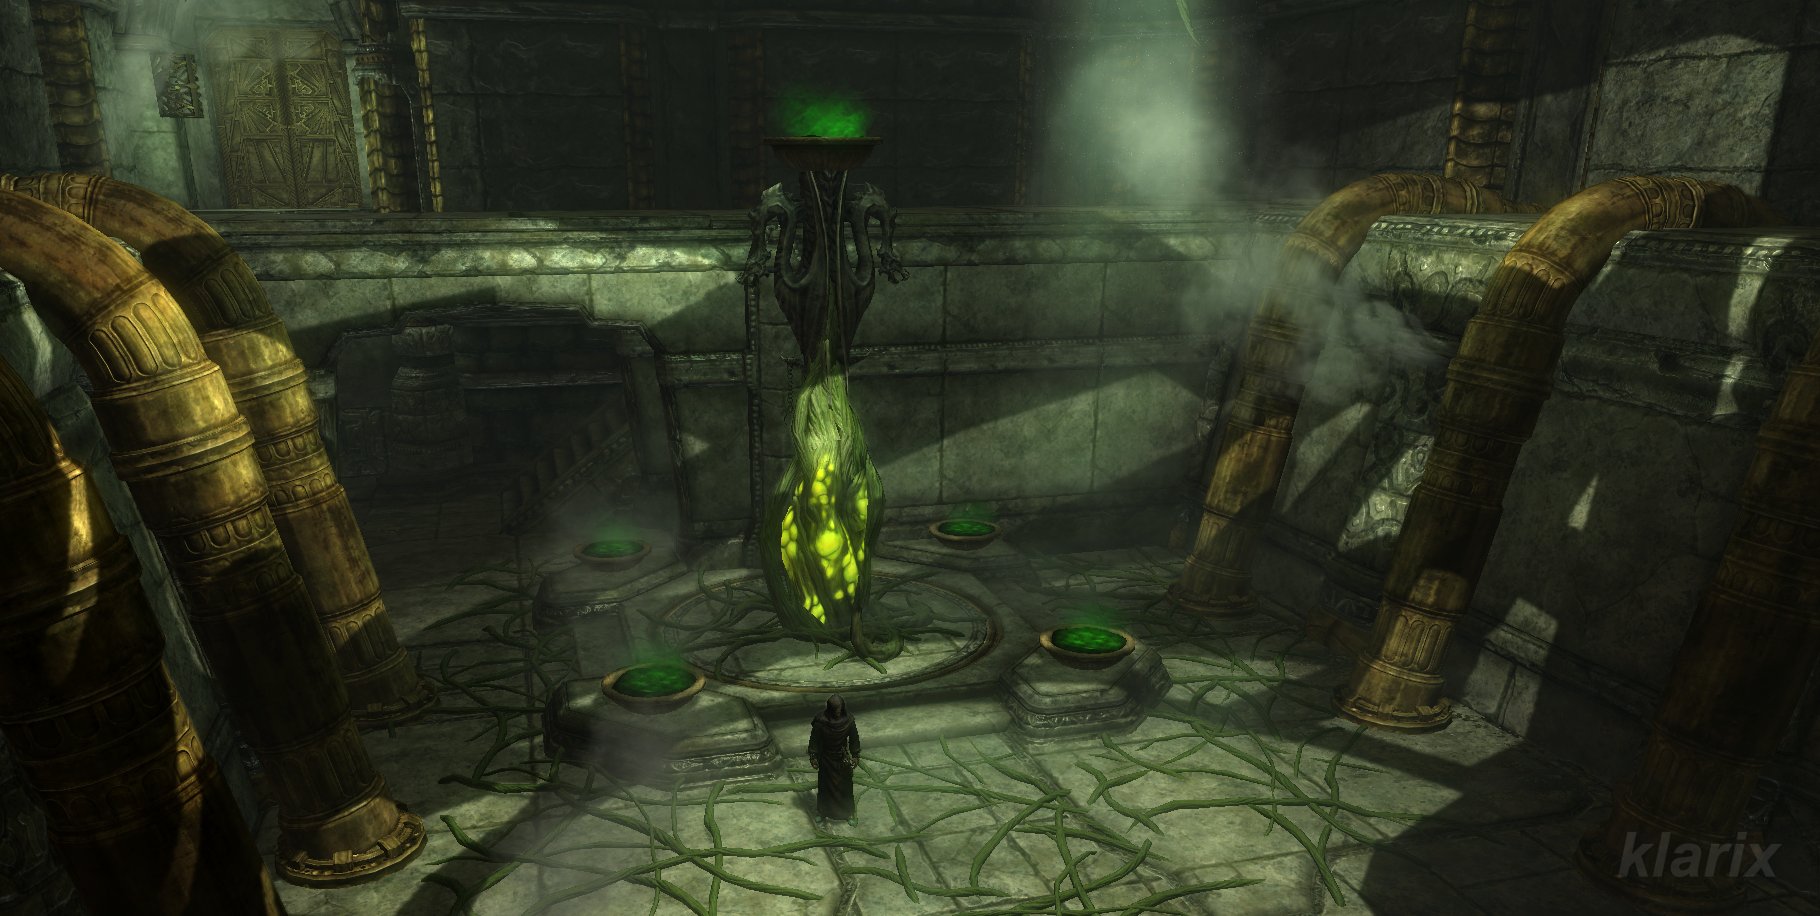 , Orchendor
 is encountered at last. He proves to be a formidable and difficult opponent. Alongside powerful Destruction spells, he utilizes a highly effective magical ward, rendering one's own spells largely ineffective. Furthermore, he commands invisibility and teleportation, which can make the confrontation frustrating.
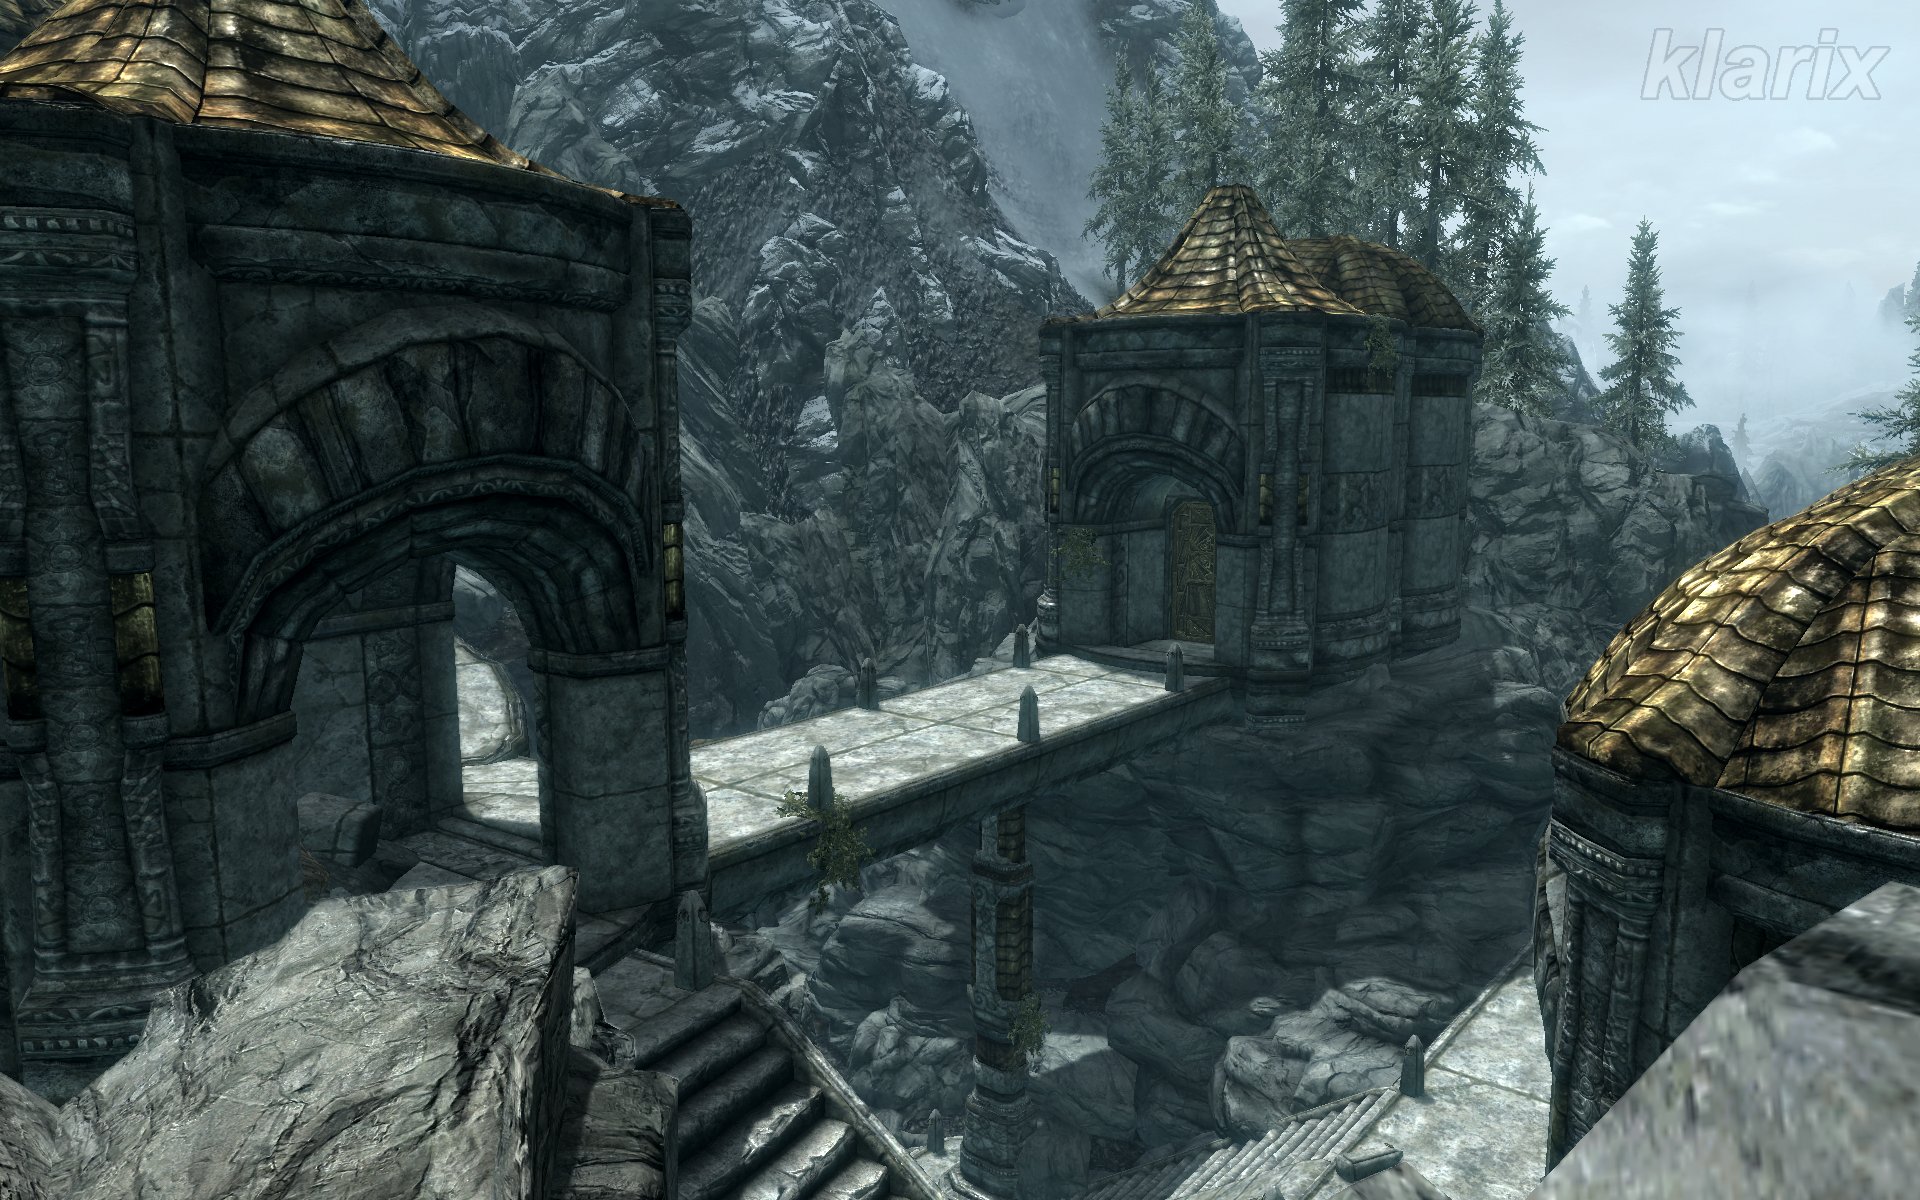 of the city is reached, allowing one to depart for the shrine. At the location, the green fumes must be inhaled once more, whereupon praise from Peryite is received. All is declared to be in proper order again; Orchendor's treason is punished, and the player's obedience will be rewarded. The legendary Dwemer shield, Spellbreaker